

This is a step by step guide on how to receive webhooks from QStash in your Cloudflare Worker.
Project Setup#
We will use C3 (create-cloudflare-cli) command-line tool to create our functions. You can open a new terminal window and run C3 using the prompt below.
This will install the create-cloudflare package, and lead you through setup. C3 will also install Wrangler in projects by default, which helps us testing and deploying the projects.
We will also install the Upstash QStash library.
3. Use QStash in your handler#
First we import the library:
Then we adjust the Env interface to include the QSTASH_CURRENT_SIGNING_KEY
and QSTASH_NEXT_SIGNING_KEY environment variables.
And then we validate the signature in the handler function.
First we create a new receiver and provide it with the signing keys.
Then we verify the signature.
The entire file looks like this now:
Configure Credentials#
There are two methods for setting up the credentials for QStash. One for worker level, the other for account level.
Using Cloudflare Secrets (Worker Level Secrets)#
This is the common way of creating secrets for your worker, see Workflow Secrets
-
Navigate to Upstash Console and get your QStash credentials.
-
In Cloudflare Dashboard, Go to Compute (Workers) > Workers & Pages.
-
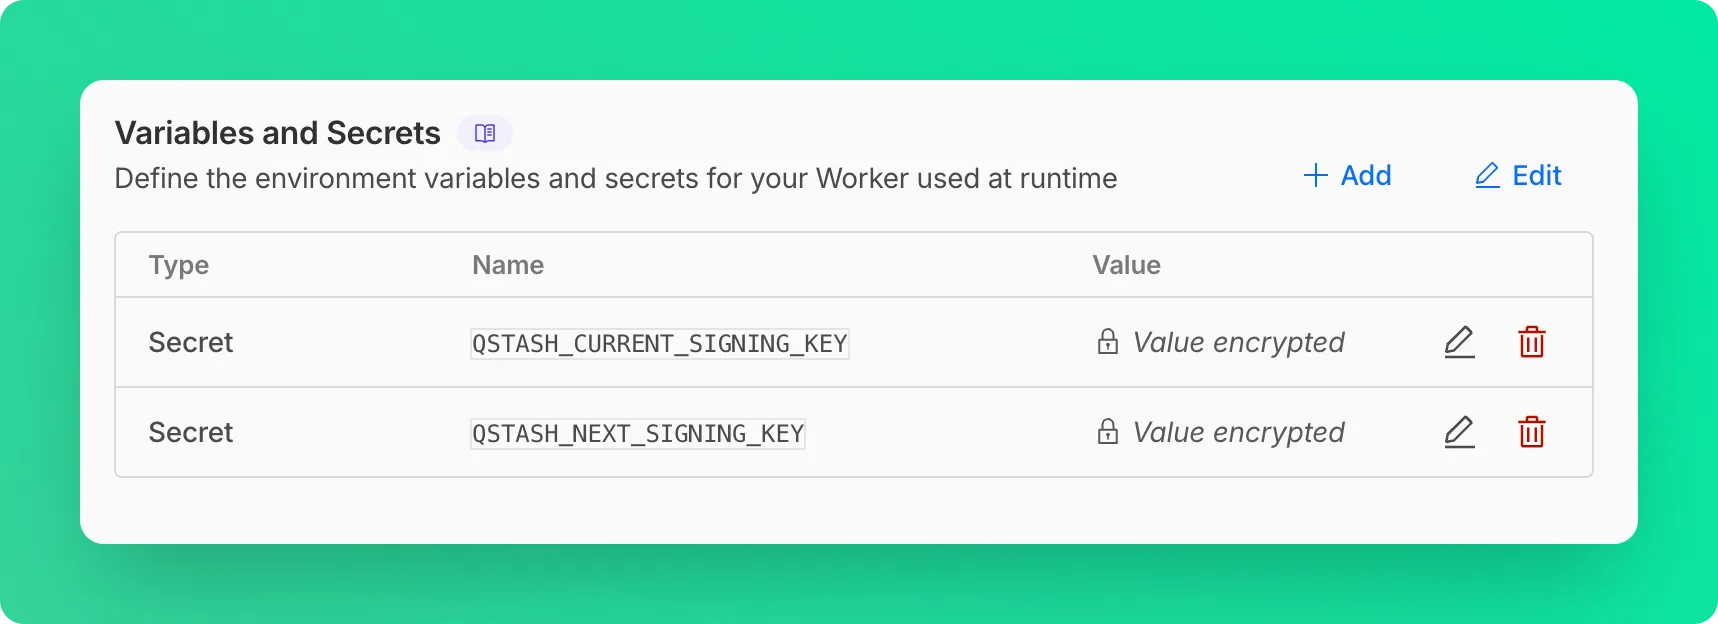
Select your worker and go to Settings > Variables and Secrets.
-
Add your QStash credentials as secrets here:
Using Cloudflare Secrets Store (Account Level Secrets)#
This method requires a few modifications in the worker code, see Access to Secret on Env Object
After doing these modifications, you can deploy the worker to Cloudflare with npx wrangler deploy, and
follow the steps below to define the secrets:
-
Navigate to Upstash Console and get your QStash credentials.
-
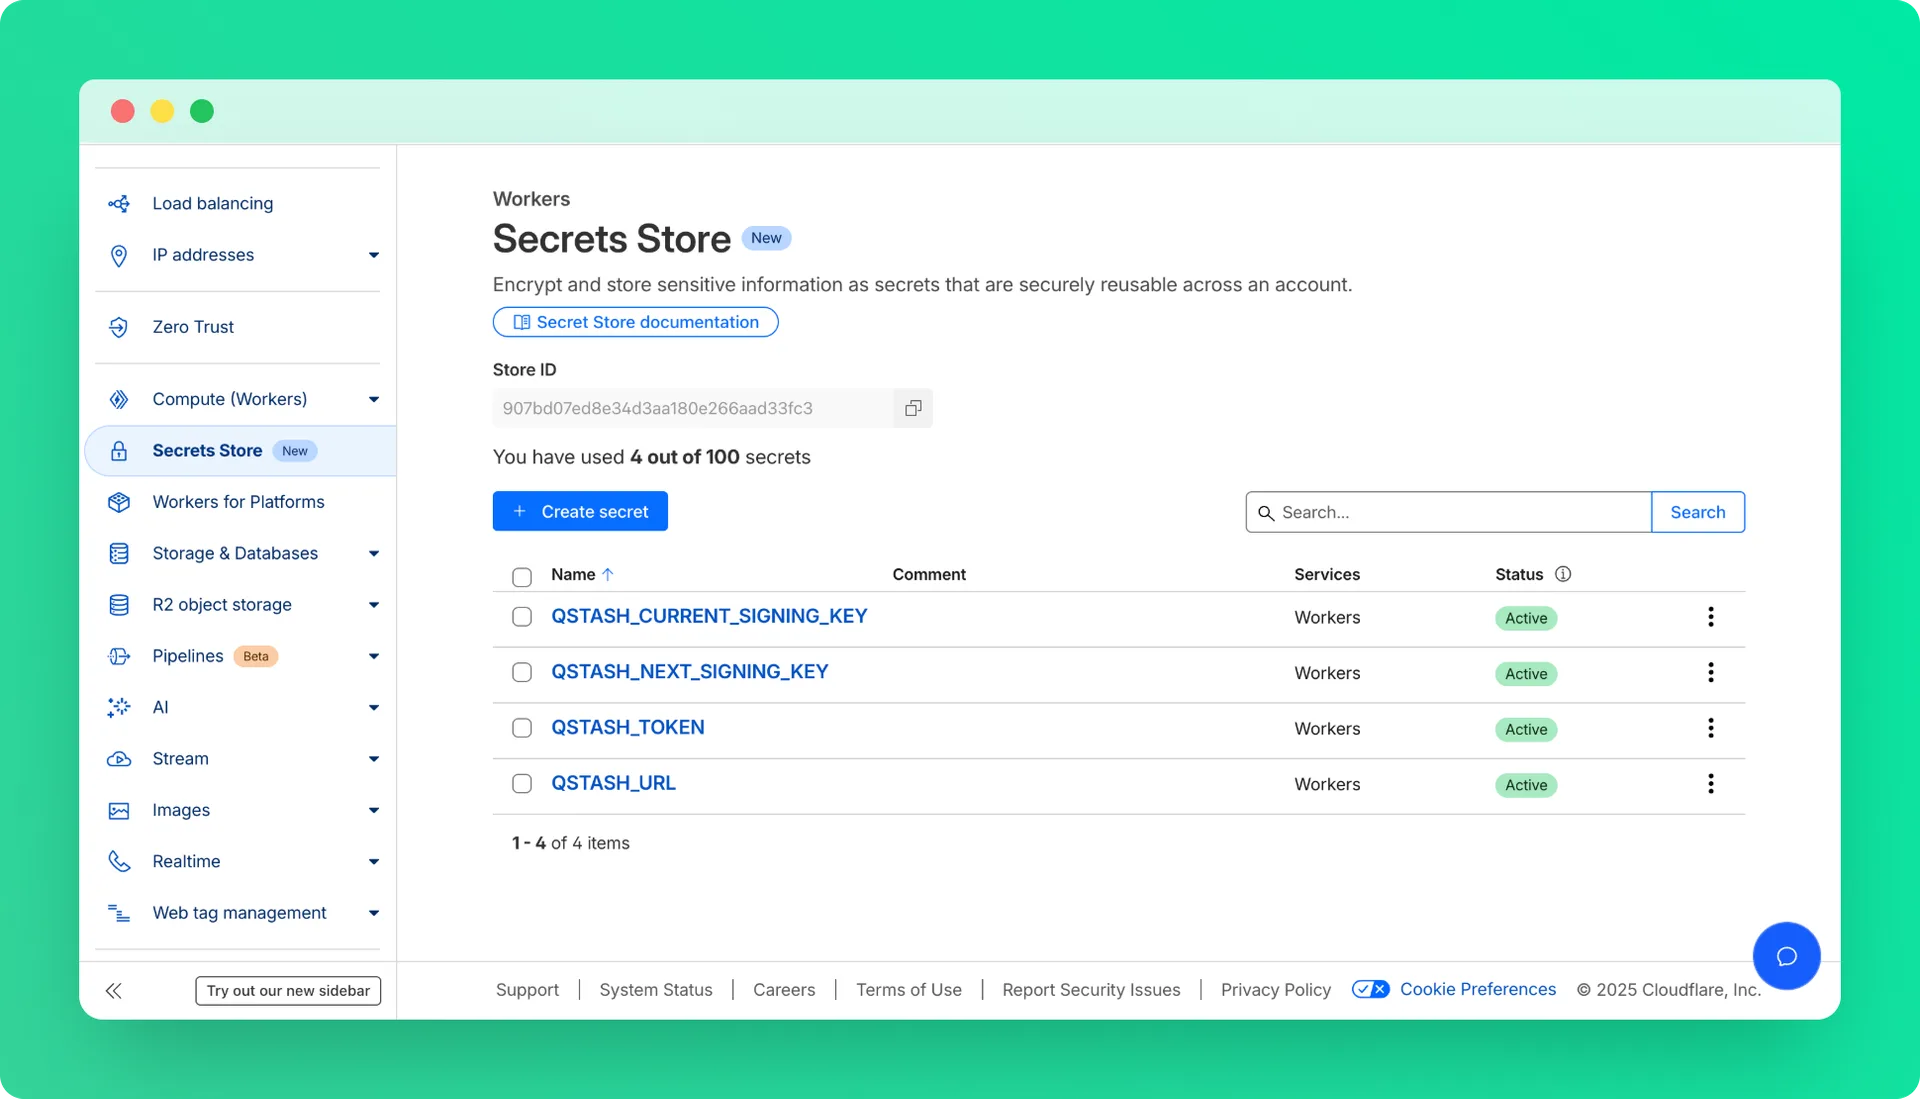
In Cloudflare Dashboard, Go to Secrets Store and add QStash credentials as secrets.
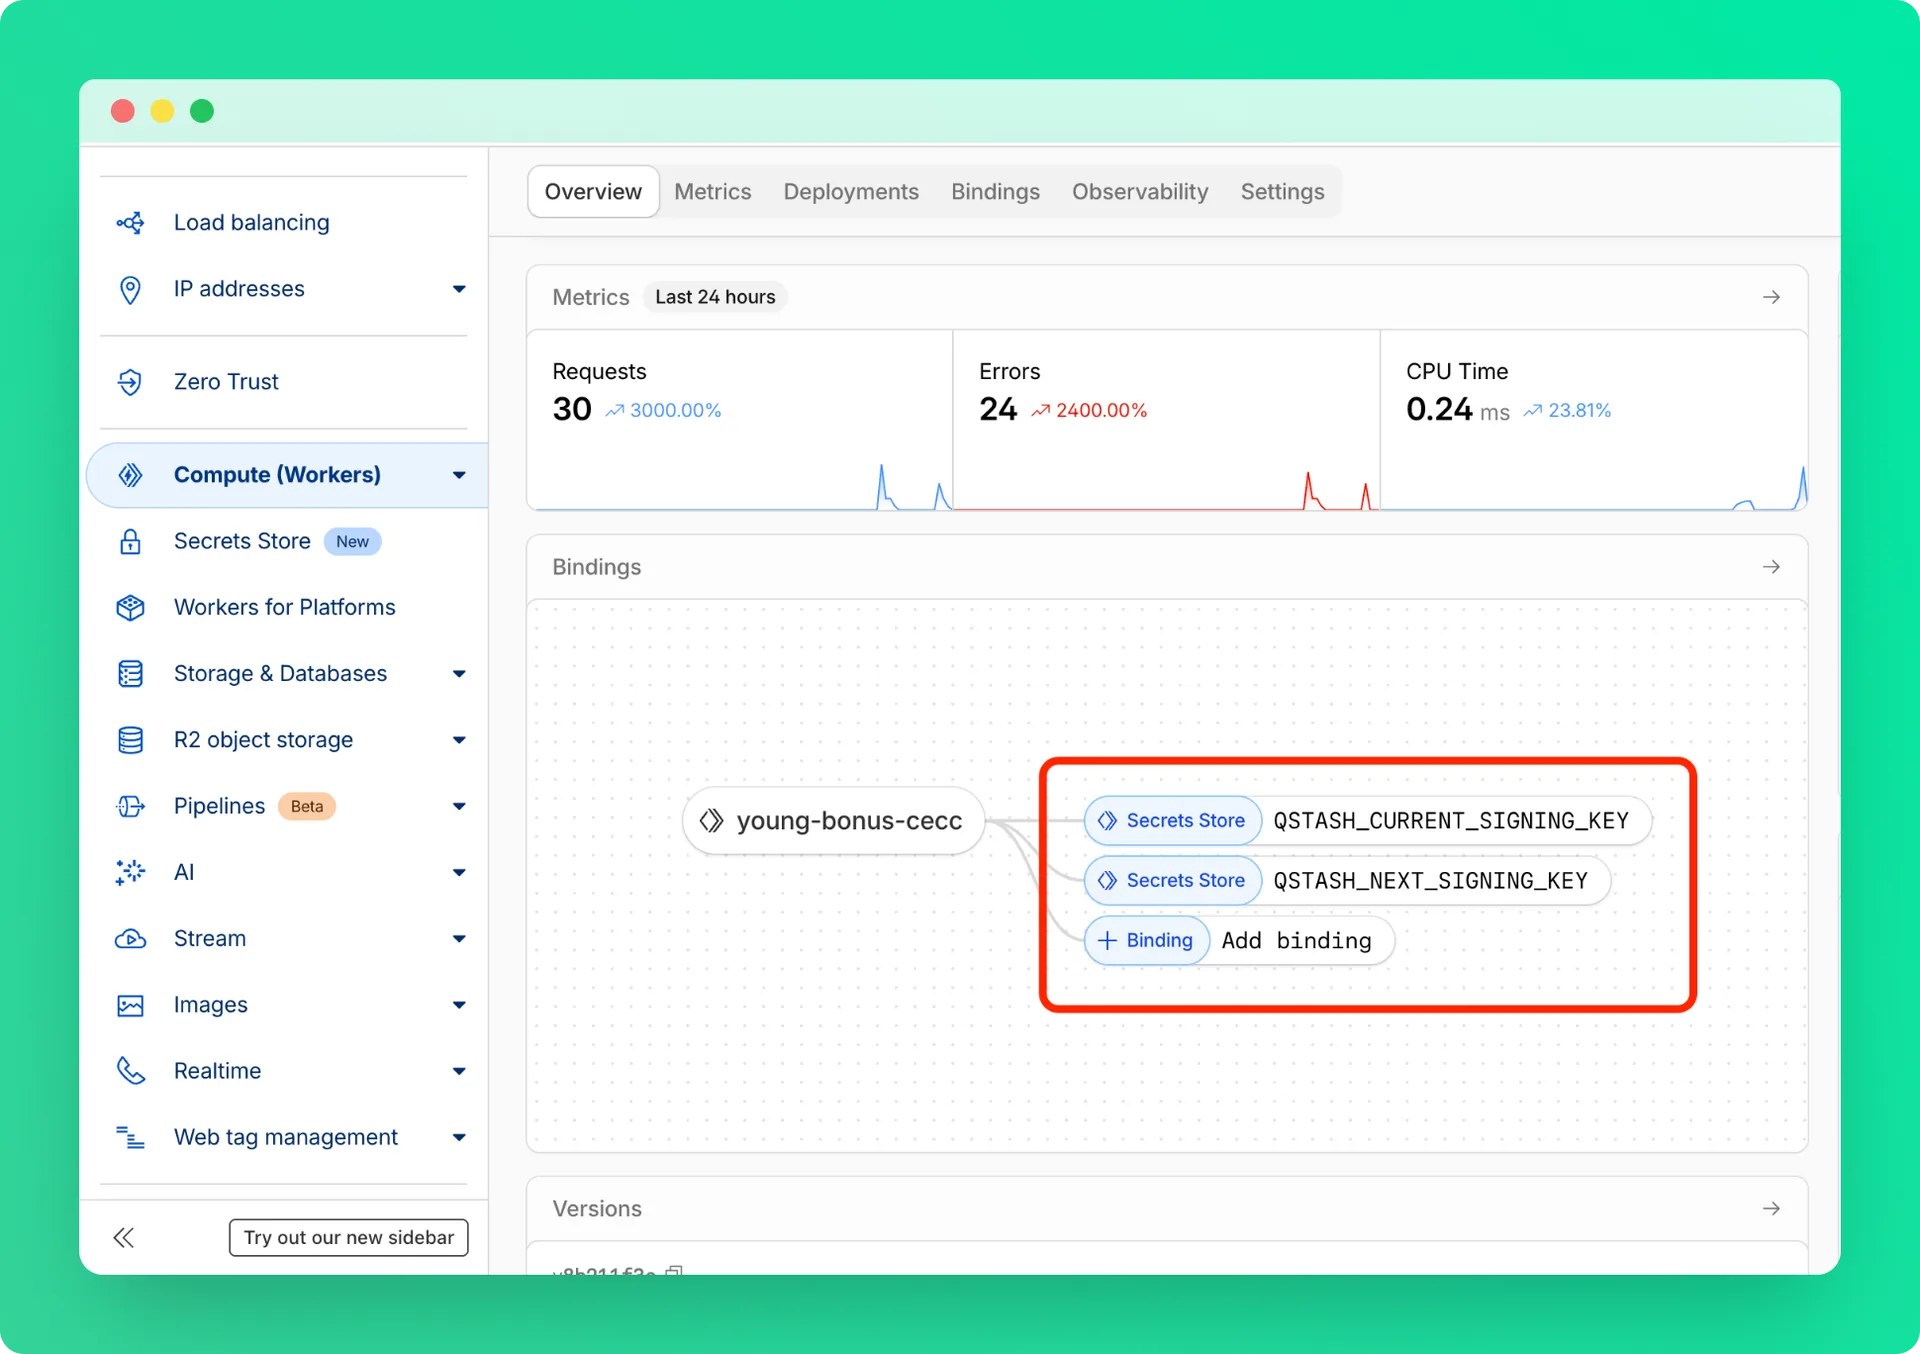
- Under Compute (Workers) > Workers & Pages, find your worker and add these secrets as bindings.
Deployment#
Newer deployments may revert the configurations you did in the dashboard. While worker level secrets persist, the bindings will be gone!
Deploy your function to Cloudflare with npx wrangler deploy
The endpoint of the function will be provided to you, once the deployment is done.
Publish a message#
Open a different terminal and publish a message to QStash. Note the destination url is the same that was printed in the previous deploy step.
In the logs you should see something like this:
Next Steps#
That’s it, you have successfully created a secure Cloudflare Worker, that receives and verifies incoming webhooks from qstash.
Learn more about publishing a message to qstash here.
You can find the source code here.