Setting up a Lambda
The AWS CDK is the most convenient way to create a new project on AWS Lambda. For example, it lets you directly define integrations such as APIGateway, a tool to make our lambda publicly available as an API, in your code.Terminal
Webhook verification
Using the SDK (recommended)
Editlambda/index.ts, the file containing our core lambda logic:
lambda/index.ts
QSTASH_CURRENT_SIGNING_KEY and QSTASH_NEXT_SIGNING_KEY environment variables together when deploying our Lambda.
Manual Verification
In this section, we’ll manually verify our incoming QStash requests without additional packages. Also see our manual verification example.- Implement the handler function
lambda/index.ts
- Implement the
verifyfunction:
lambda/index.ts
Deploying a Lambda
Using the AWS CDK (recommended)
Because we used the AWS CDK to initialize our project, deployment is straightforward. Edit thelib/<your-stack-name>.ts file the CDK created when bootstrapping the project. For example, if our lambda webhook does video processing, it could look like this:
lib/<your-stack-name>.ts
Terminal
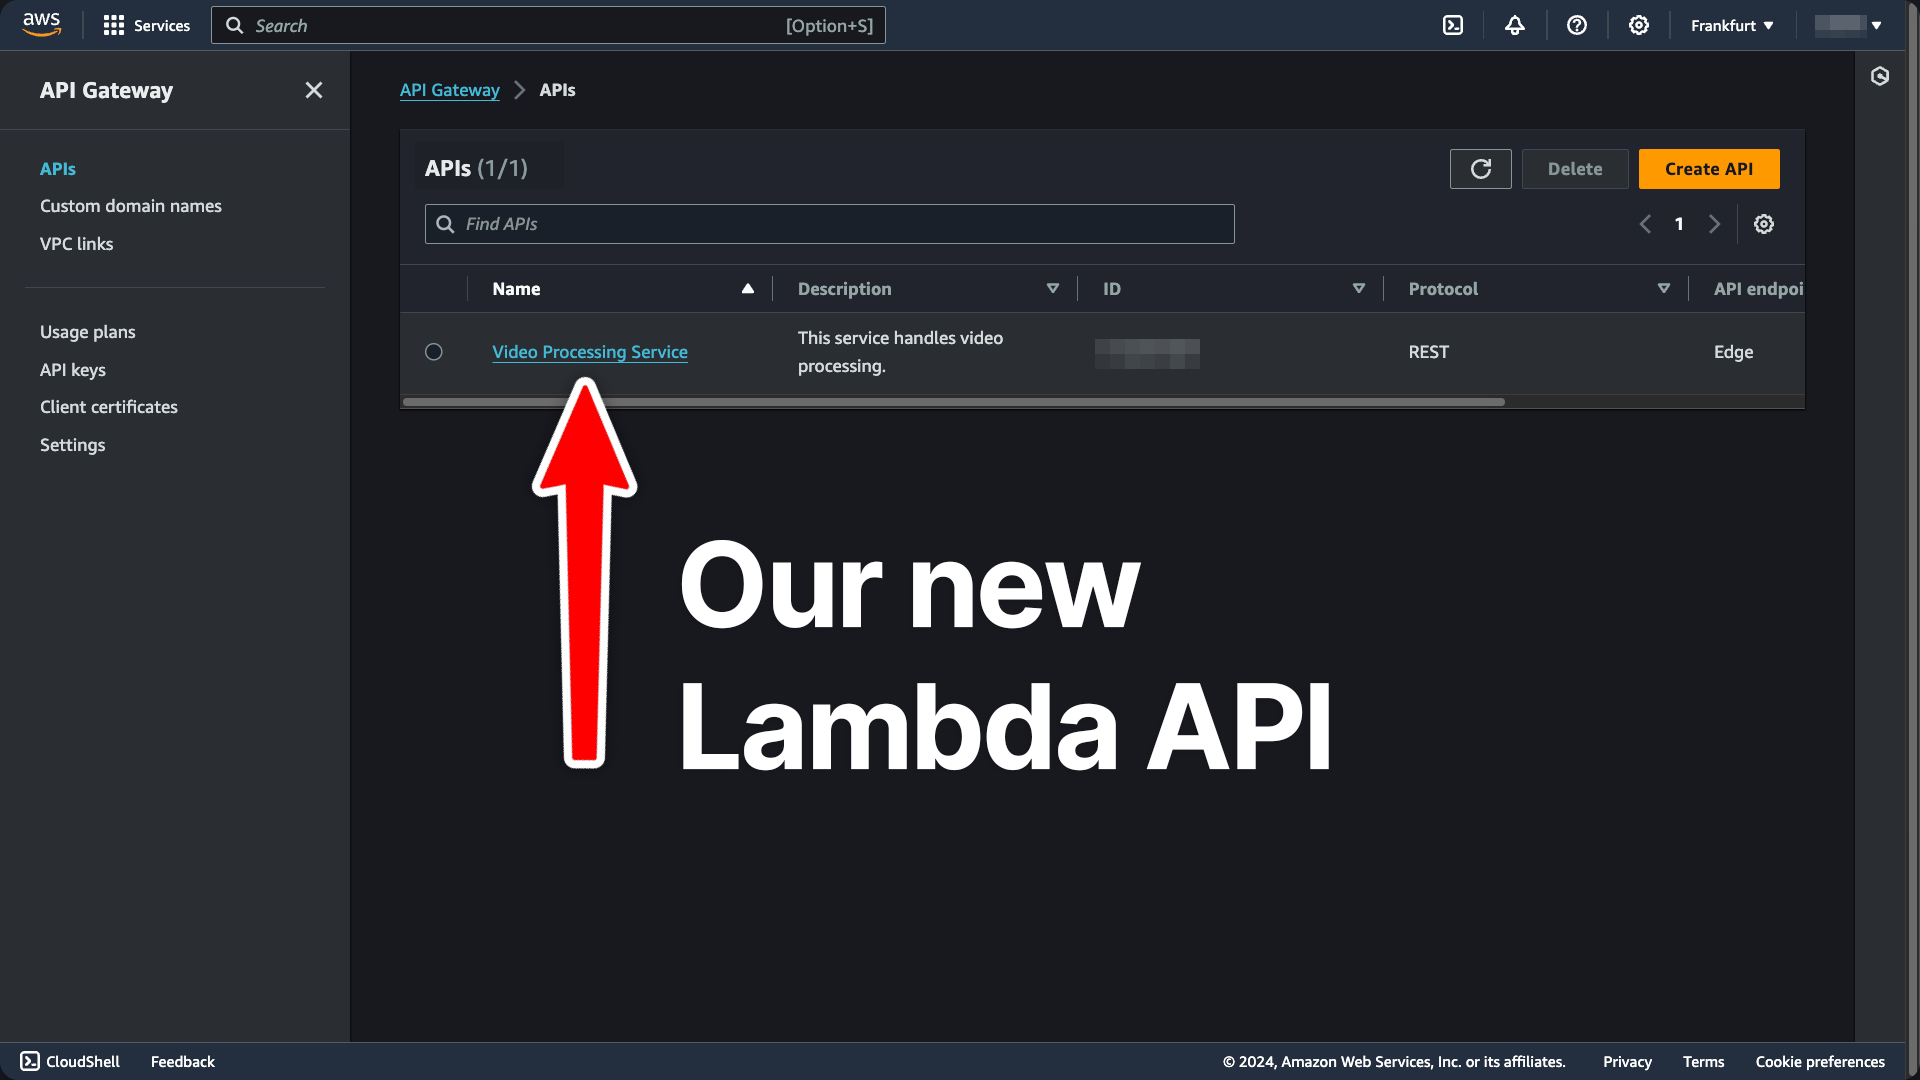
https://<API-GATEWAY-ID>.execute-api.<API-REGION>.amazonaws.com/prod/
To provide our QSTASH_CURRENT_SIGNING_KEY and QSTASH_NEXT_SIGNING_KEY environment variables, navigate to your QStash dashboard:

Manual Deployment
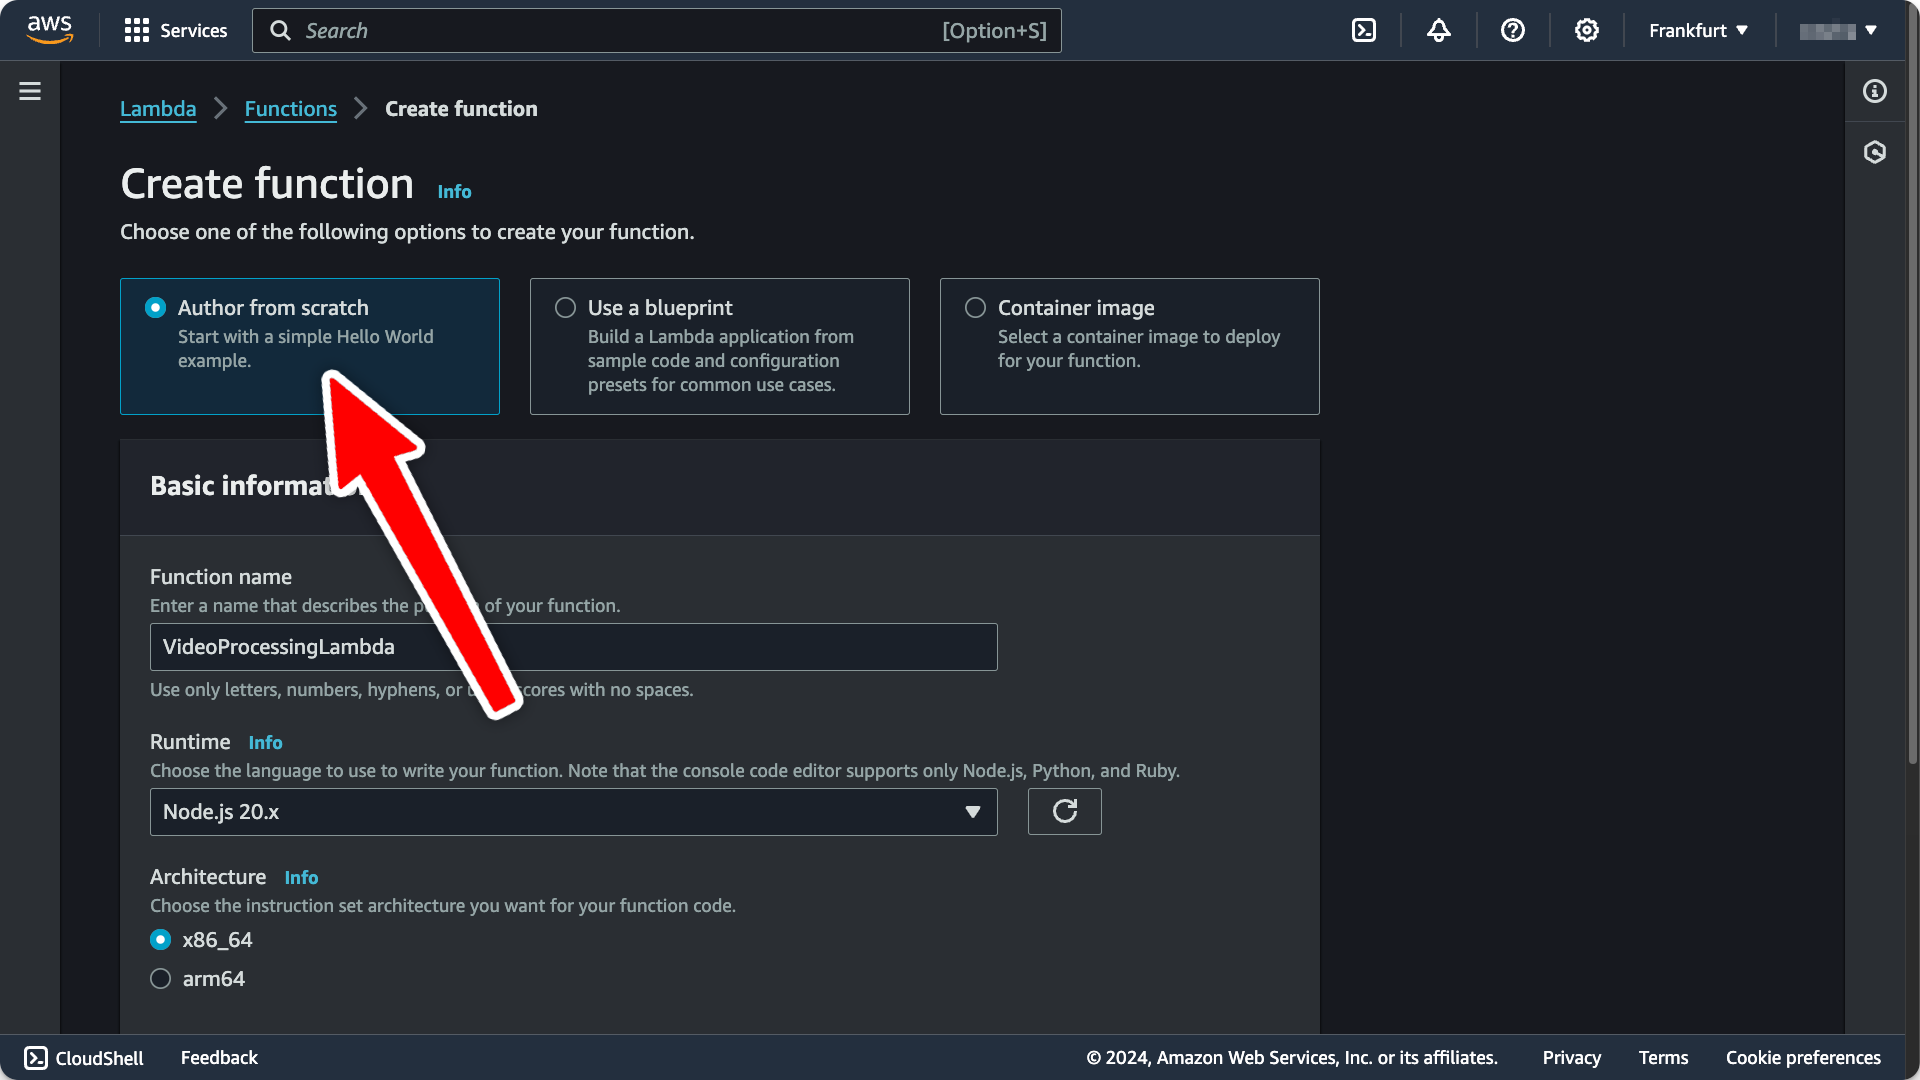
- Create a new Lambda function by going to the AWS dashboard for your desired lambda region. Give your new function a name and select
Node.js 20.xas runtime, then create the function.
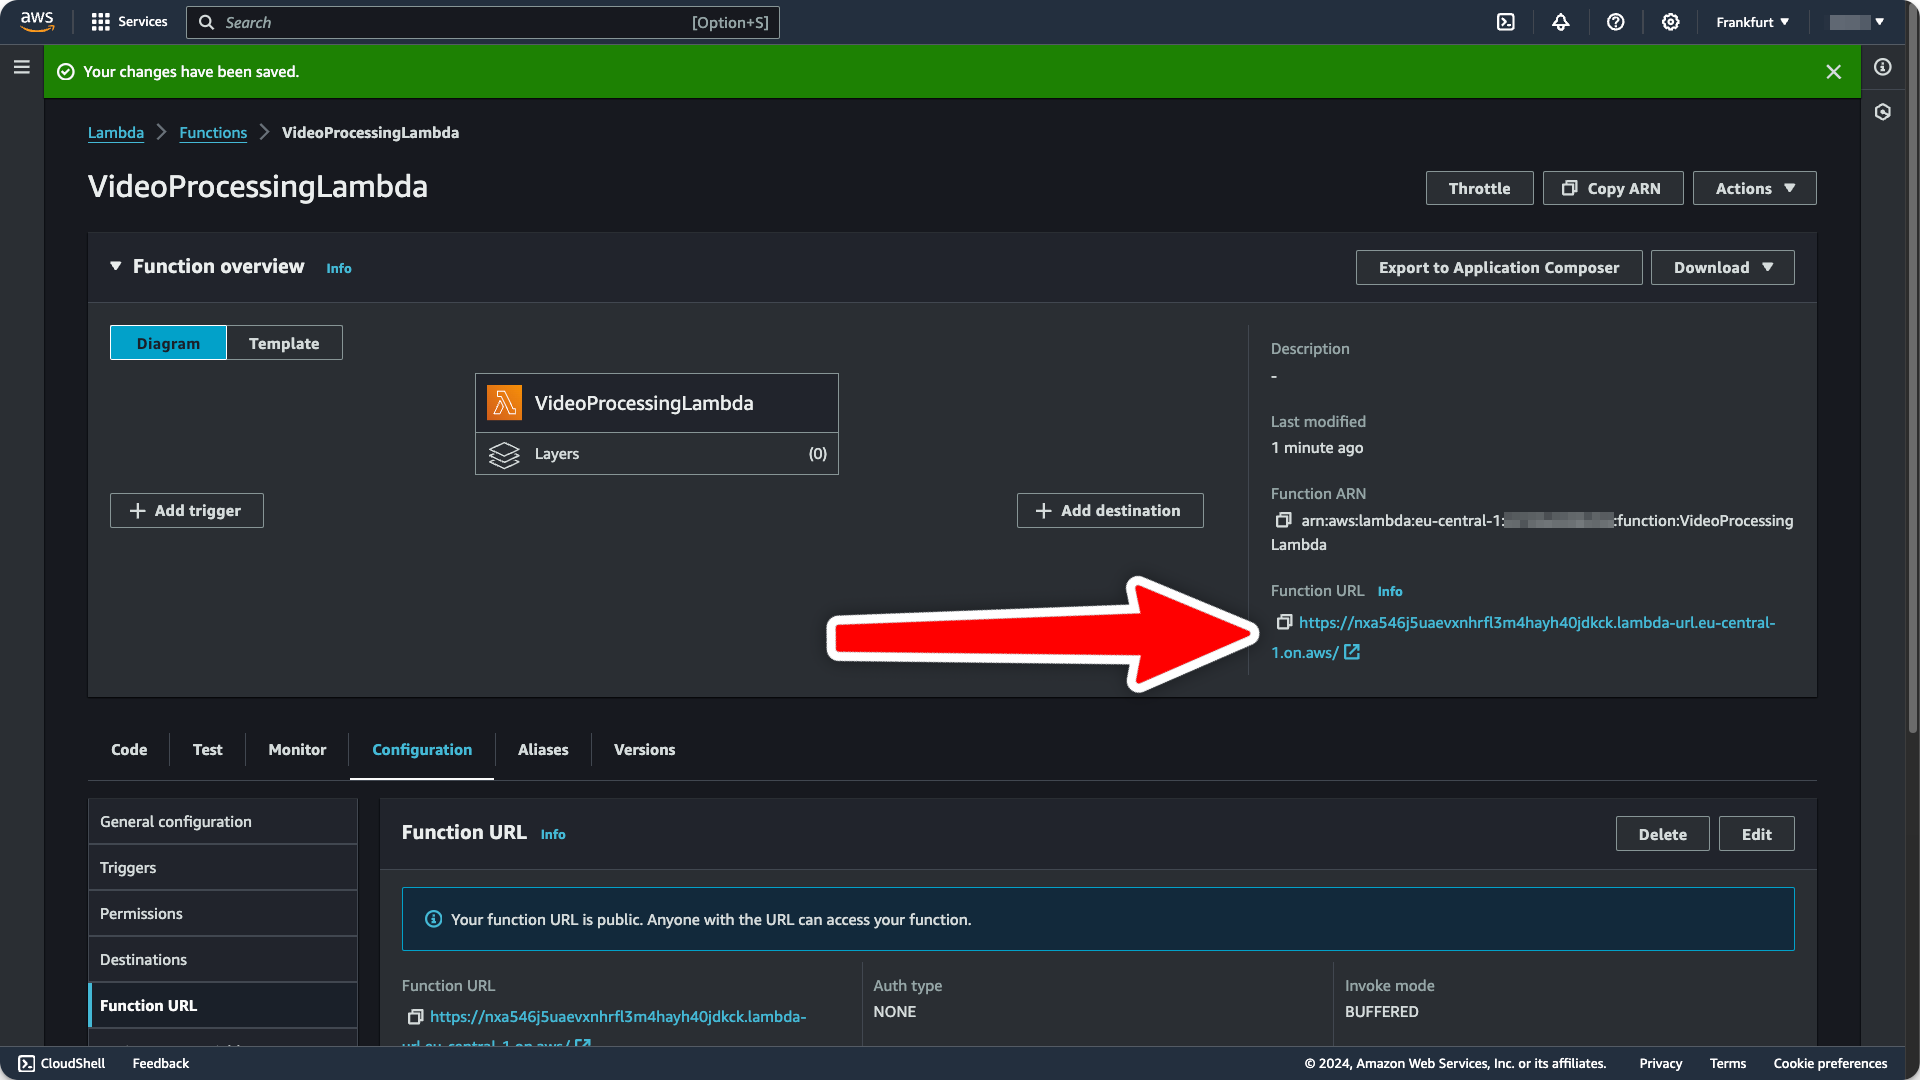
- To make this Lambda available under a public URL, navigate to the
Configurationtab and clickFunction URL:
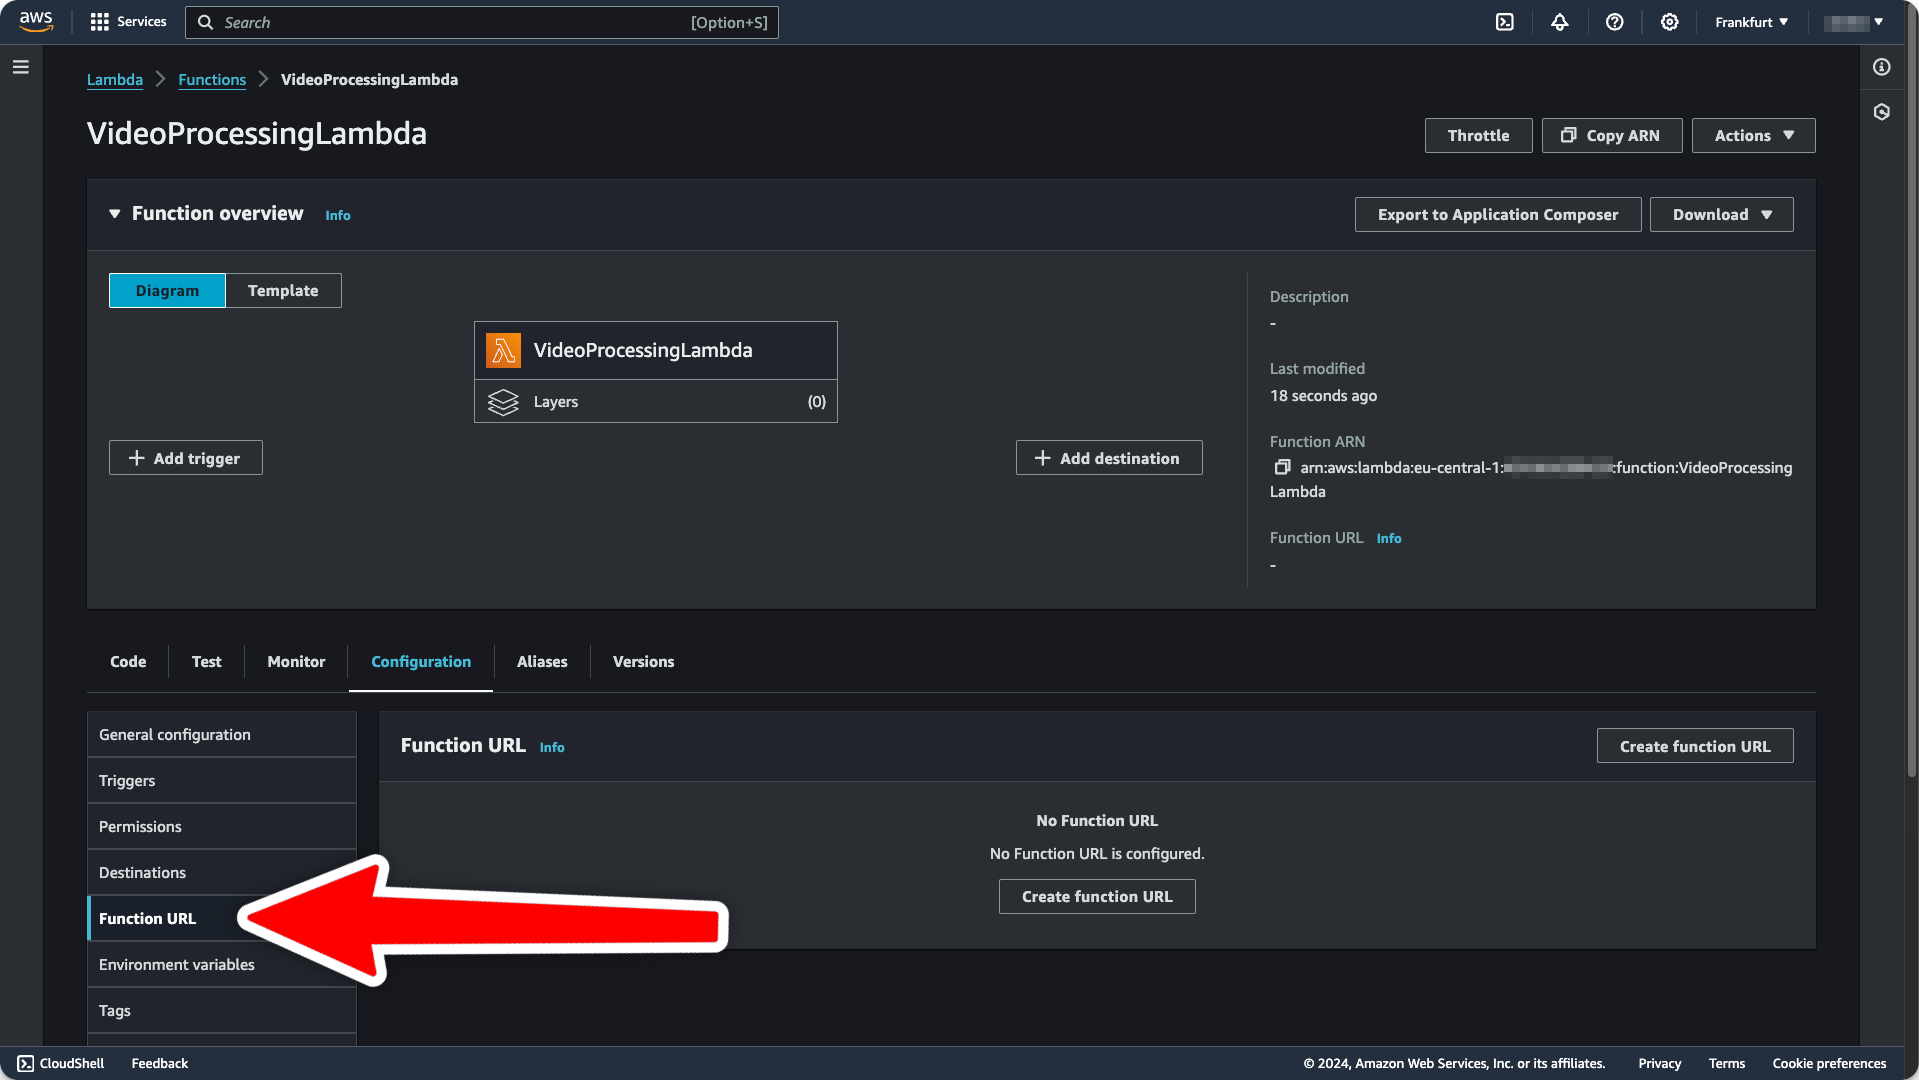
-
In the following dialog, you’ll be asked to select one of two authentication types. Select
NONE, because we are handling authentication ourselves. Then, clickSave. You’ll see the function URL on the right side of your function overview:
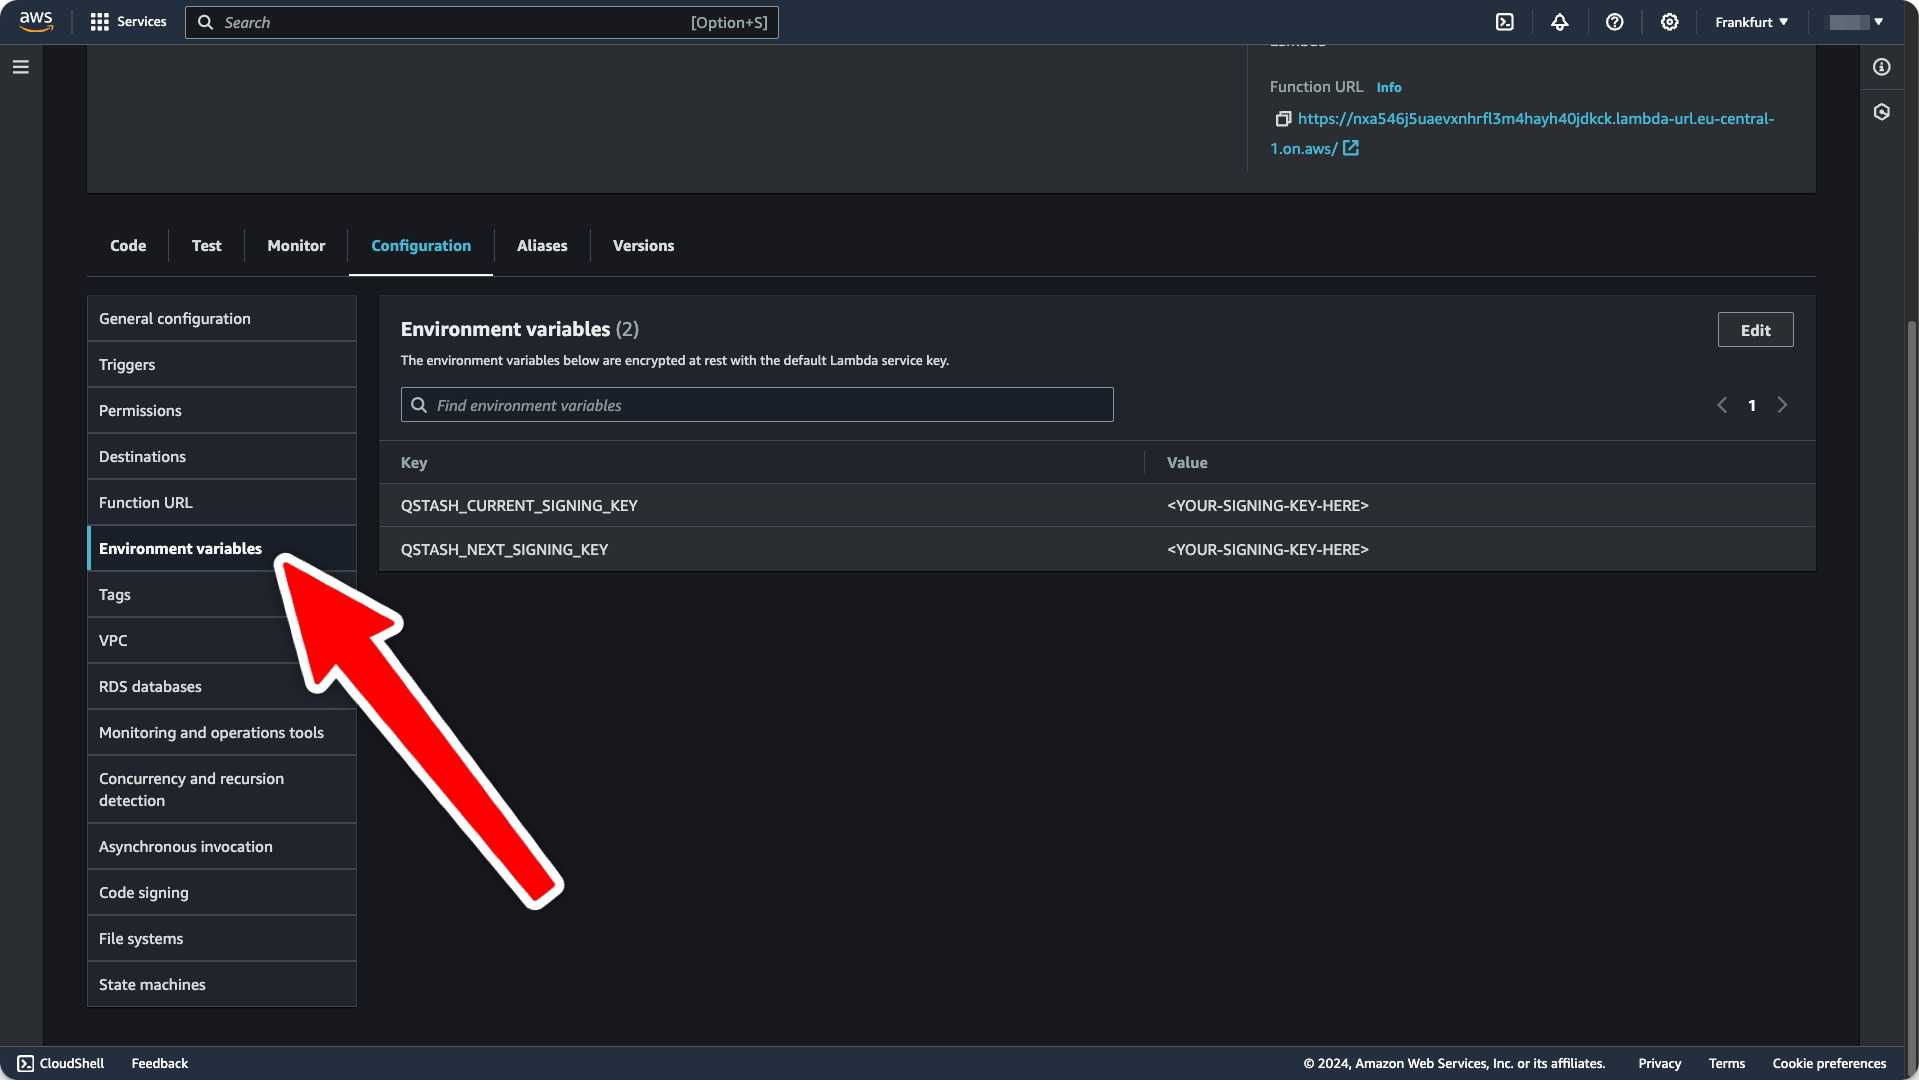
- Get your current and next signing key from the Upstash Console.
- Still under the
Configurationtab, set theQSTASH_CURRENT_SIGNING_KEYandQSTASH_NEXT_SIGNING_KEYenvironment variables:
- Add the following script to your
package.jsonfile to build and zip your code:
package.json
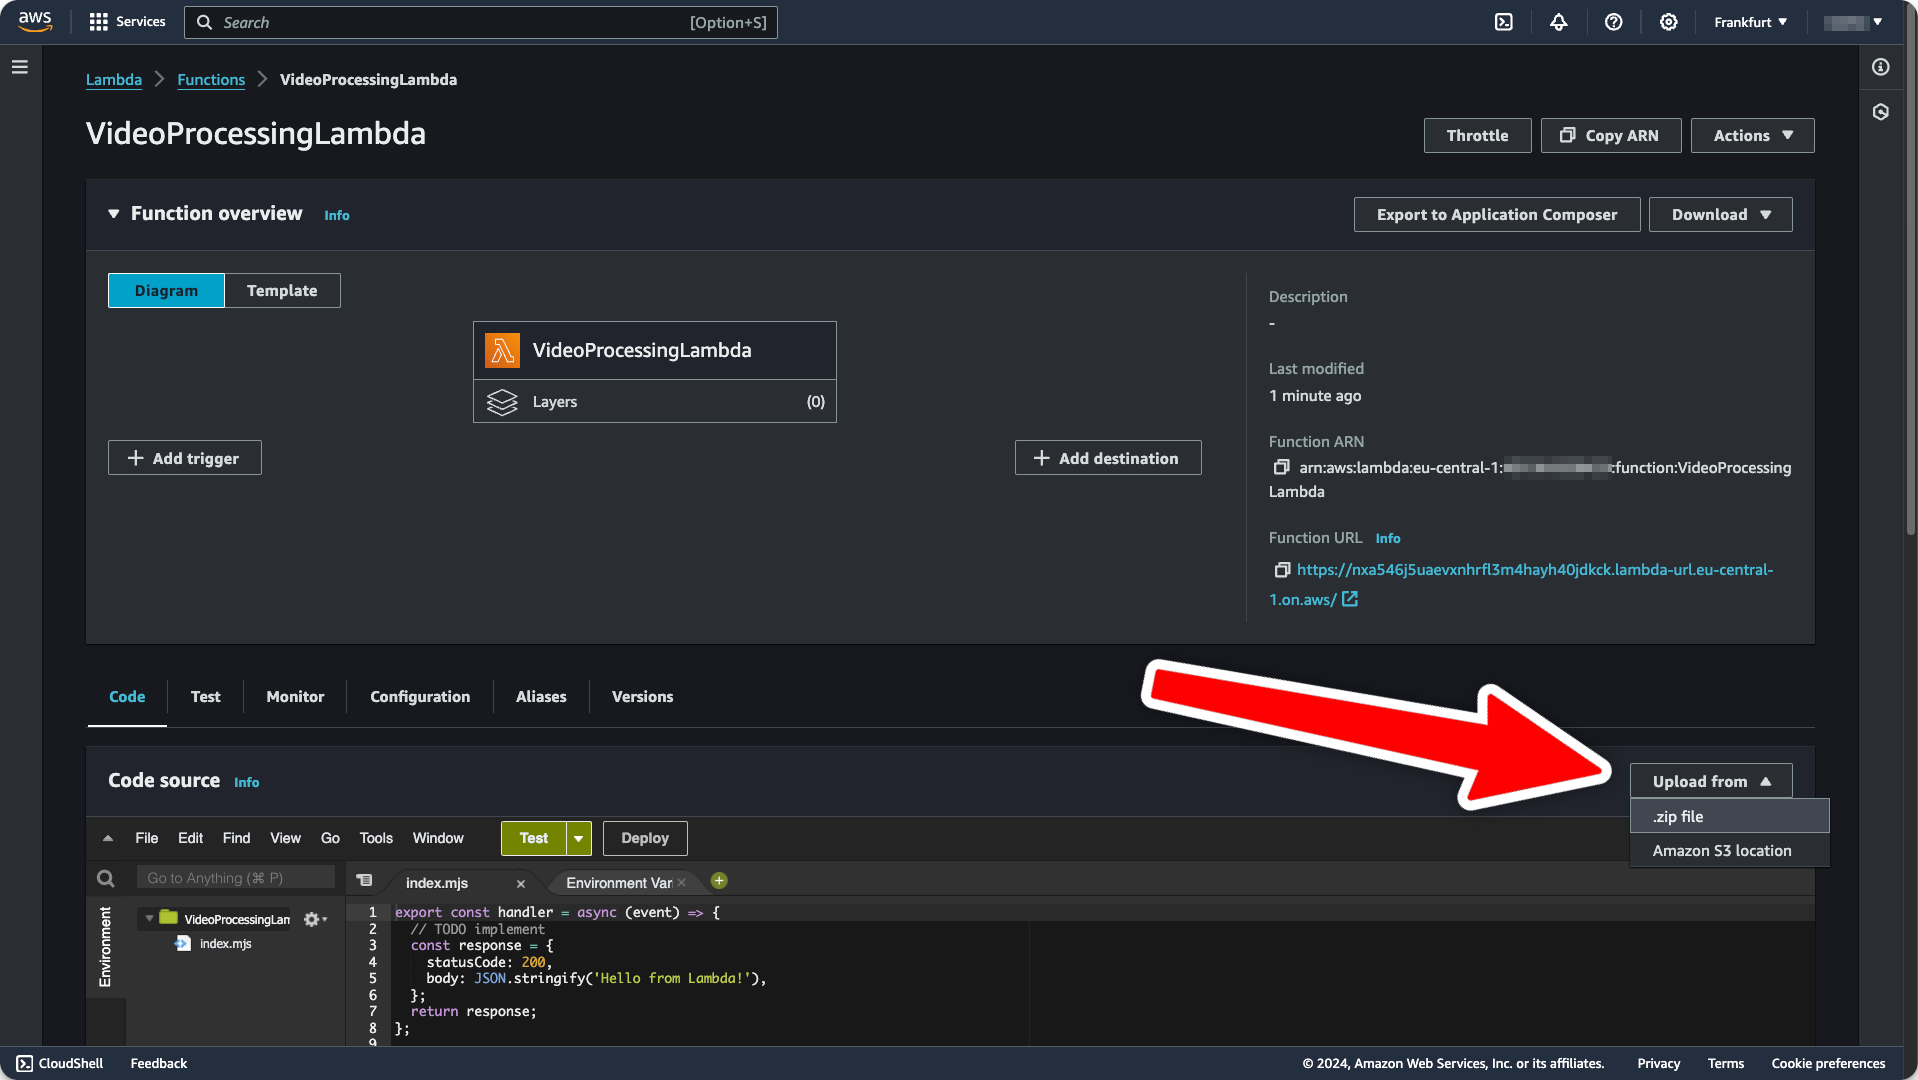
- Click the
Upload frombutton for your Lambda and deploy the code to AWS. Select./dist/index.zipas the upload file.
Testing the Integration
To make sure everything works as expected, navigate to your QStash request builder and send a request to your freshly deployed Lambda function: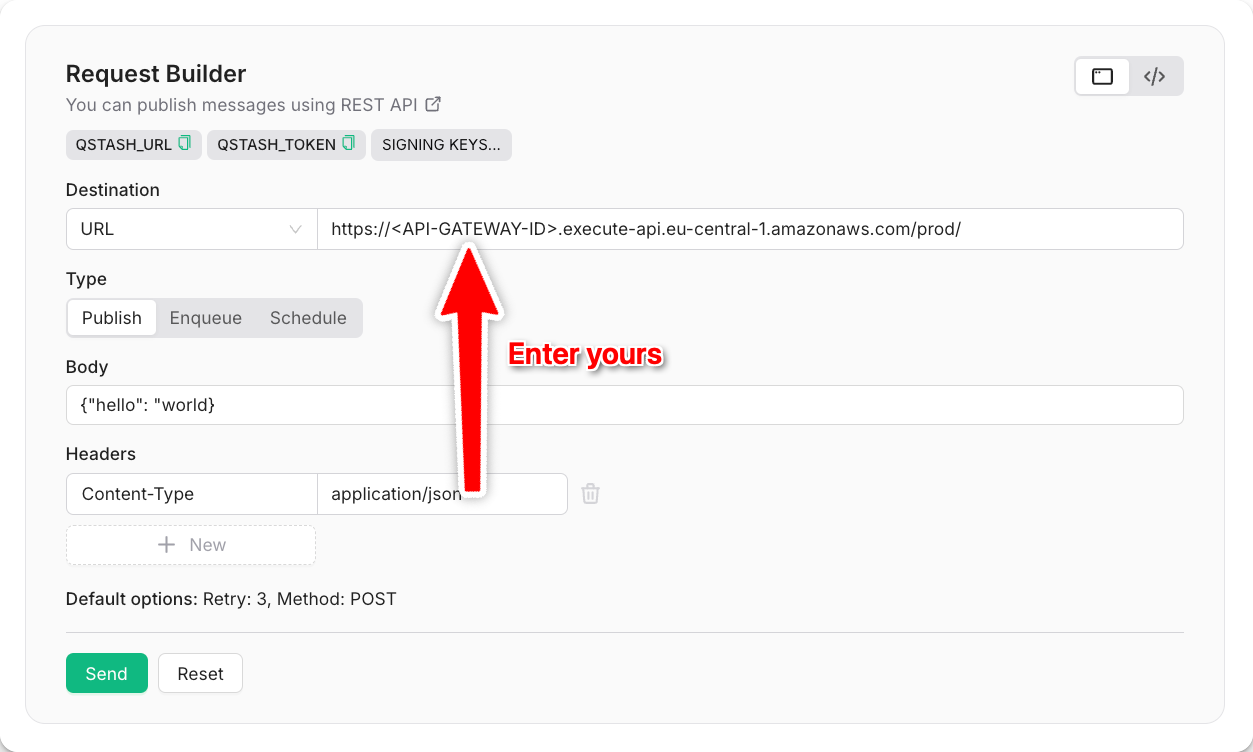
Terminal