Quickstart: Upstash Redis in Next 15
1. Install package
In your Next.js app, install our@upstash/redis package:
2. Connect to Redis
-
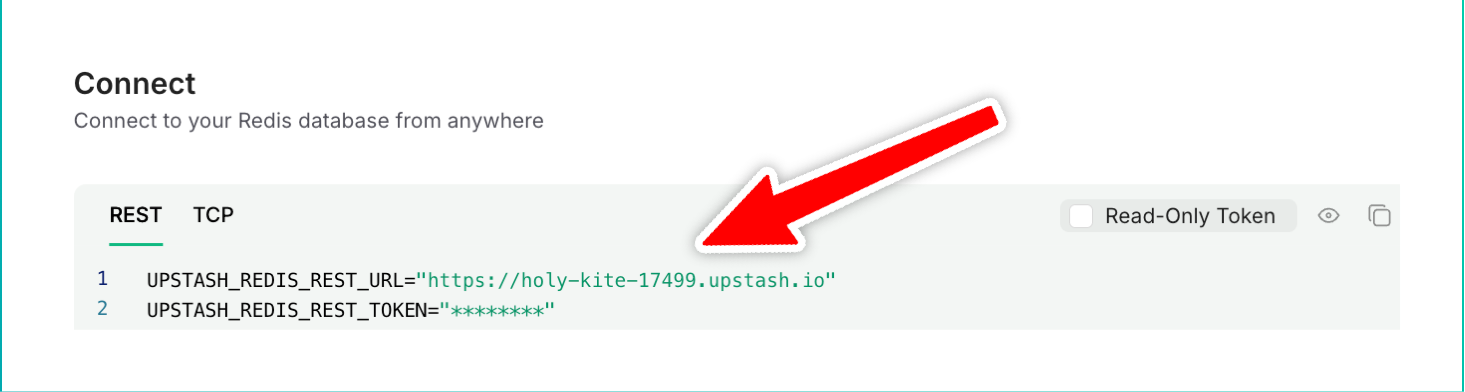
Grab your Redis credentials from the Upstash dashboard
-
Paste them into your Next environment variables:
.env
-
Create a Redis instance, for example in
lib/redis.tslib/redis.ts
3. Using our Redis Client
We can now connect to Upstash Redis from any server component or API route. For example:app/page.tsx
count doesn’t exist yet, let’s create a Next API route to populate it.
4. Storing data in Redis
Let’s create a super simple API that, every time when called, increments an integer value we callcount. This is the same value we display in our page above:
app/api/counter/route.ts

Examples
GitHub Repository
You can find the project source code on GitHub.
If you’re already on Vercel, you can create Upstash projects directly through Vercel: Read more.