Integration ScopeUpstash Datadog Integration covers Prod Pack.
Step 1: Log in to Your Datadog Account
- Go to Datadog and sign in.
Step 2: Install Upstash Application
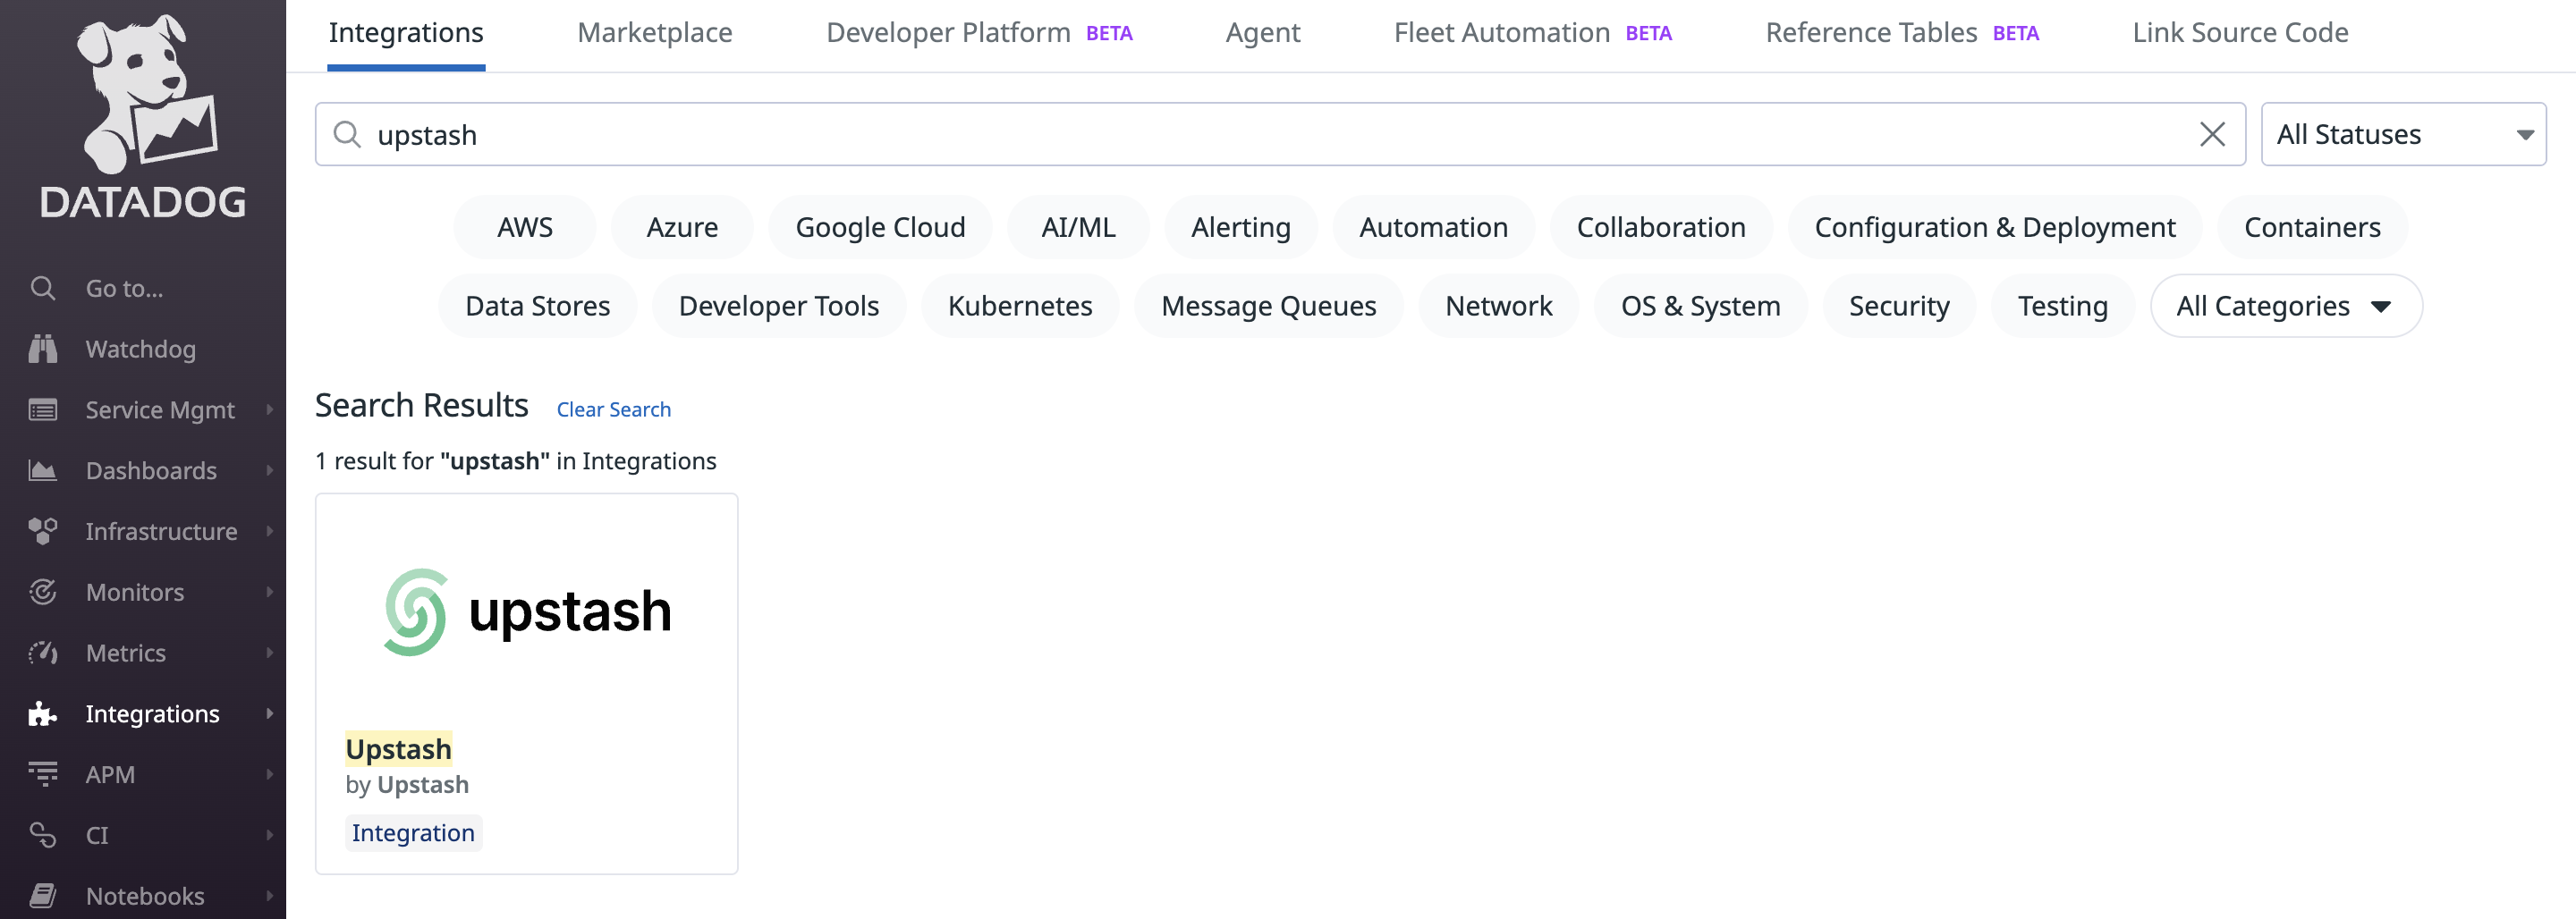
- In Datadog, open the Integrations page.
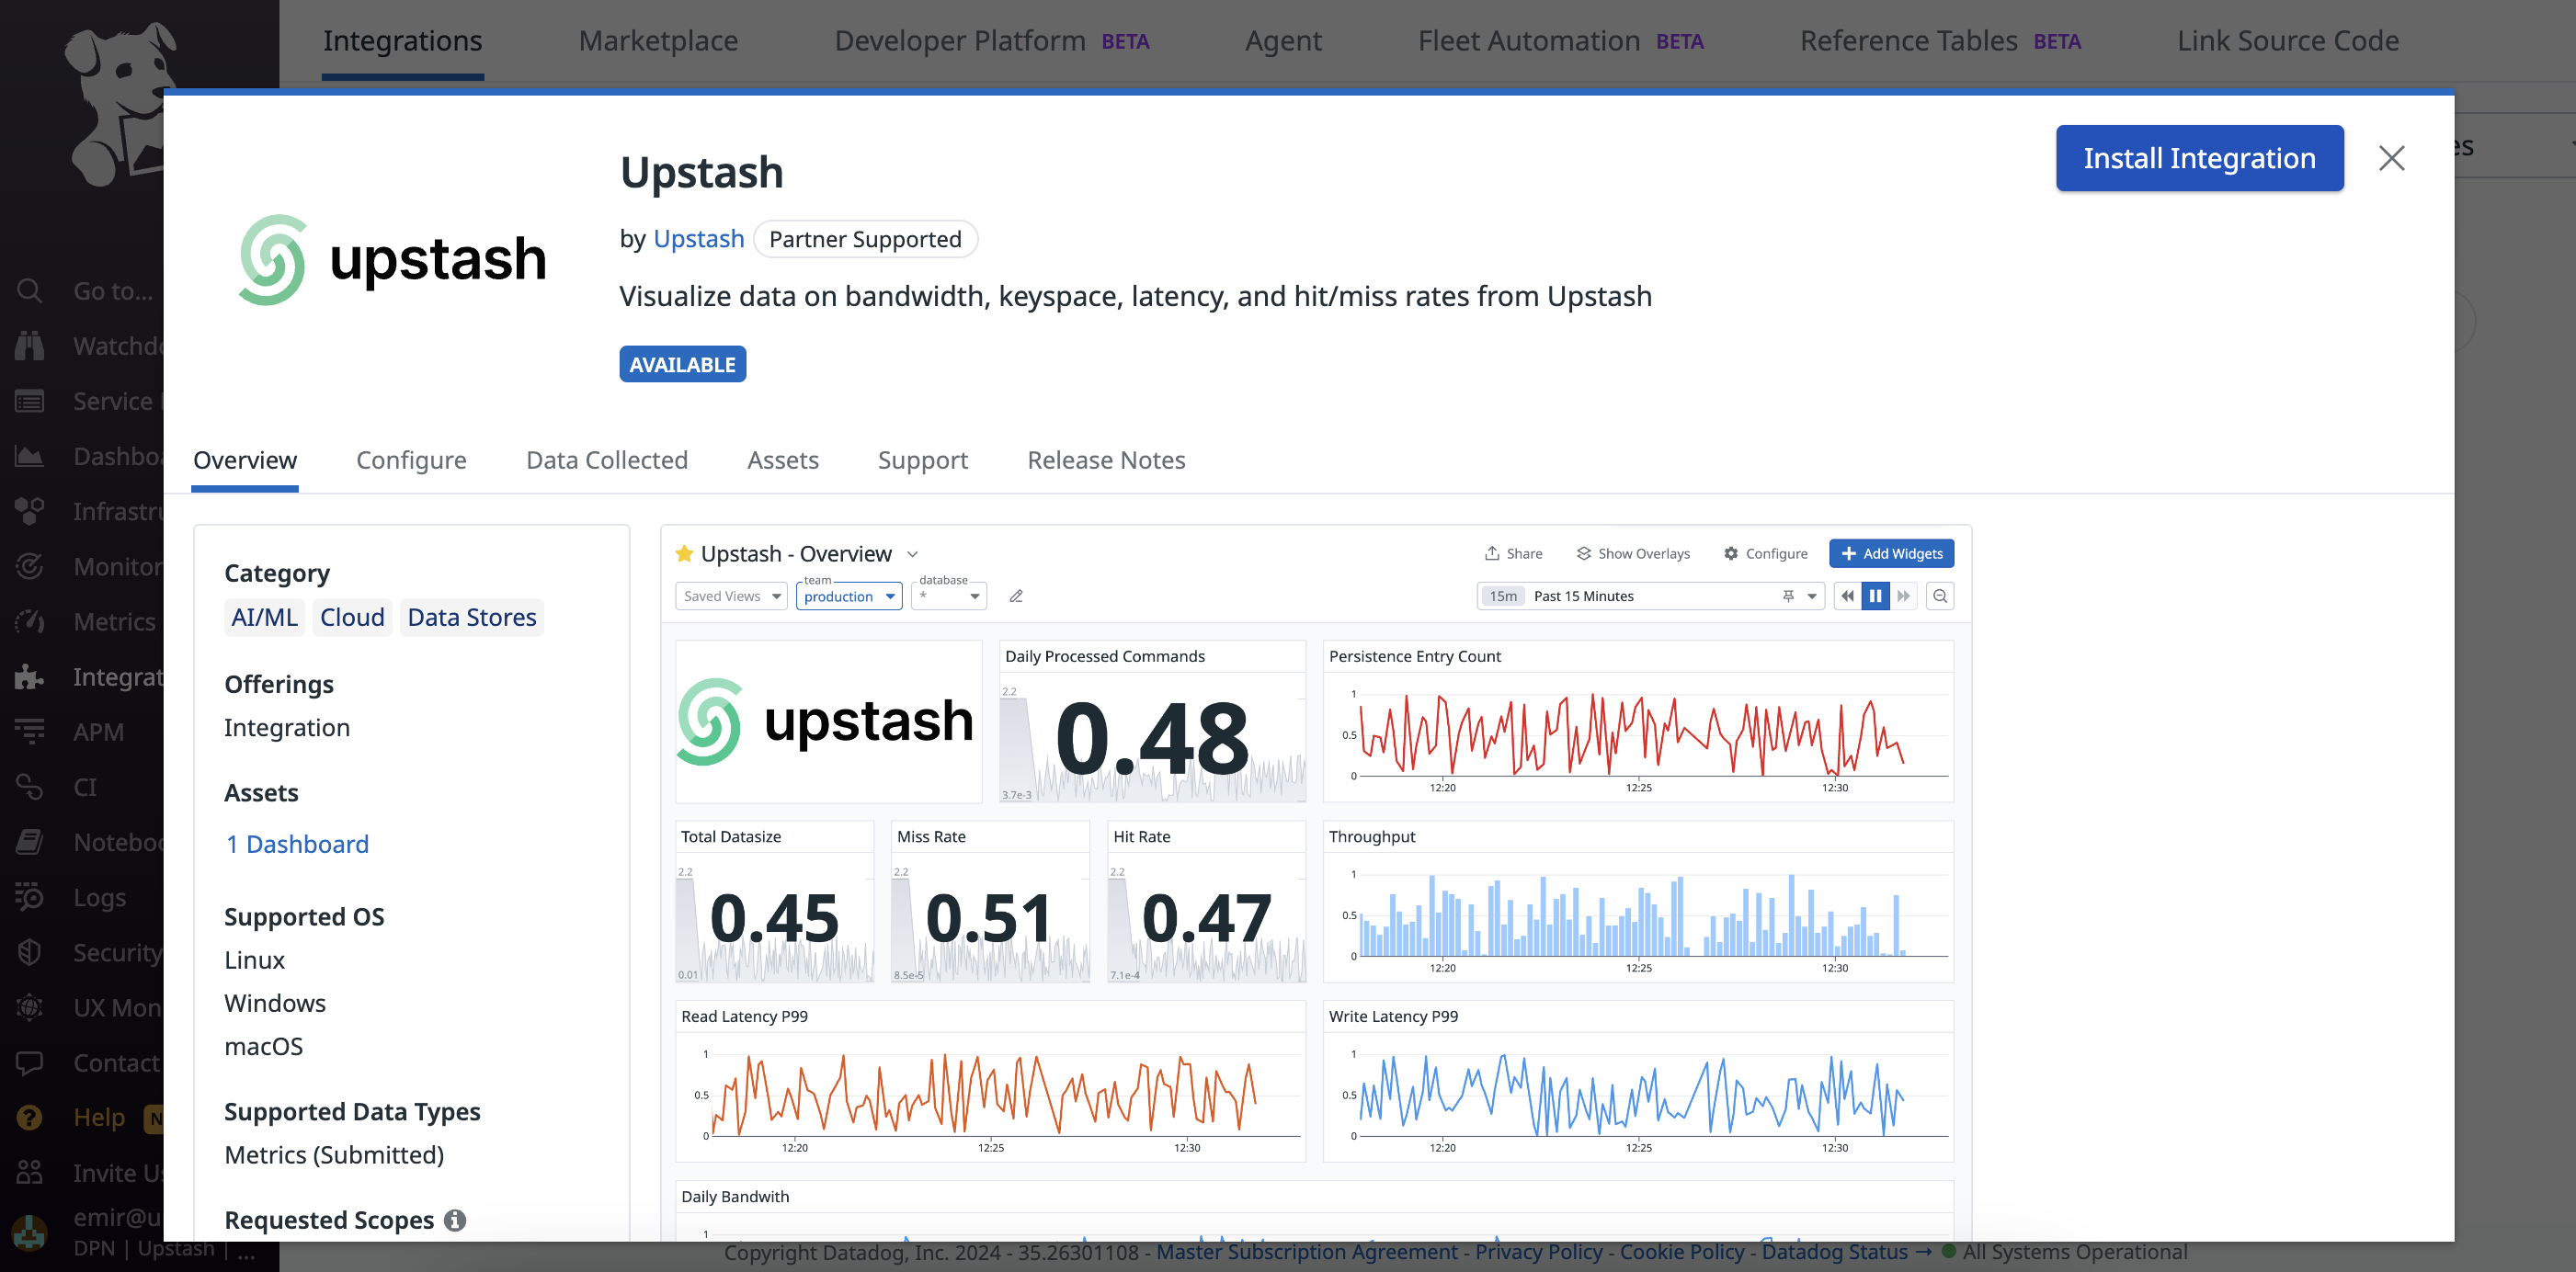
- Search for “Upstash” and open the integration.
Step 3: Connect Accounts
After installing Upstash, click “Connect Accounts”. Datadog will redirect you to Upstash to complete account linking.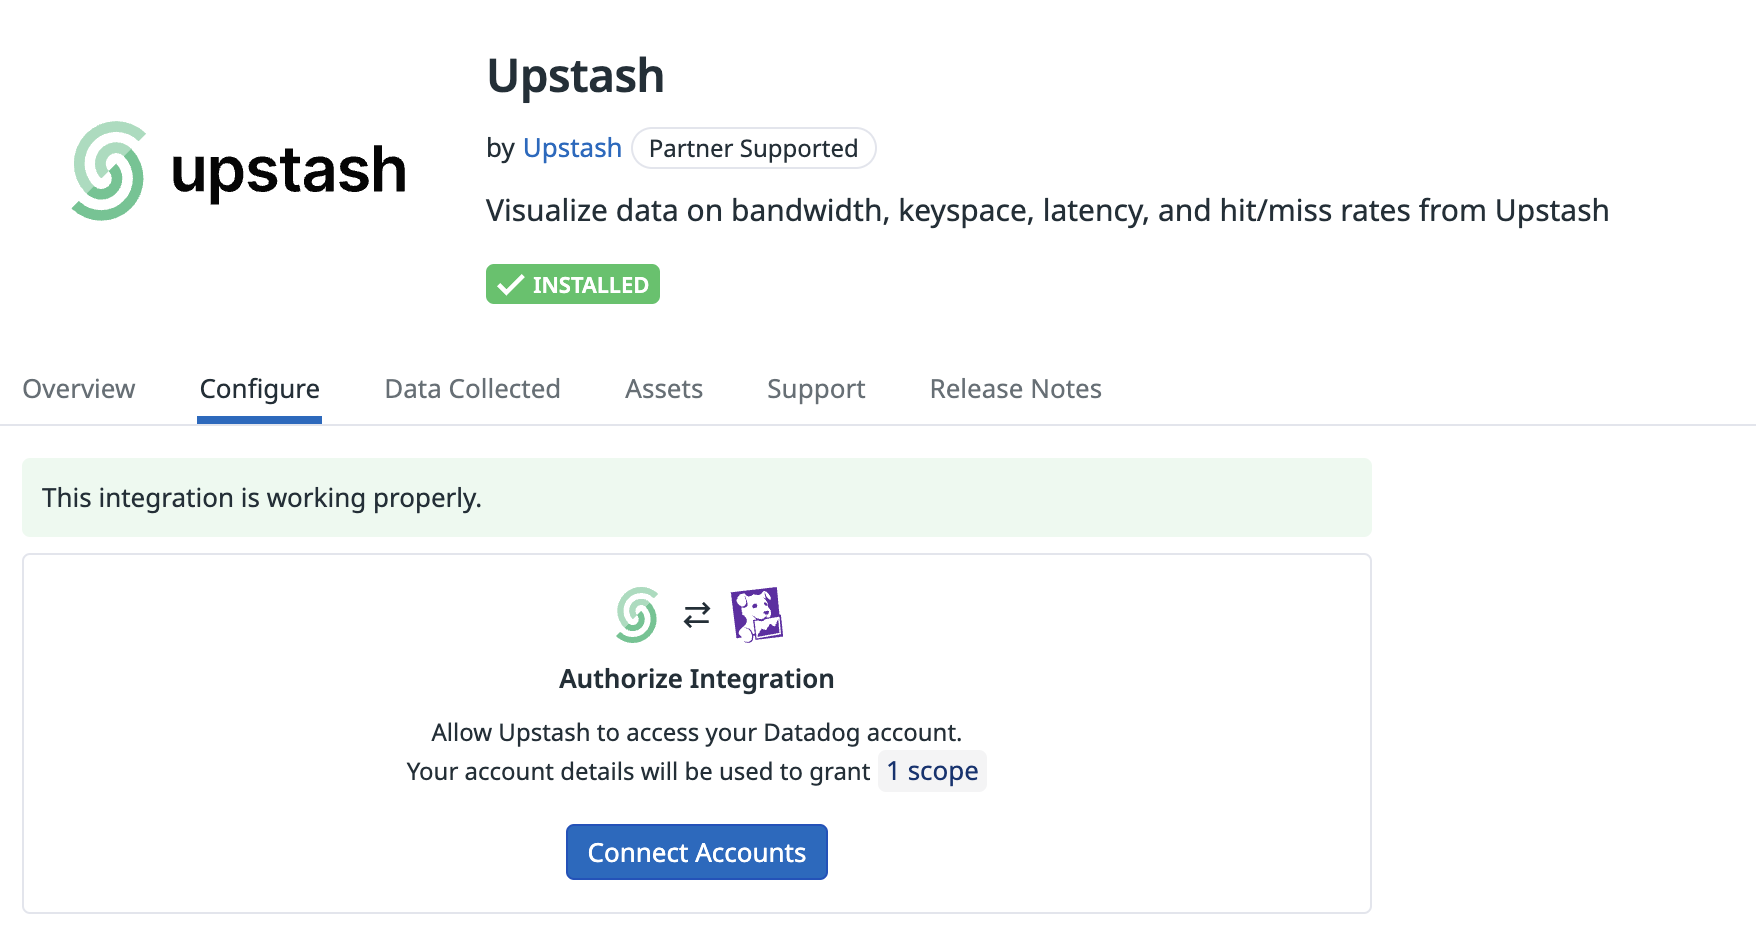
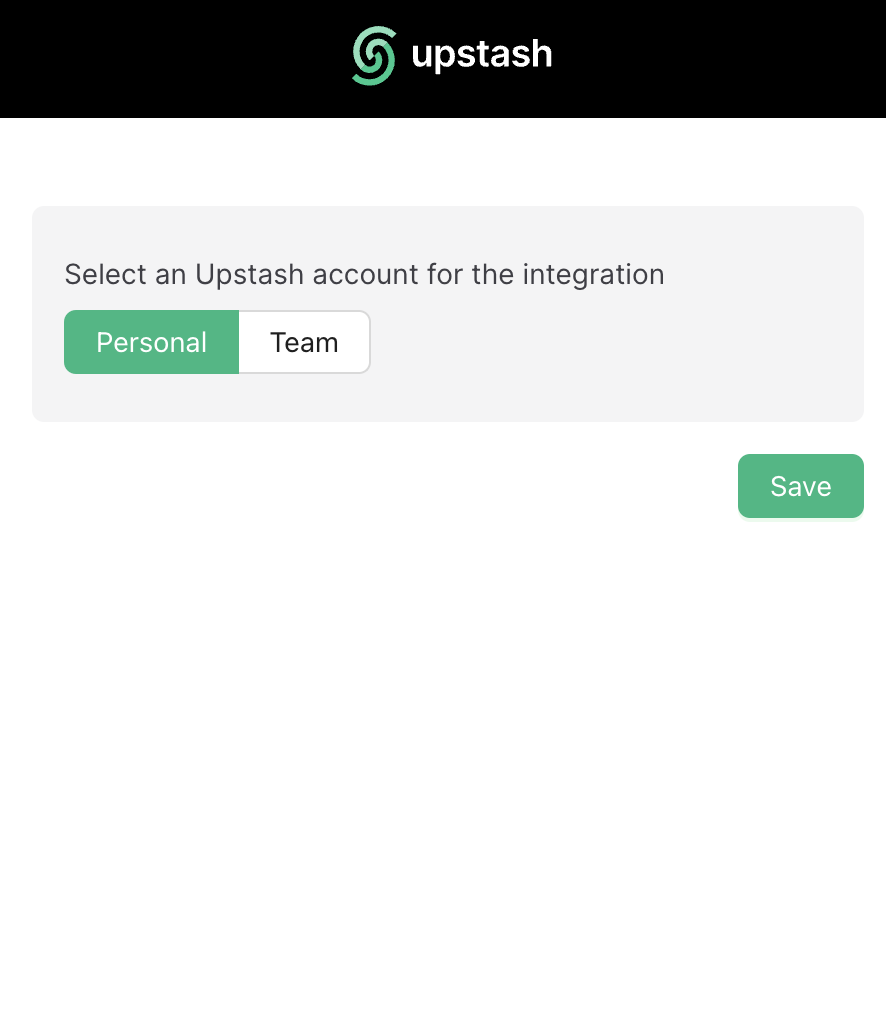
Step 4: Select Account to Integrate
- On Upstash, select the Datadog account to integrate.
- Personal and team accounts are supported.
- The integration can be established once at a time. To change the account scope (e.g., add/remove teams), re-establish the integration from scratch.

Step 5: Wait for Metrics Availability
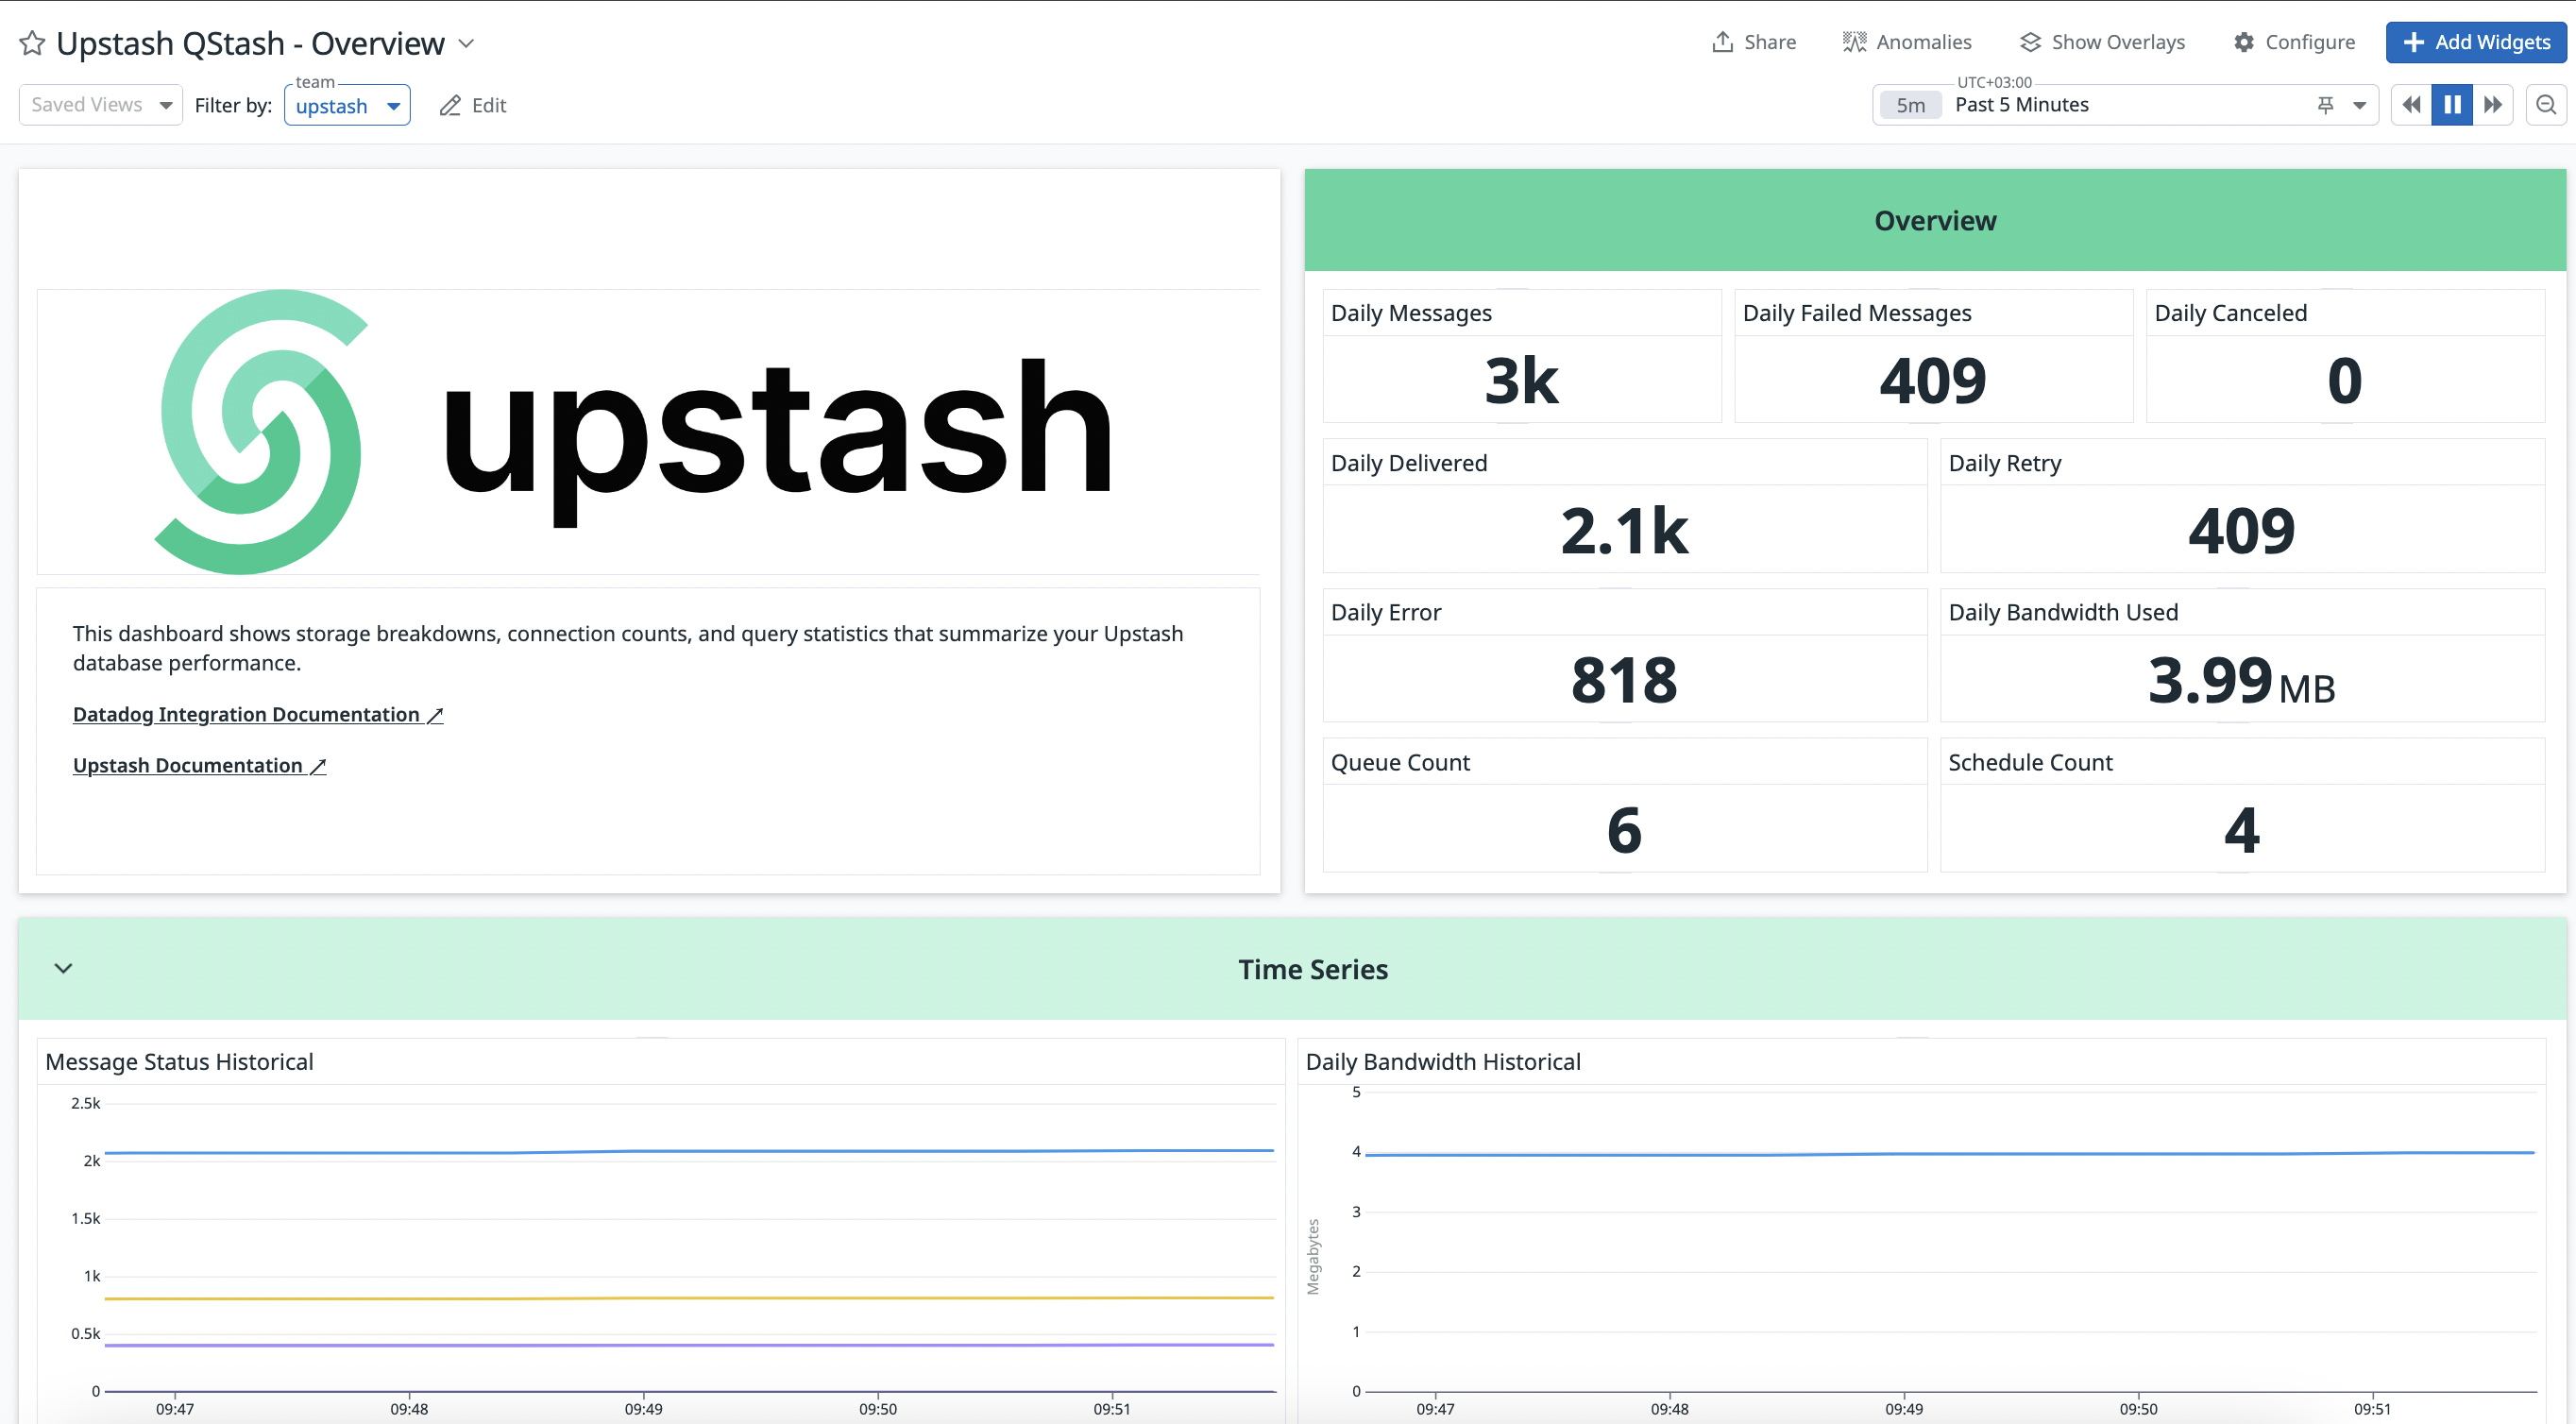
Once the integration is completed, metrics from QStash (publish counts, success/error rates, retries, DLQ, schedule executions) will start appearing in Datadog dashboards shortly.