Quickstart
In this quickstart we’re going to set up an Redis node in n8n using Upstash Redis, and go over an example use case step by step.Step 1: Get Your Upstash Redis Credentials
- Go to Upstash Console and create a Redis database if you don’t have any
- Note down your credentials in the details page, we will be using those to connect Redis
Node in n8n to our Upstash Redis instance.

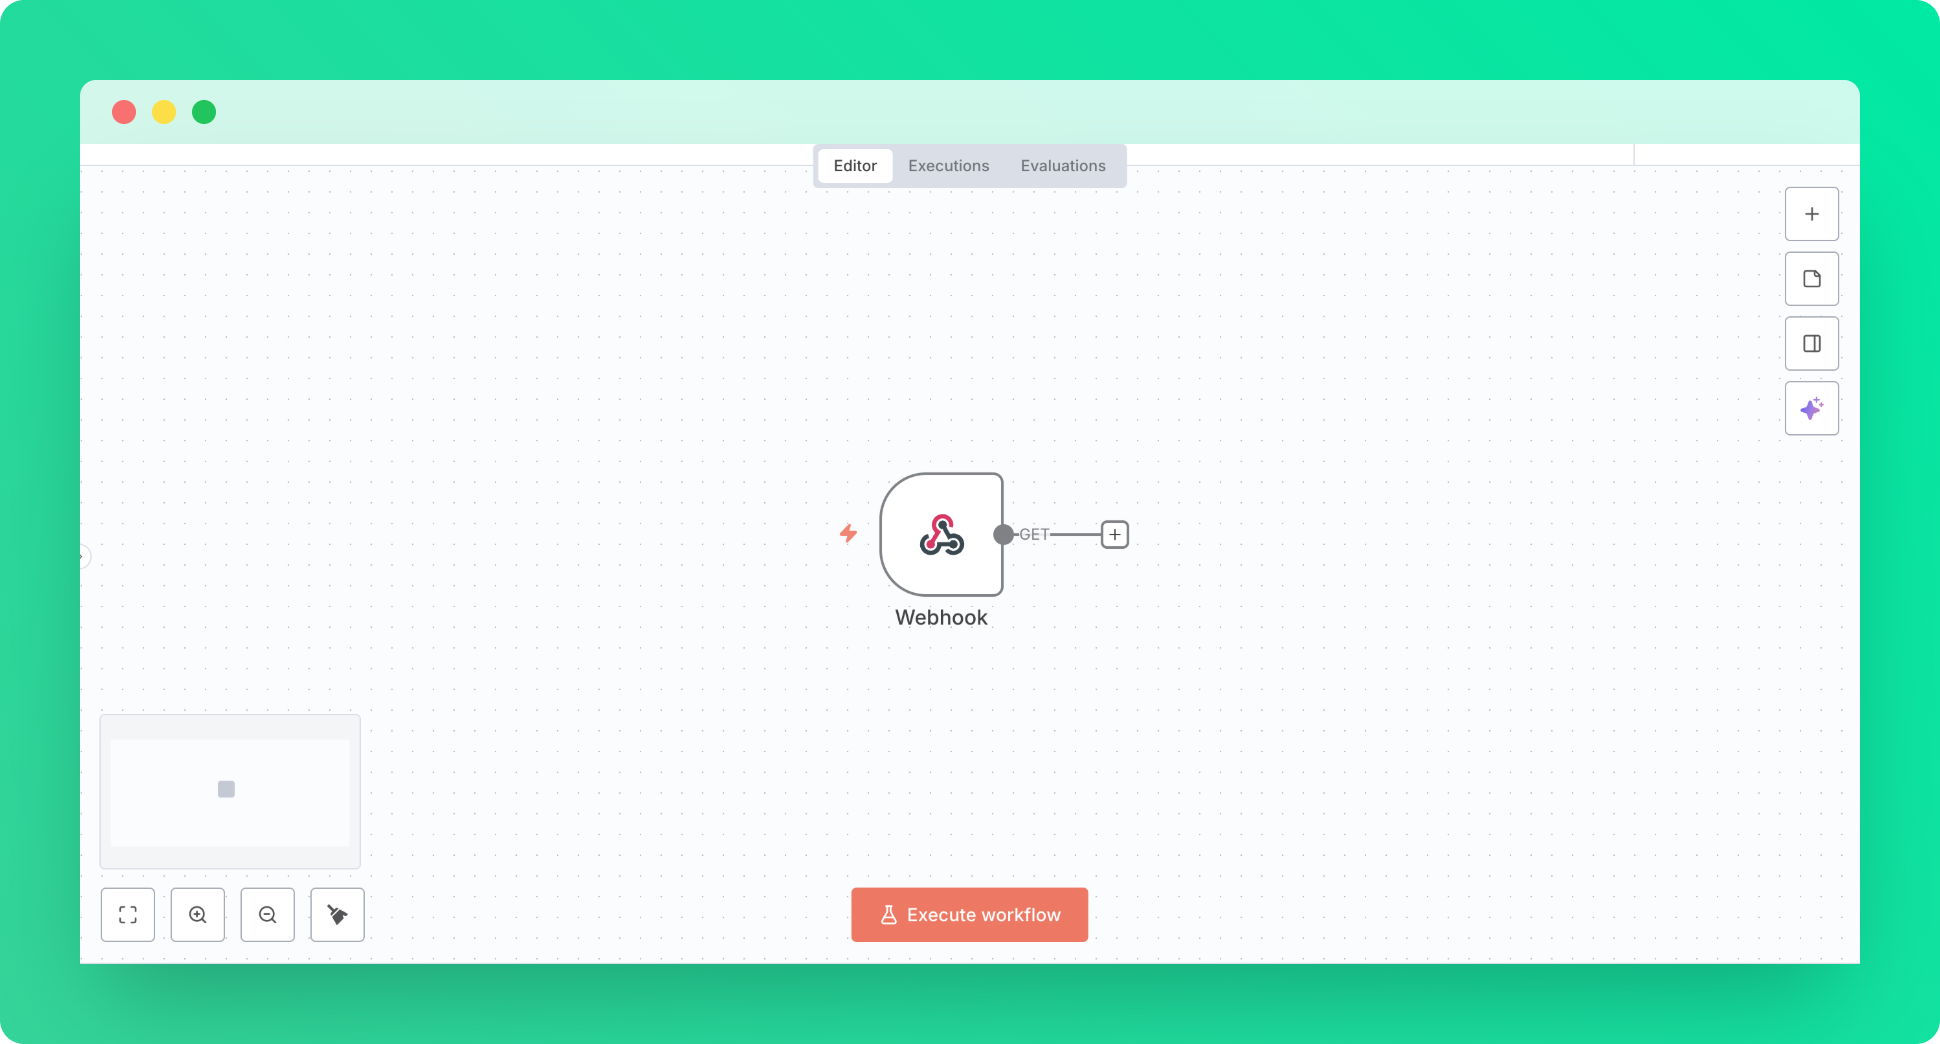
Step 2: Set Up an n8n Project
- Go to https://n8n.io and create a new project
- Create a Trigger as Webhook with default settings, this will be our entry point. Our Redis instances gonna watch the visits to this url.
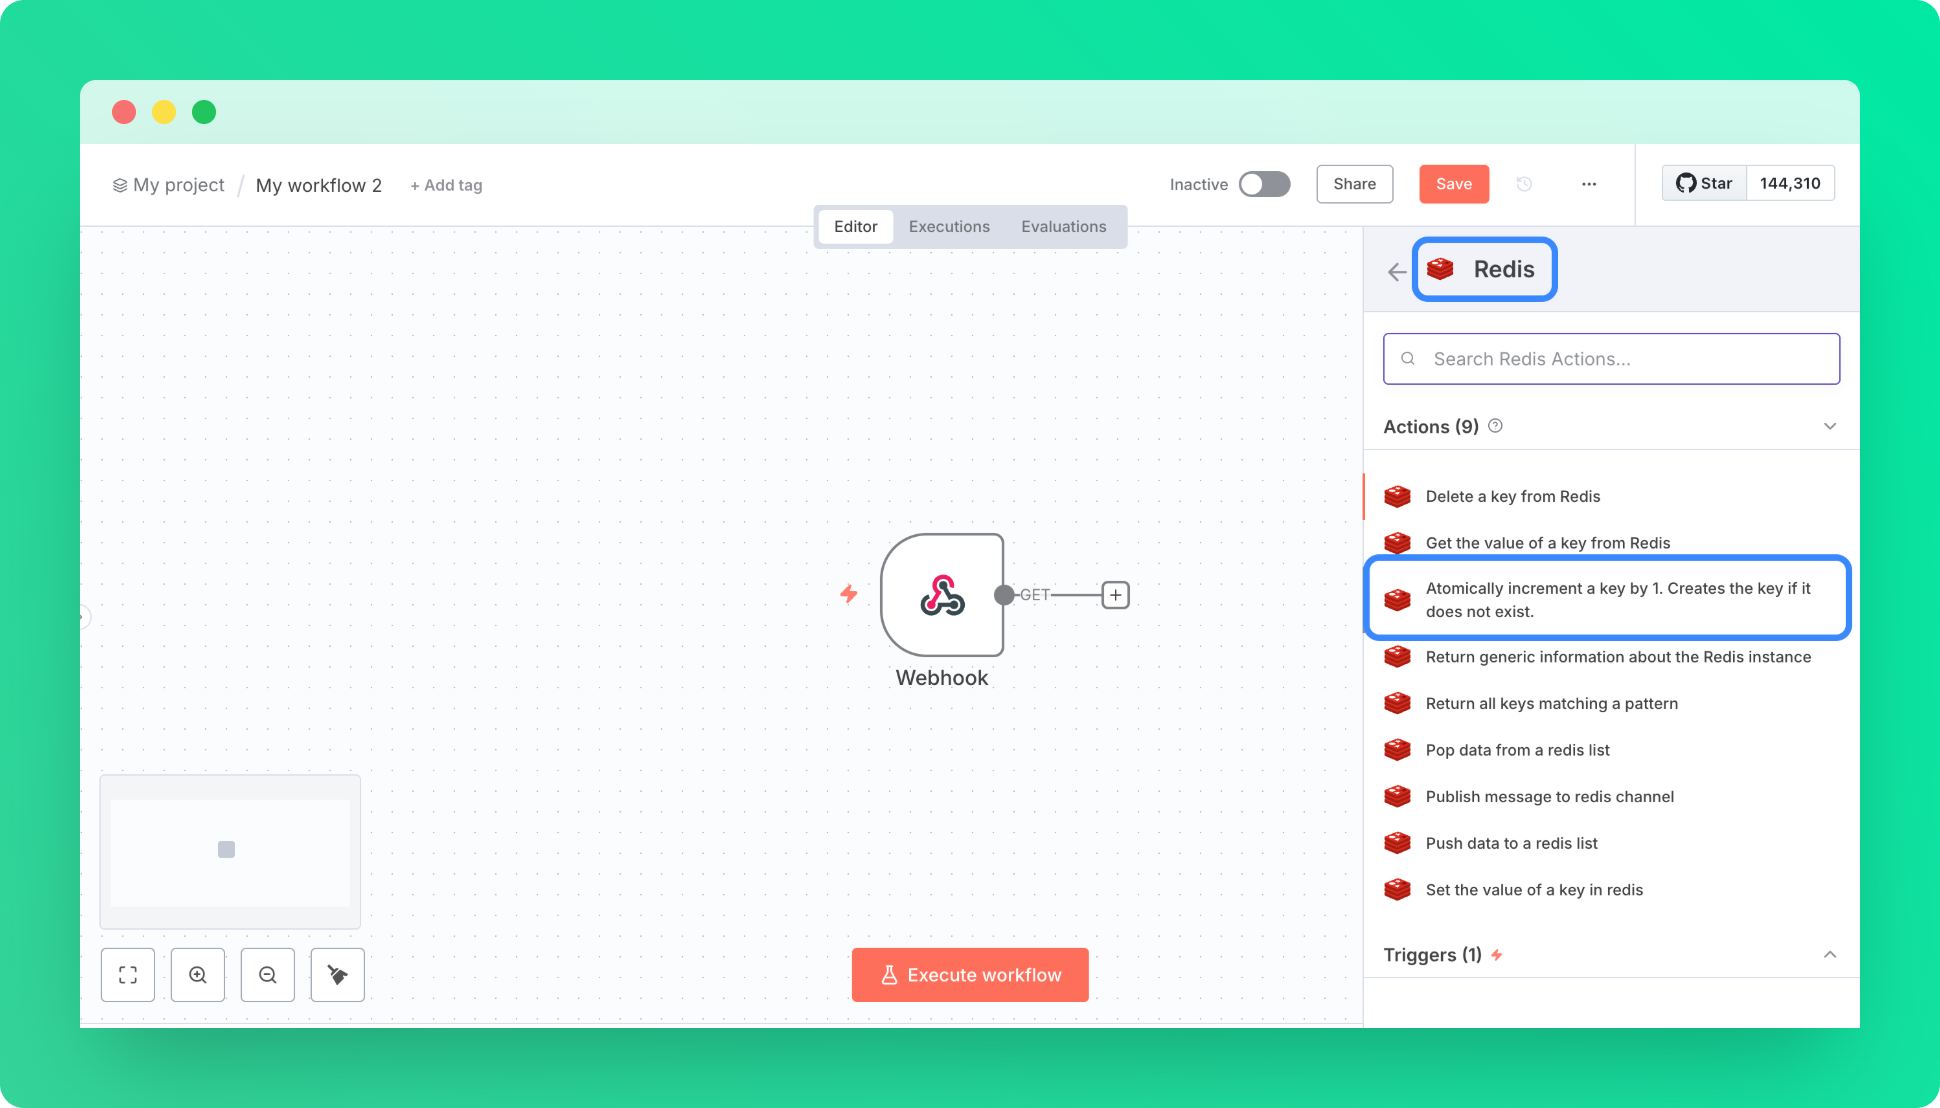
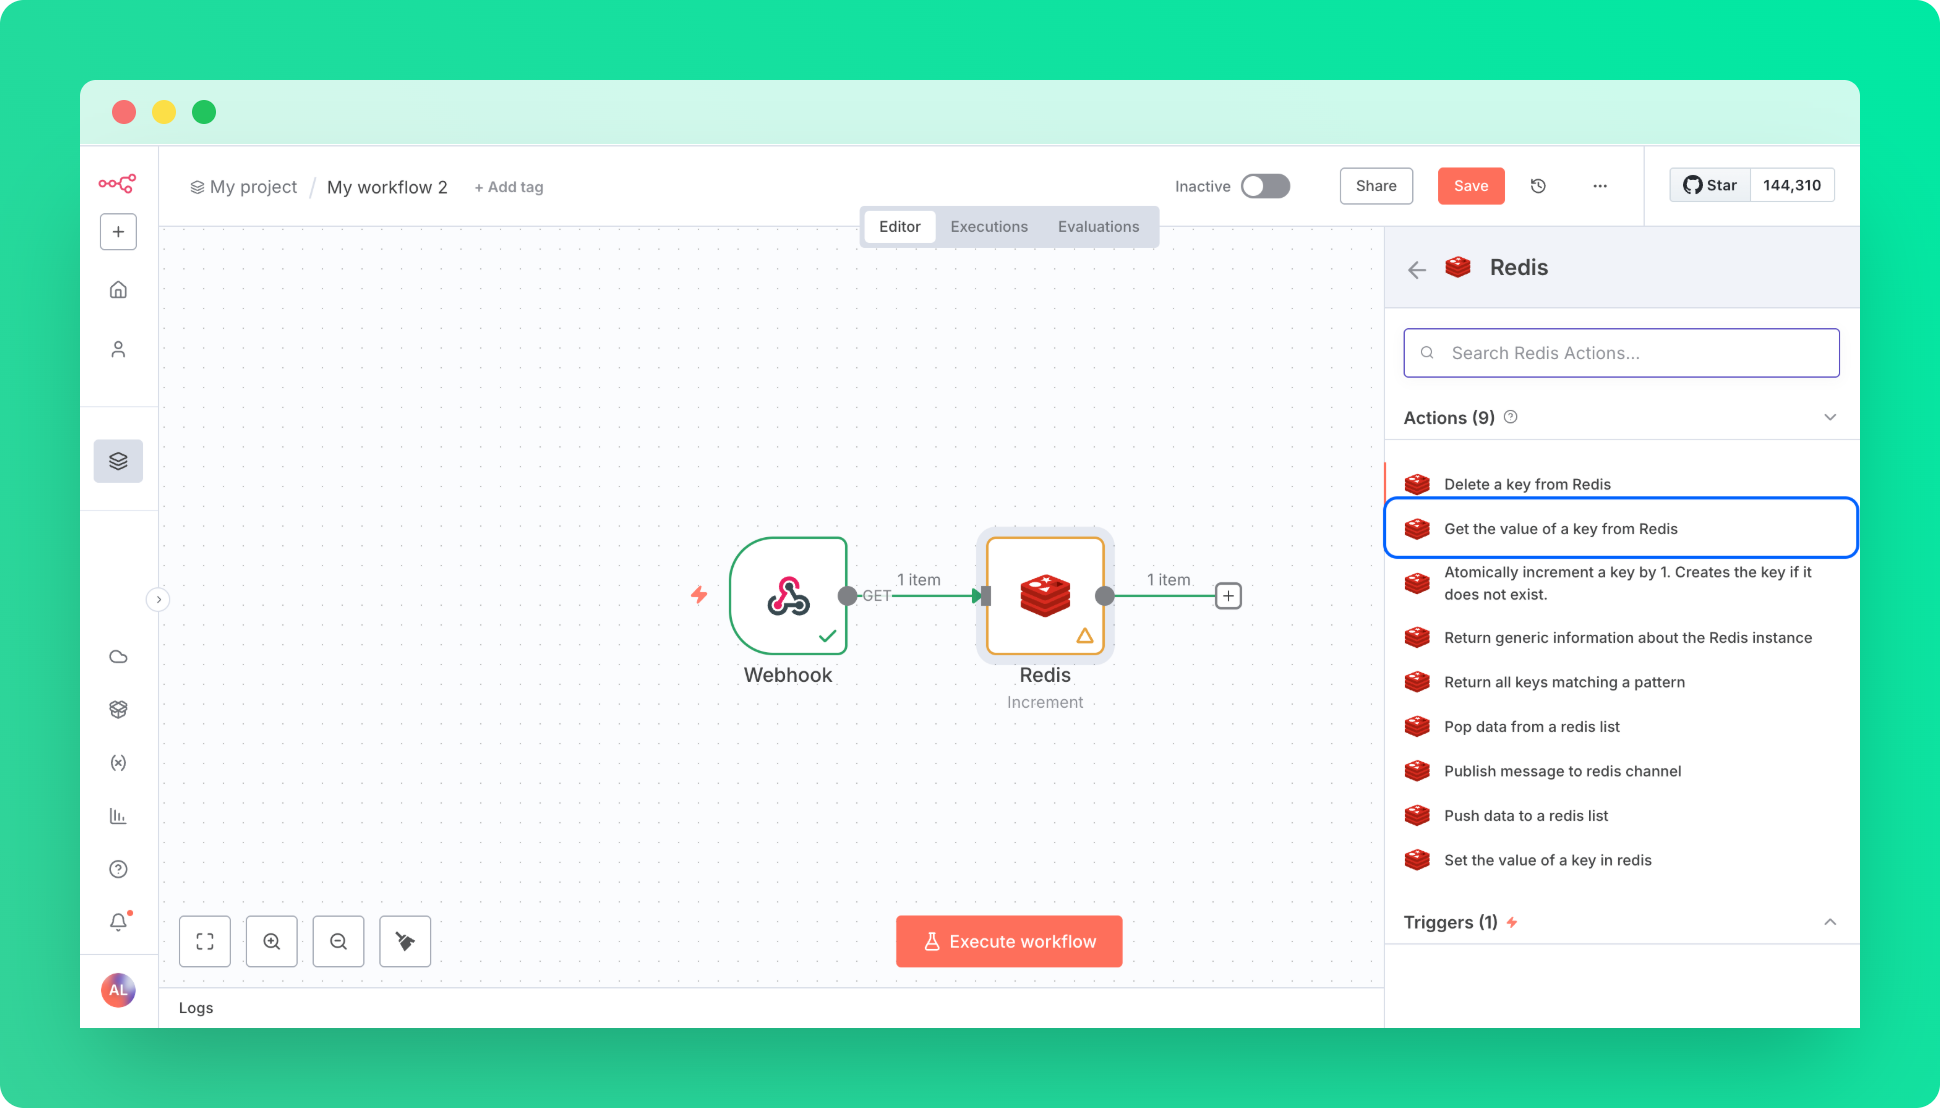
Step 3: Create a Redis Node
Now, Let’s create a redis node and connect it to our Upstash Redis instance-
Search for redis in nodes, and select increment action.
-
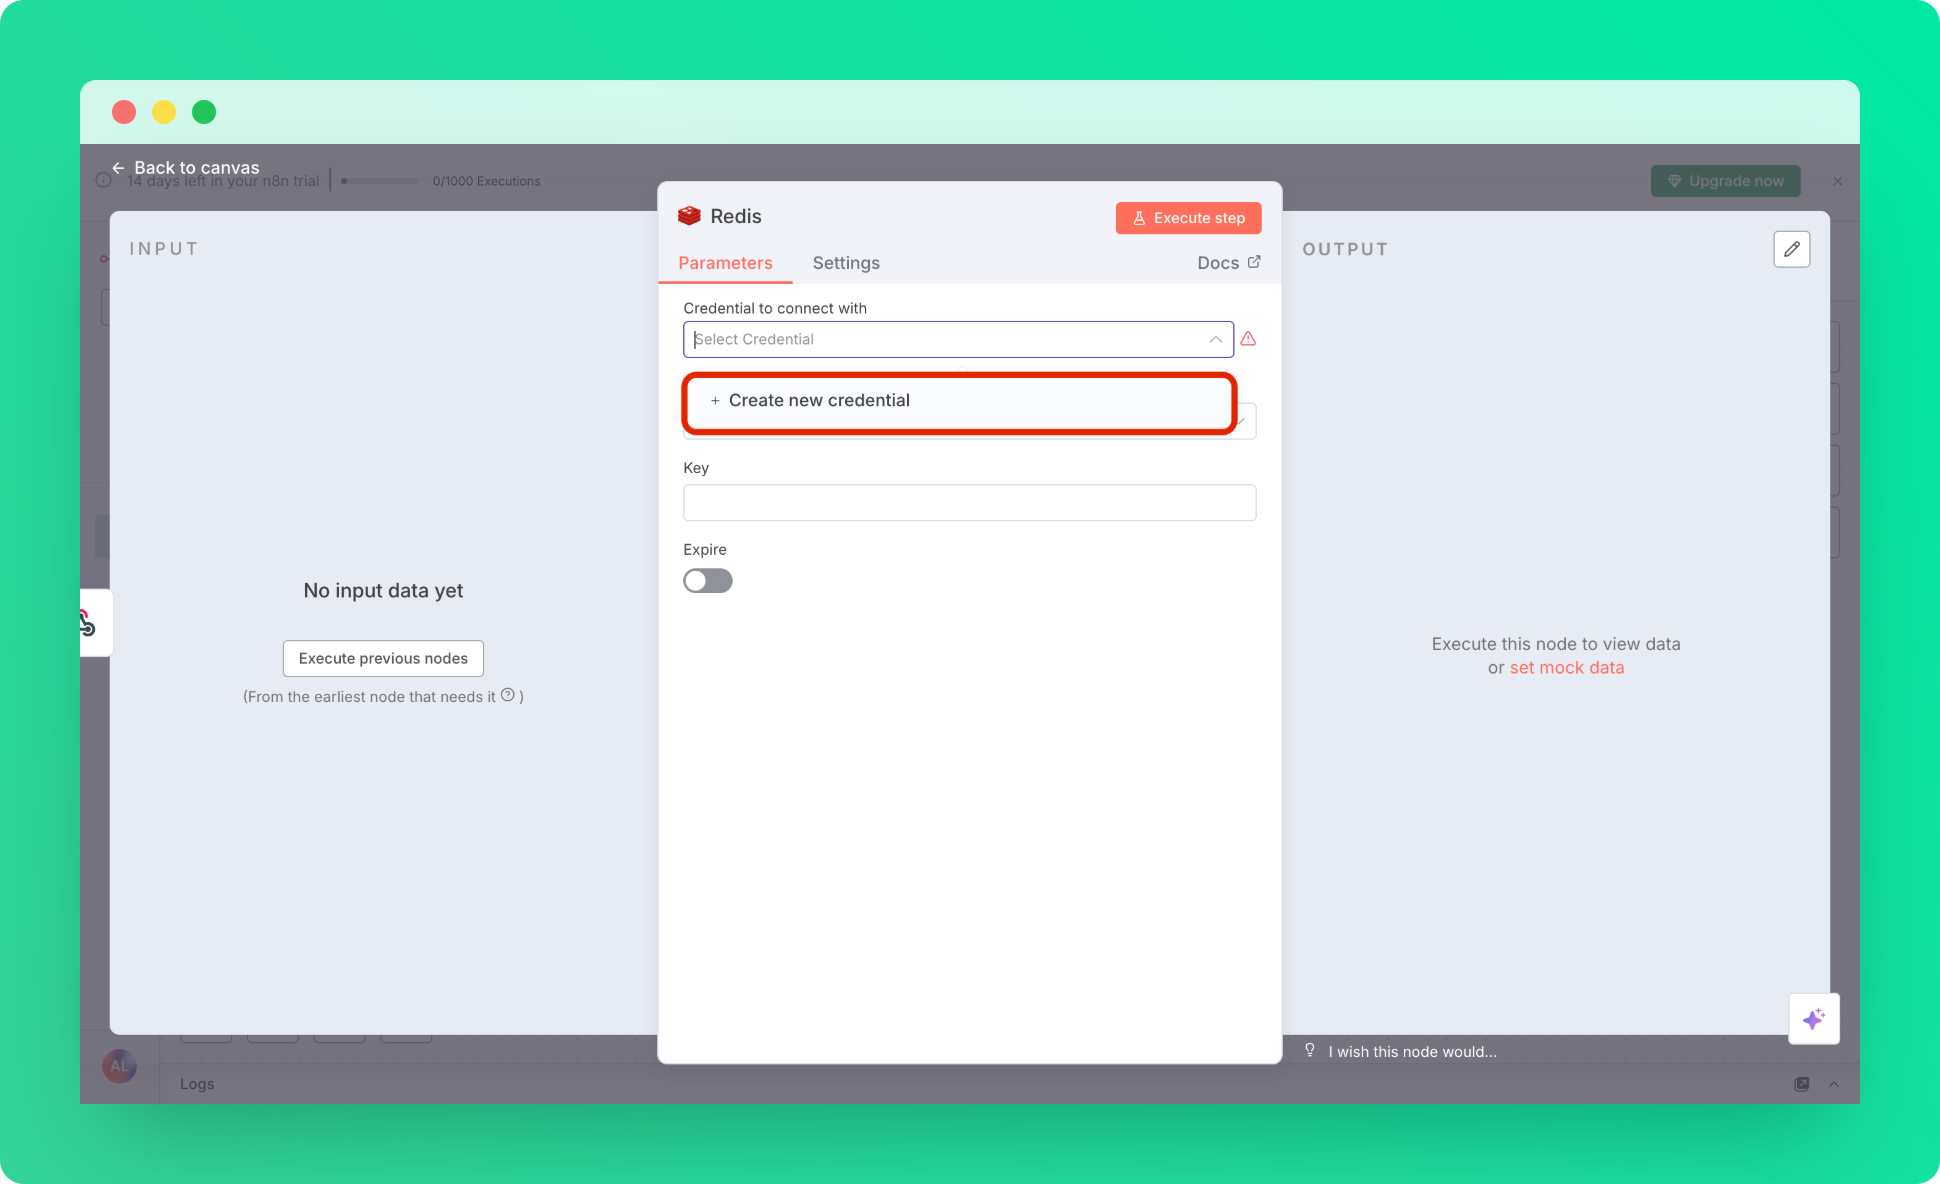
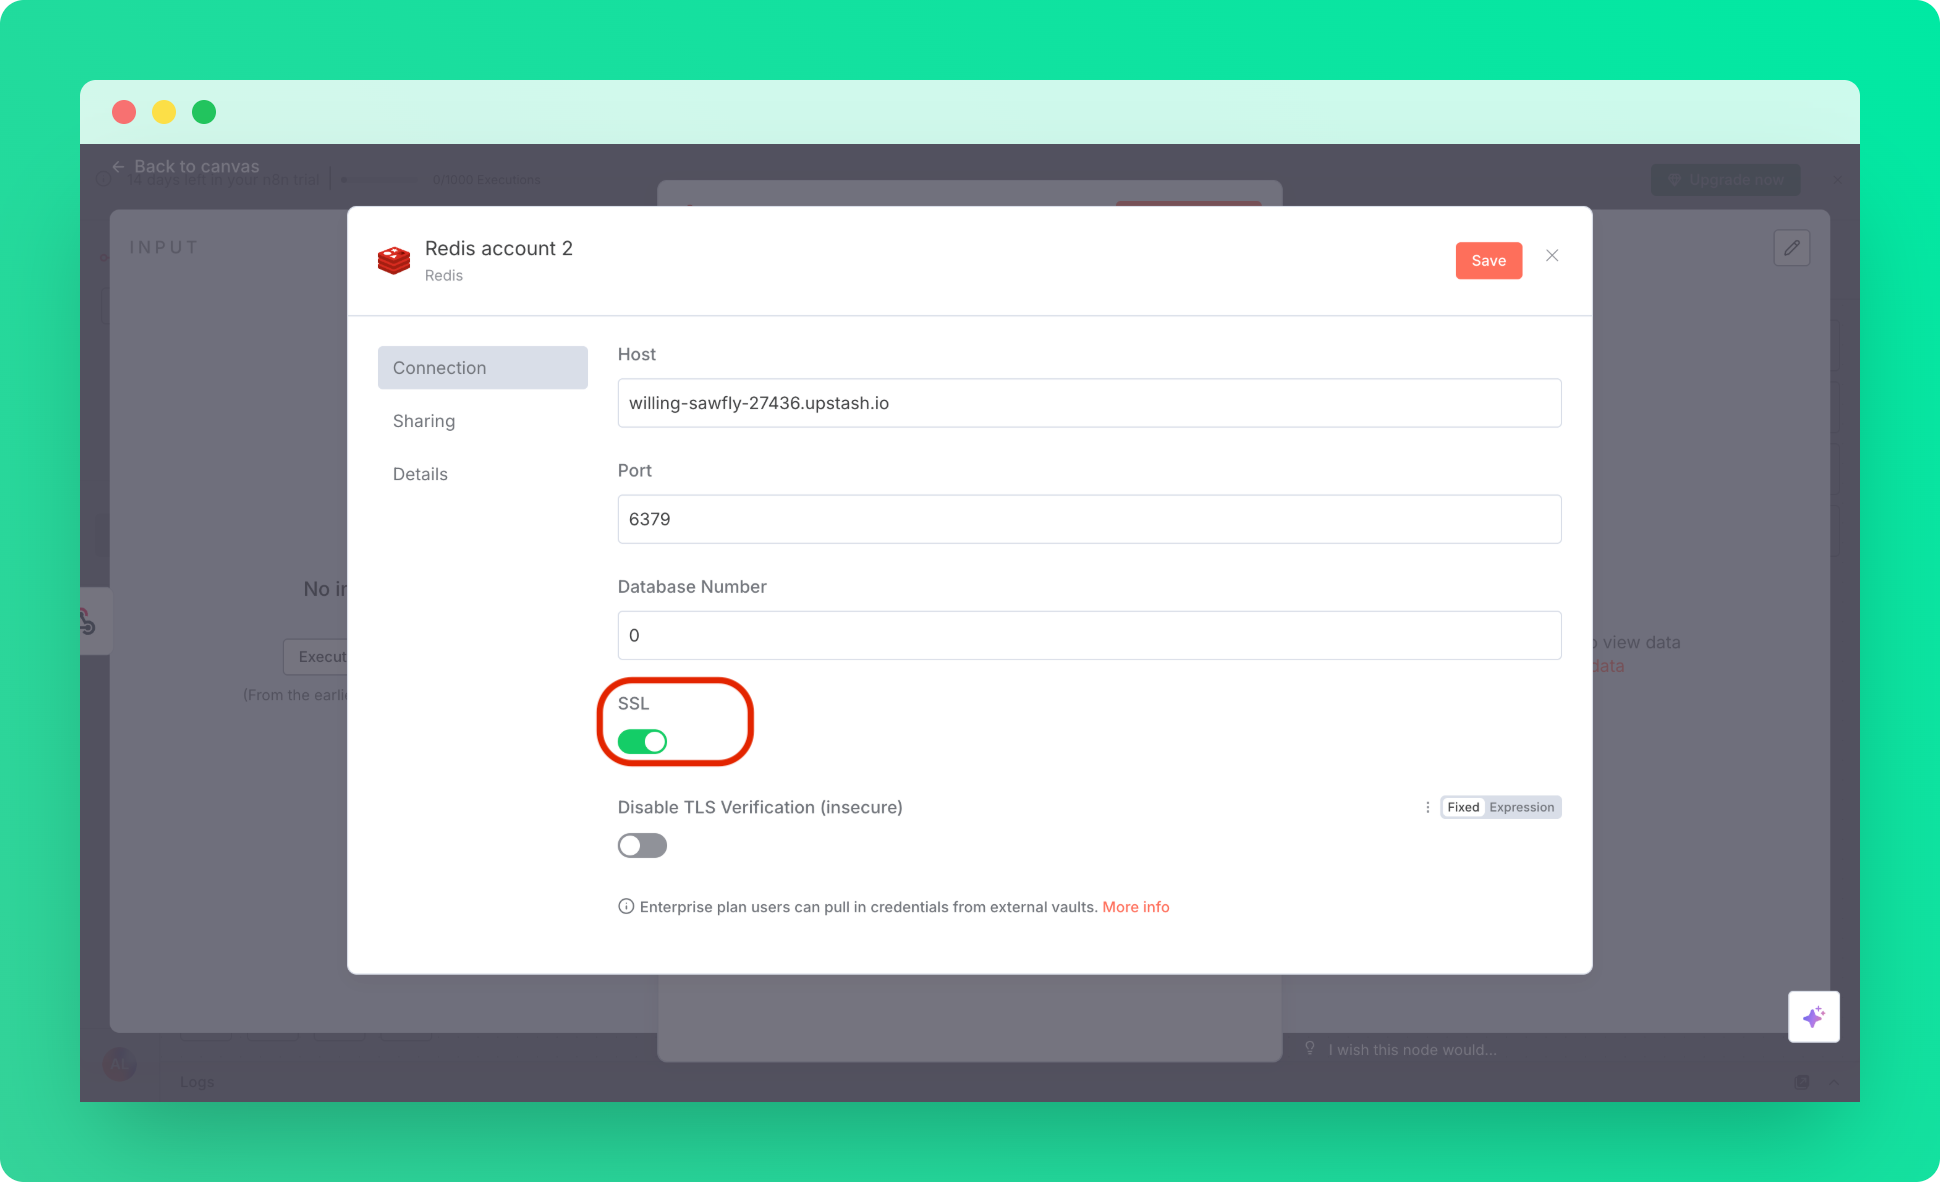
In the opening window, click select credentials, and create new credentials.
Later, for other redis nodes, this will be saved and used automatically.
-
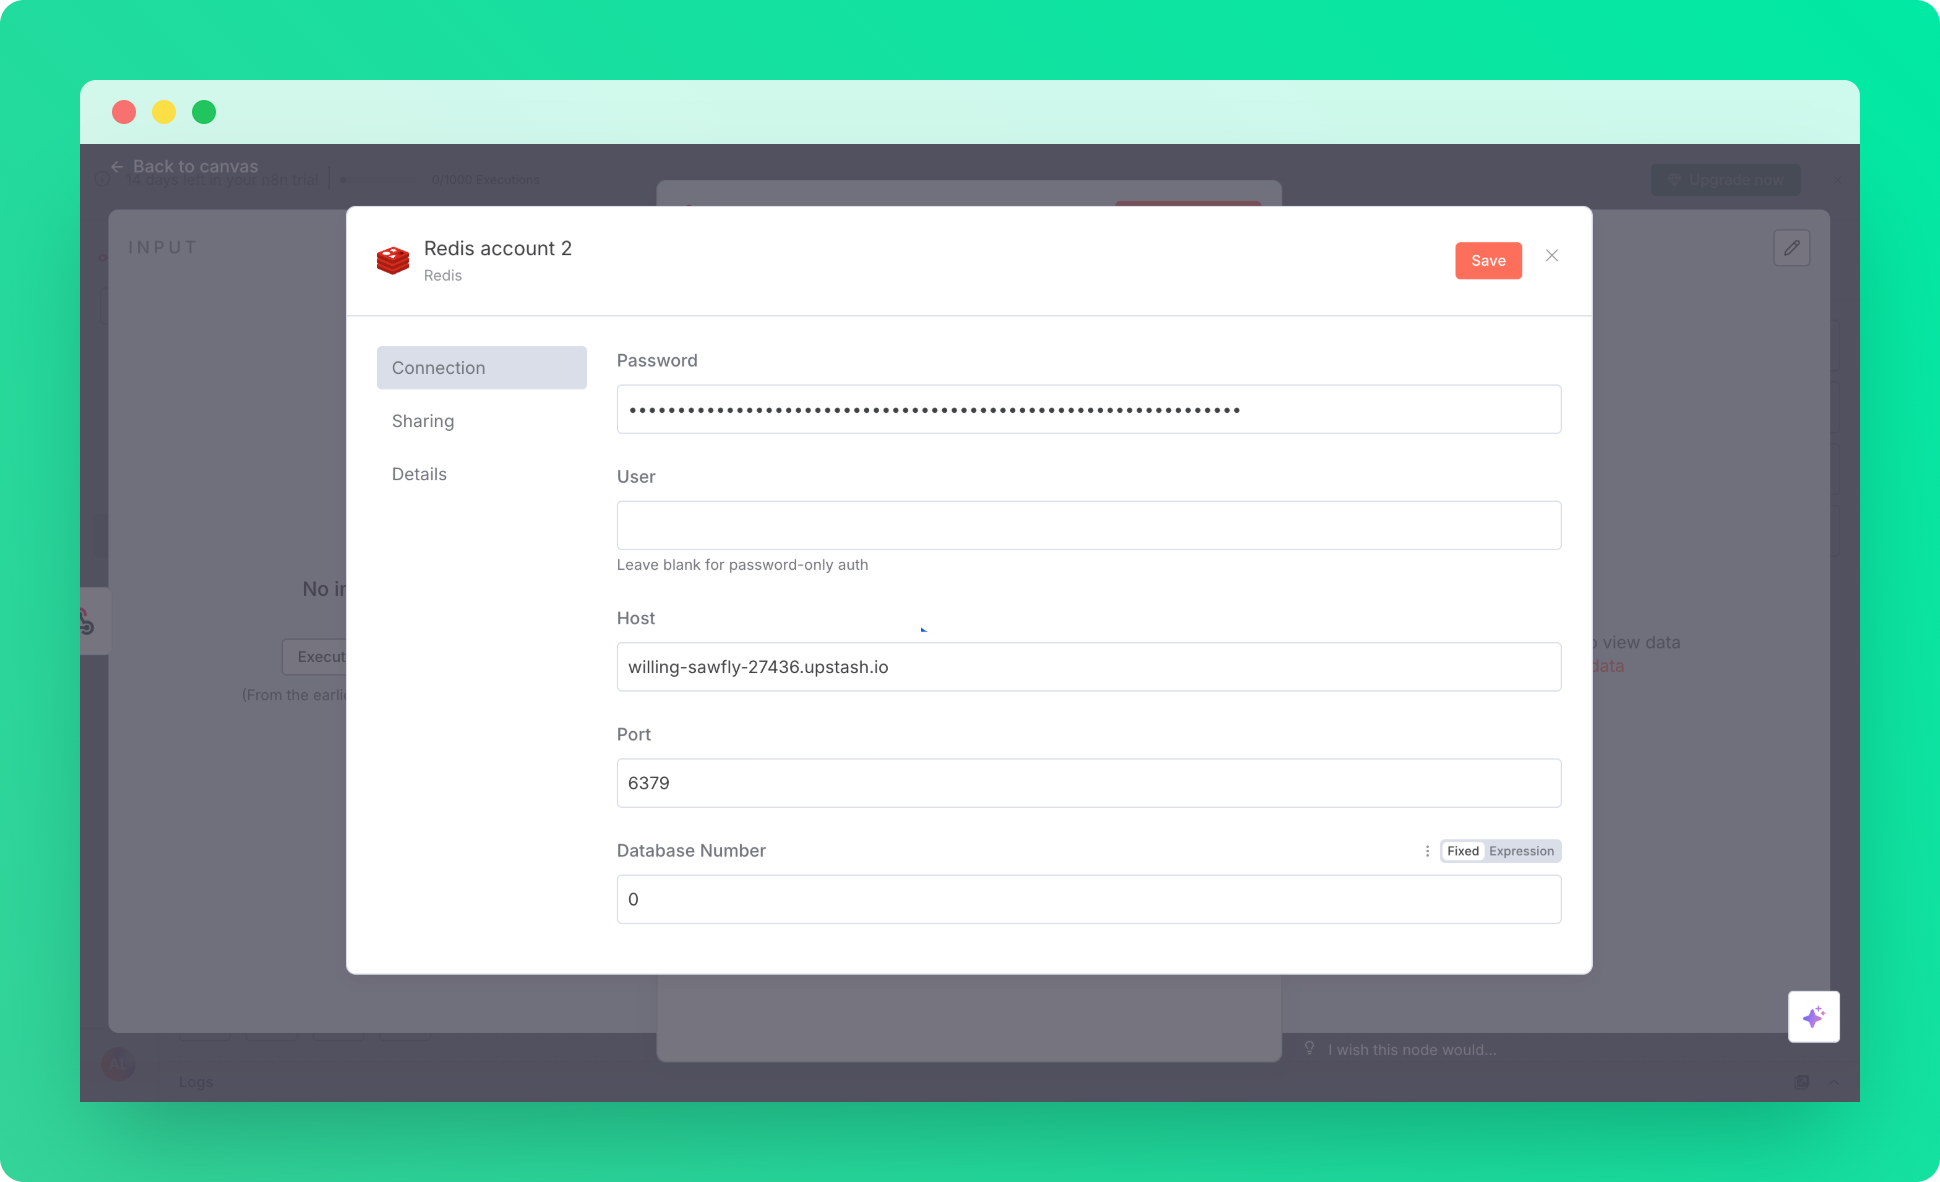
Fill the credentials.
- Pass your Upstash Token to the password field.
- Leave the user field blank
- Pass your Upstash Redis endpoint to the host field. (Leave the https:// part out)
- If your Upstash Database has a port other than the default 6379, change it here.
-
Enable SSL (Upstash Redis requires SSL) and hit the save button.
Redis Example: Store the Visit Count per Visitor
- Track the users with
x-real-ip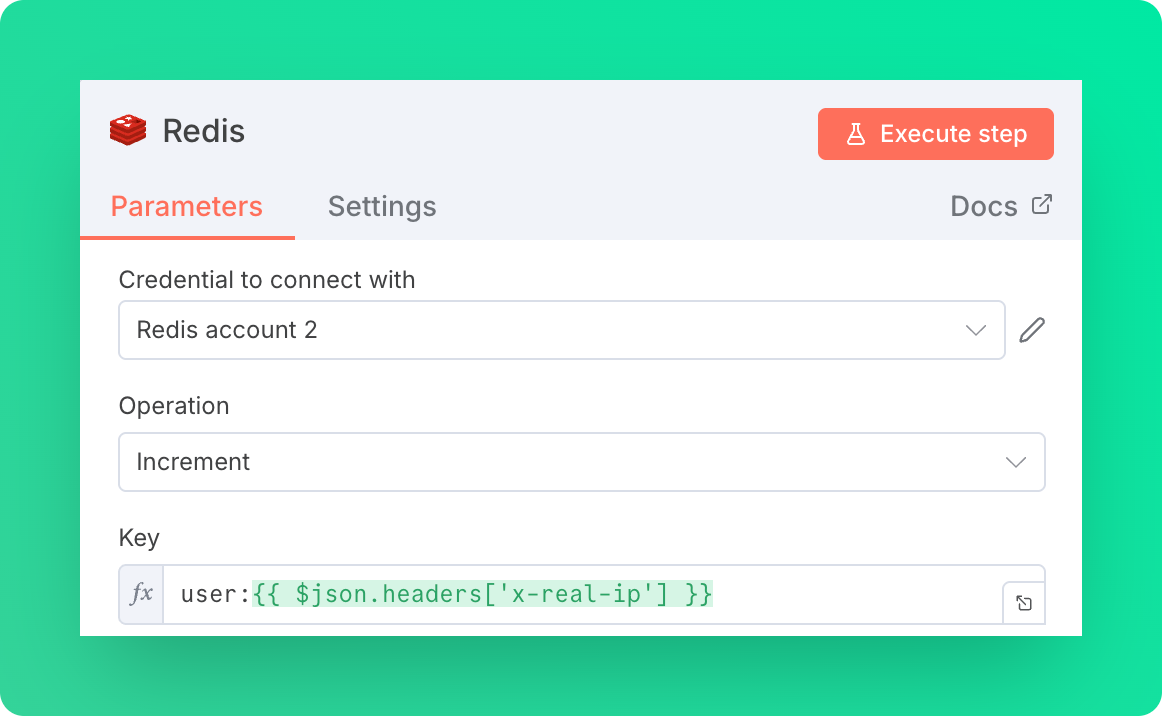
- Add another redis node with get action to see the visit counts
- Read the set visit count with redis get

Test Redis Example
Run the workflow and visit the webhook URL, This will send a get request and trigger the workflow run. Then from the headers your ip will be fetched and in the redis instance you will seeuser:user-ip set to 1.
As you visit the page it will be incremented and at the end of the workflow you can track and confirm this setup with
the get request.