GitHub Repository
You can find the project source code on GitHub.
Deploy With Vercel
Deploy the project to Vercel with a single click.
Prerequisites
- An Upstash QStash API key.
- Node.js and npm (another package manager) installed.
Step 1: Installation
First, install the Workflow SDK in your Nuxt project:- npm
- pnpm
- bun
Step 2: Configure Environment Variables
Create a.env.local file in your project root and add your QStash token. This token is used to authenticate your application with the QStash service.
Terminal
Option 1: Local QStash Server
To start the local QStash server, run:QSTASH_URL and QSTASH_TOKEN values in the console. Add these values to your .env.local file:
Option 2: Local Tunnel
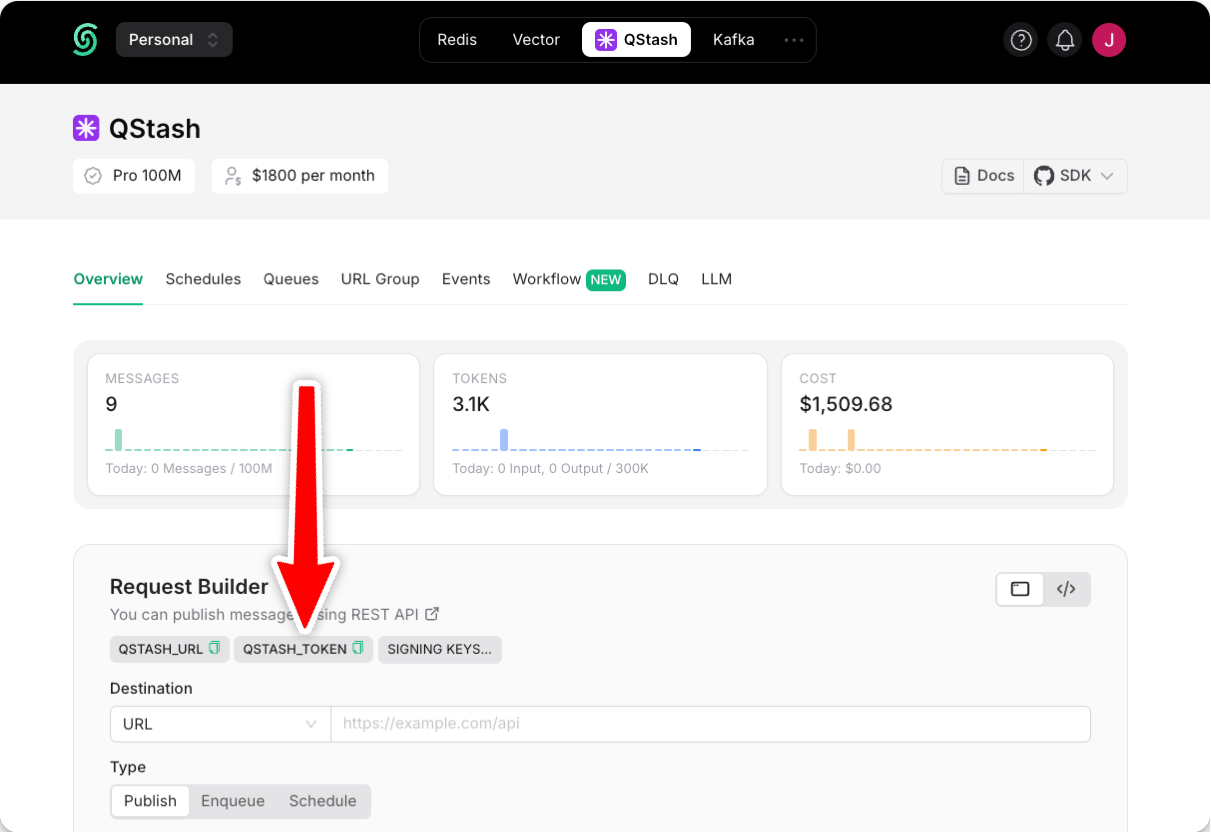
Alternatively, you can set up a local tunnel. For this option:- Copy the
QSTASH_TOKENfrom the Upstash Console. - Update your
.env.localfile with the following:
- Replace
***with your actual QStash token. - Set
UPSTASH_WORKFLOW_URLto the public URL provided by your local tunnel.

Step 3: Create a Workflow Endpoint
A workflow endpoint allows you to define a set of steps that, together, make up a workflow. Each step contains a piece of business logic that is automatically retried on failure, with easy monitoring via our visual workflow dashboard. To define a workflow endpoint in a Nuxt.js project, navigate into the Nuxt.jsserver/api directory and create a new file, for example called workflow.ts. This file will contain your workflow:
server/api/workflow.ts
Step 4: Run the Workflow Endpoint
After defining the endpoint, you can trigger your workflow by starting your app:Terminal
Terminal


Step 5: Deploying to Production
When deploying your Nuxt.js application with Upstash Workflow to production, there are a few key points to keep in mind:-
Environment Variables: Make sure that all necessary environment variables are set in your platforms project settings. For example, your
QSTASH_TOKENand any other configuration variables your workflow might need. - Remove Local Development Settings: In your production code, you can remove or conditionally exclude any local development settings. For example, if you used local tunnel for local development
- Deployment: Deploy your Nuxt application to Vercel, Cloudflare Pages or other platforms as you normally would. These platforms will automatically detect and build your Nuxt application.
-
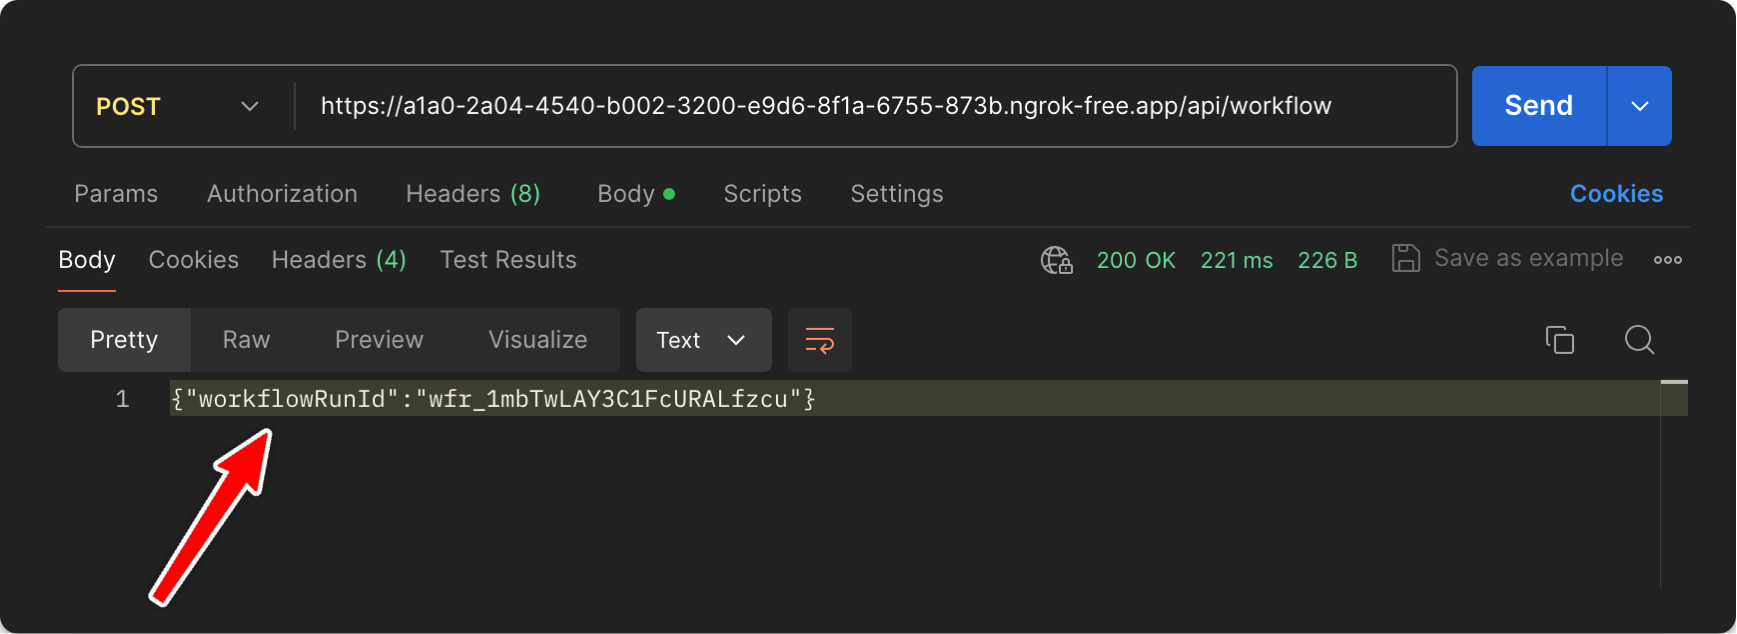
Verify Workflow Endpoint: After deployment, verify that your workflow endpoint is accessible by making a POST request to your production URL:
Terminal
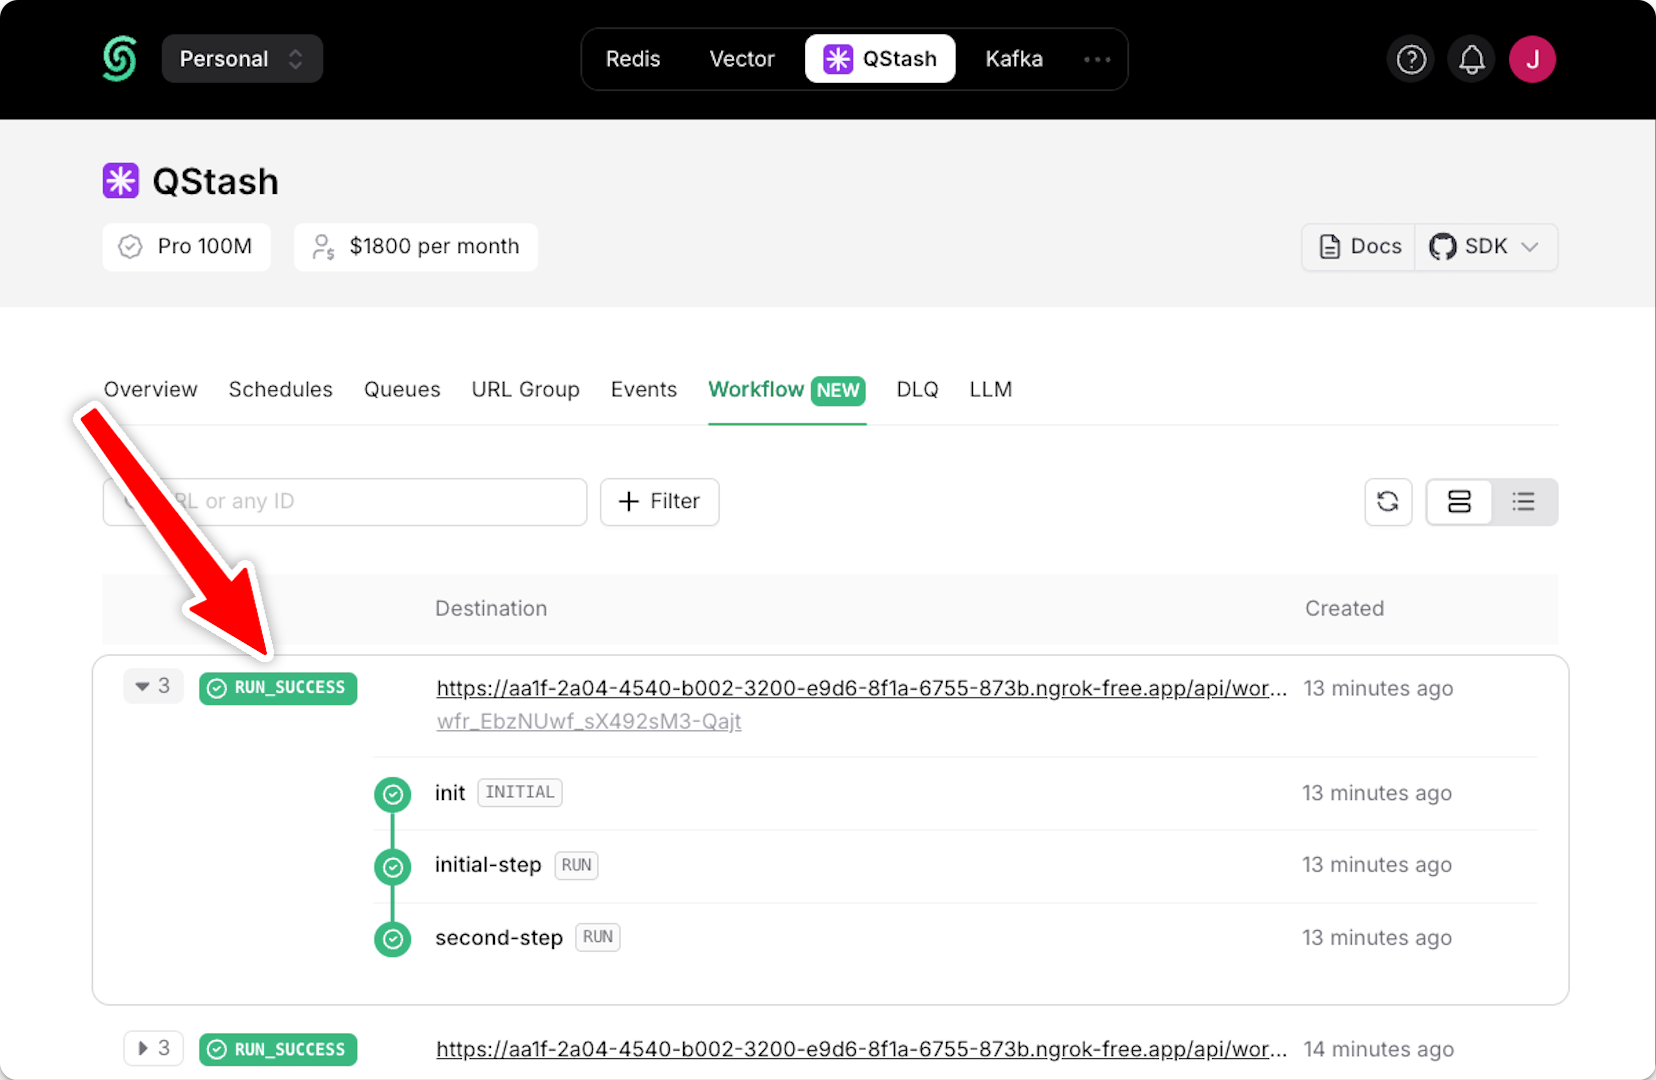
- Monitor in QStash Dashboard: Use the QStash dashboard to monitor your production workflows. You can track workflow runs, view step statuses, and access detailed logs.
- Set Up Alerts: Consider setting up alerts in Sentry or other monitoring tools to be notified of any workflow failures in production.
Next Steps
- Learn how to protect your workflow endpoint from unauthorized access by securing your workflow endpoint.
- Explore the source code for a detailed, end-to-end example and best practices.
- For setting up and testing your workflows in a local environment, check out our local development guide.

