You can connect to Upstash database from your Lambda functions using your
favorite Redis client. You do not need any extra configuration. The only thing
to note is you should use the same region for your Lambda function and database
to minimize latency.
If you do not have any experience with AWS Lambda functions, you can follow the
following tutorial. The tutorial explains the required steps to implement an AWS
Lambda function that takes the key/value as parameters from APIGateway then
inserts an entry (key/value) to the database which is on Upstash. We have
implemented the function in Node.js, but the steps and the logic are quite
similar in other languages.
This example uses Redis clients. If you expect many concurrent AWS Lambda
invocation then we recommend using
upstash-redis which is HTTP/REST
based. This example uses ioredis, you can copy the connection string from the
Node tab in the console.
var Redis = require("ioredis");

if (typeof client === "undefined") {
  var client = new Redis("rediss://:YOUR_PASSWORD@YOUR_ENDPOINT:YOUR_PORT");
}
exports.handler = async (event) => {
  await client.set("foo", "bar");
  let result = await client.get("foo");
  let response = {
    statusCode: 200,
    body: JSON.stringify({
      result: result,
    }),
  };
  return response;
};
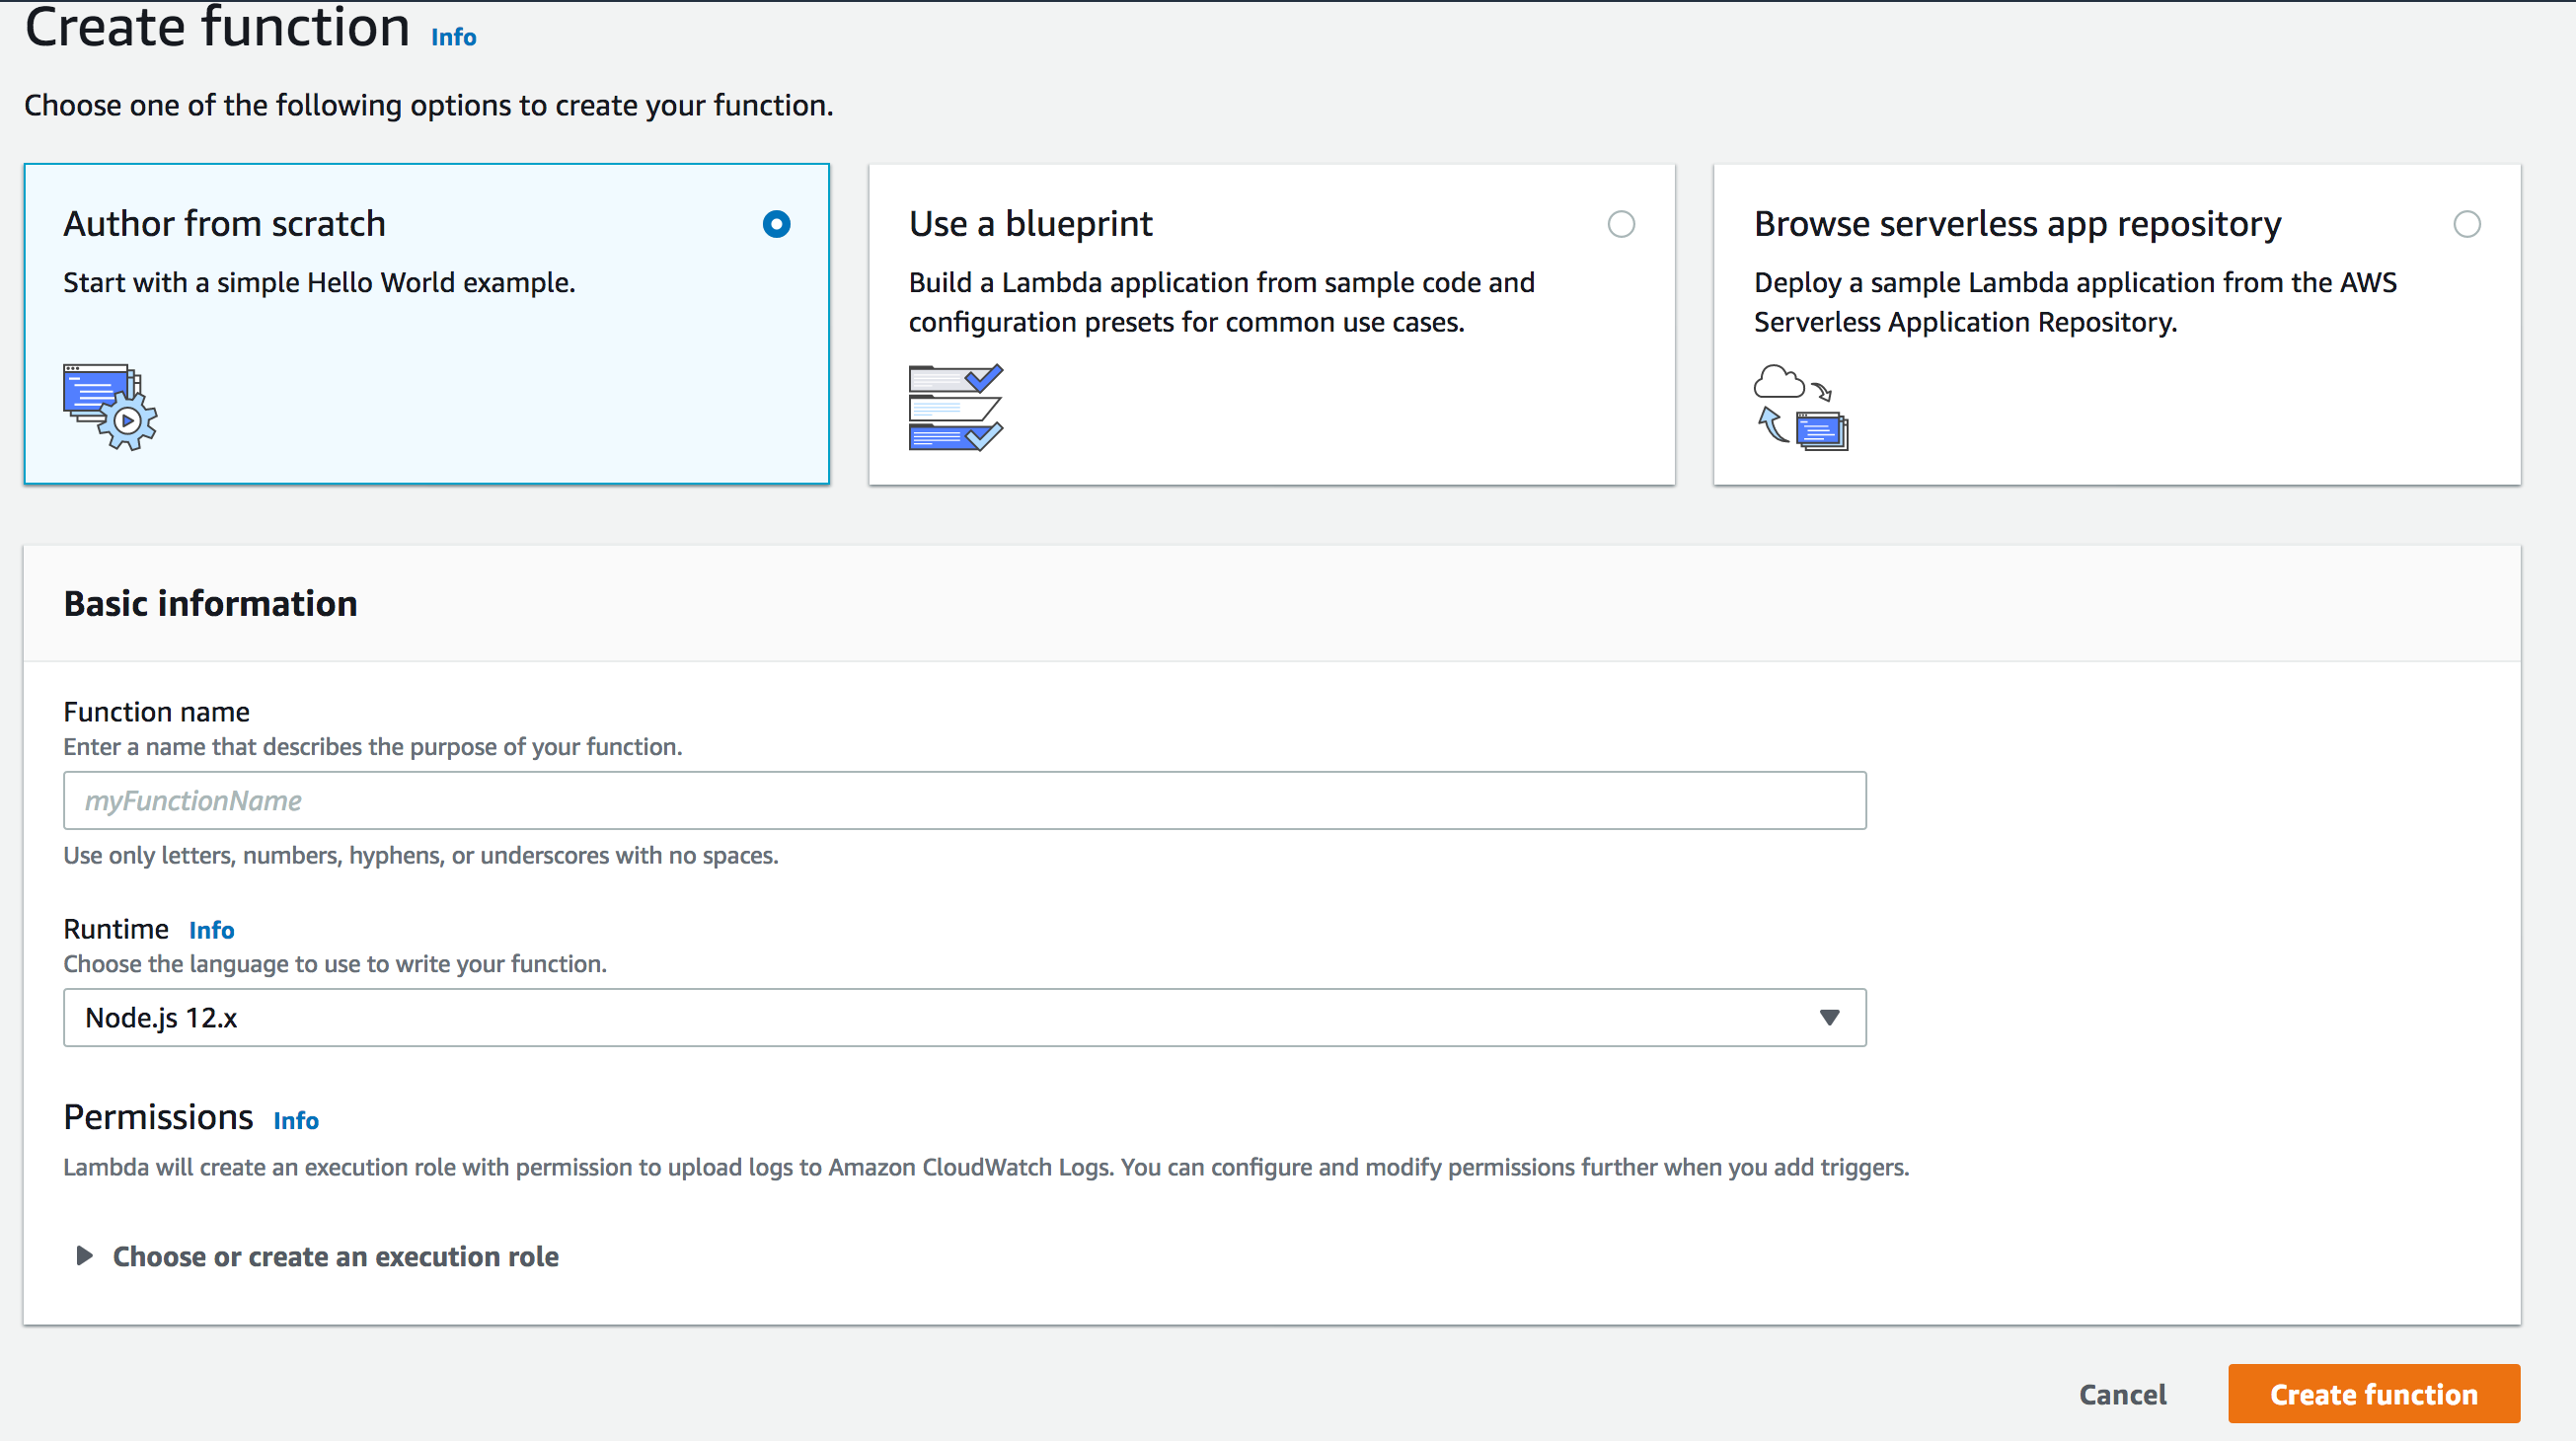
Create Function button.
Enter a name for your function and select Node.js 14.x as runtime. Click
Create Function.
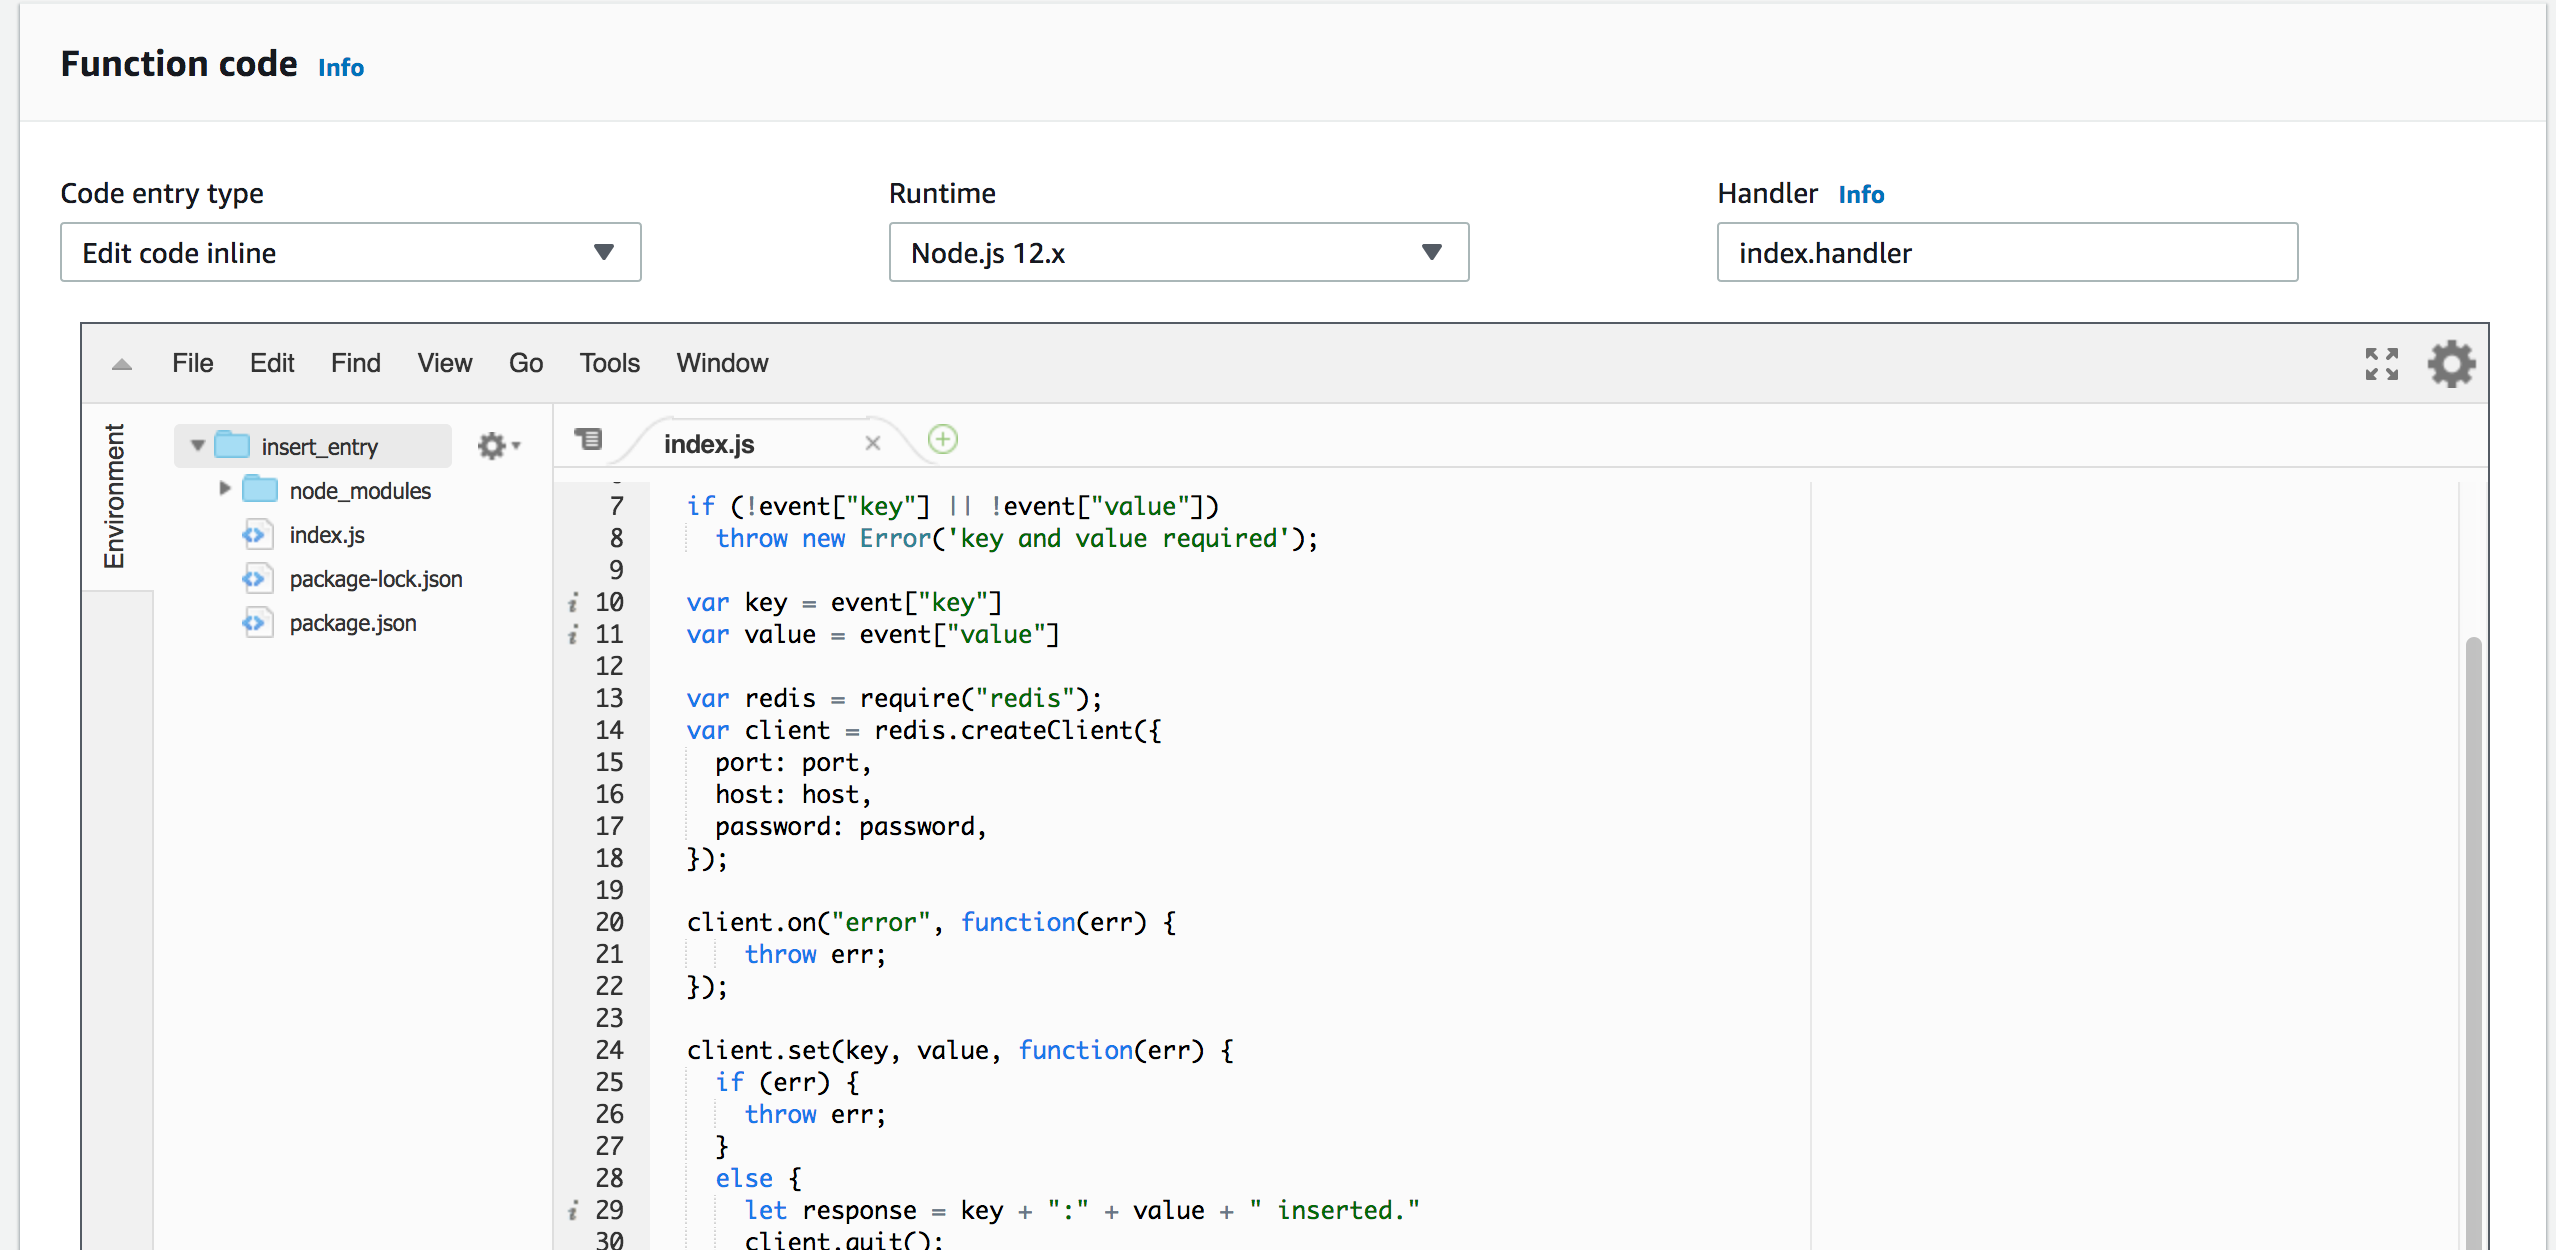
Now you are on the function screen, scroll below to Function Code section. On
Code entry type selection, select Upload a .zip file. Upload the app.zip
file you have just created and click on the Save button on the top-right. You
need to see your code as below:
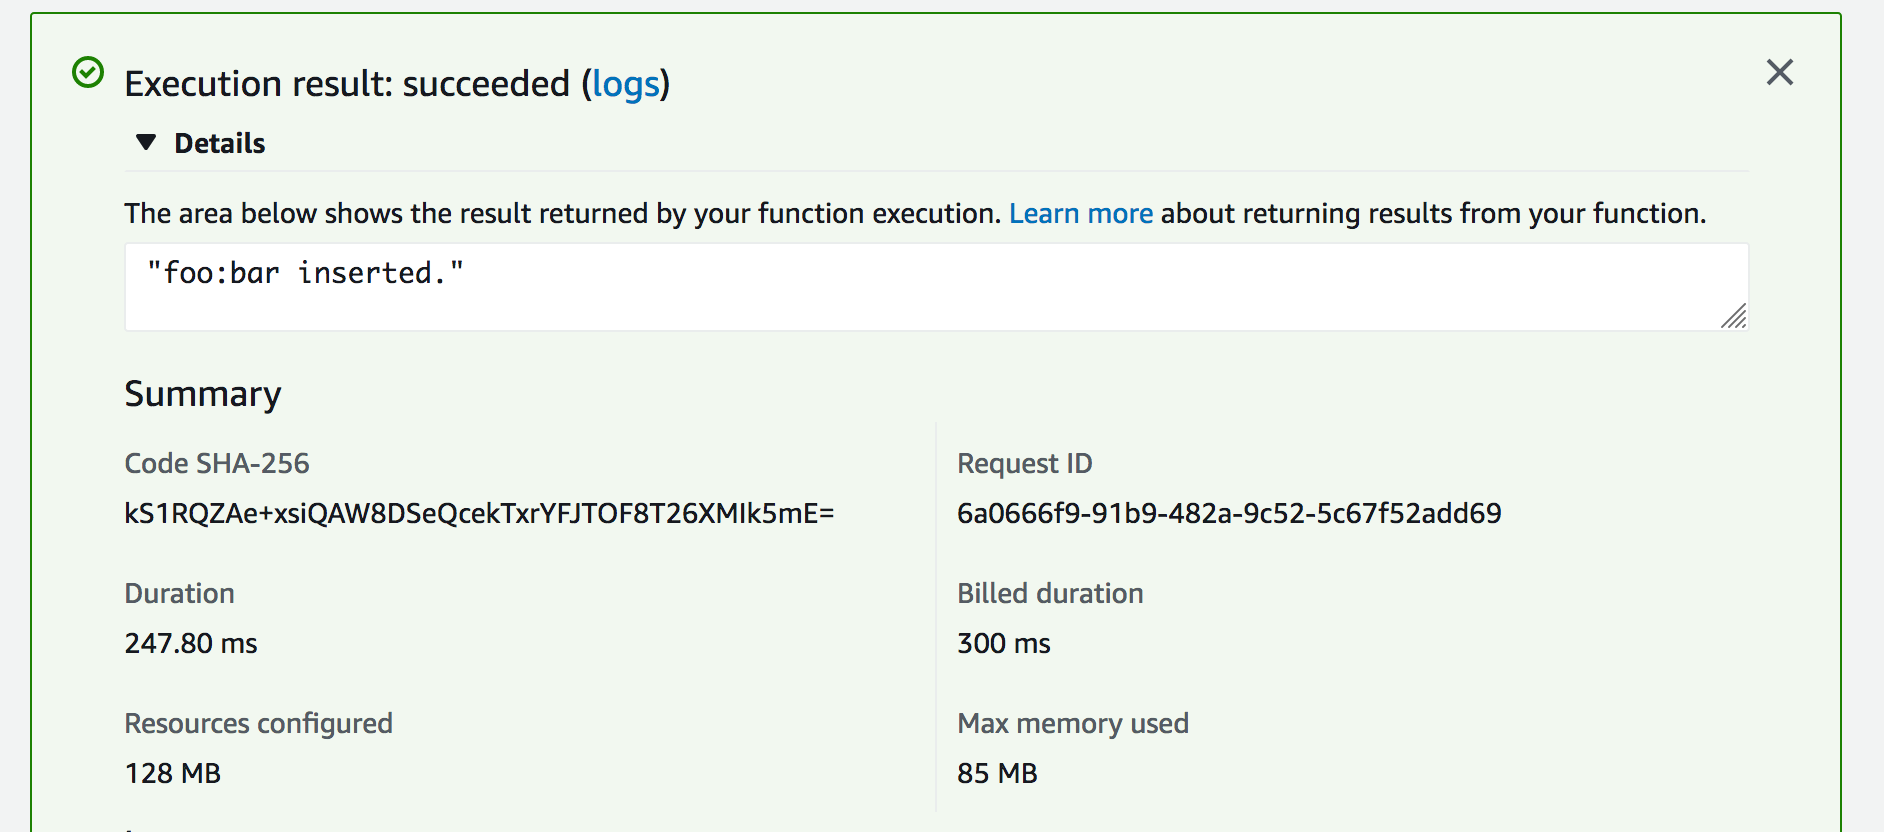
Now you can test your code. Click on the Test button on the top right. Create
an event like the below:
{
  "key": "foo",
  "value": "bar"
}
- You can write and deploy another function to just get values from the
database.
- You can learn better ways to deploy your functions such as
serverless framework and
AWS SAM
- You can integrate
API Gateway
so you can call your function via http.
- You can learn about how to monitor your functions from CloudWatch as described
here
.
Redis Connections in AWS Lambda
Although Redis connections are very lightweight, a new connection inside each
Lambda function can cause a notable latency. On the other hand, reusing Redis
connections inside the AWS Lambda functions has its own drawbacks. When AWS
scales out Lambda functions, the number of open connections can rapidly
increase. Fortunately, Upstash detects and terminates the idle and zombie
connections thanks to its smart connection handling algorithm. Since this
algorithm is used; we have been recommending caching your Redis connection in
serverless functions.
See the blog post
about the database connections in serverless functions. | Client | #Commands | Issued Commands |
|---|
| redis-cli | 2 | AUTH - COMMAND |
| node-redis | 3 | AUTH - INFO - QUIT |
| ioredis | 3 | AUTH - INFO - QUIT |
| redis-py | 1 | AUTH |
| jedis | 2 | AUTH - QUIT |
| lettuce | 2 | AUTH - QUIT |
| go-redis | 1 | AUTH |


