> ## Documentation Index
> Fetch the complete documentation index at: https://upstash.com/docs/llms.txt
> Use this file to discover all available pages before exploring further.
# Local Tunnel
Upstash Workflow requires your application to be publicly accessible in production.
The recommended approach is running the development server we provide locally and work with local addresses.
An alternative is to making your application publibly accessible so that you can work with the managed Upstash Workflow servers.
The easiest way to make a local URL publically available is [ngrok](https://ngrok.com), a free tunneling service.
Create an account on [dashboard.ngrok.com/signup](https://dashboard.ngrok.com/signup) and follow the [setup instructions](https://dashboard.ngrok.com/get-started/setup) to download the ngrok CLI and connect your account. This process takes only a few minutes and is totally free.
You can connect your account like this:
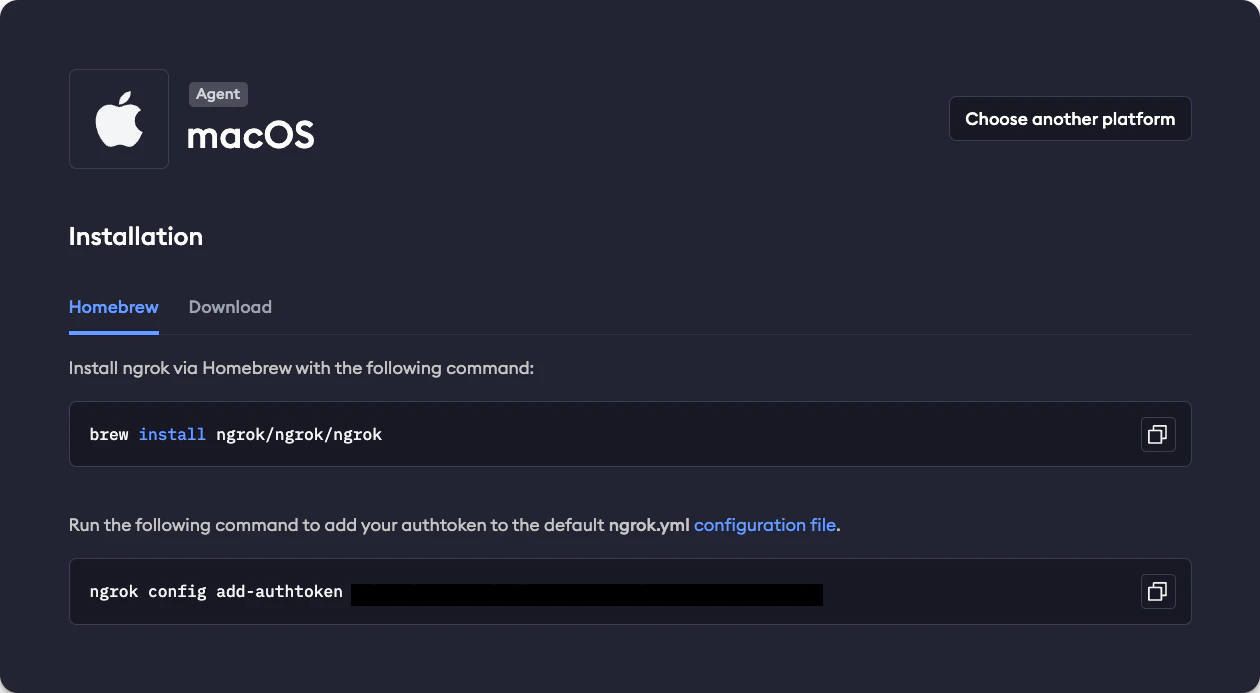
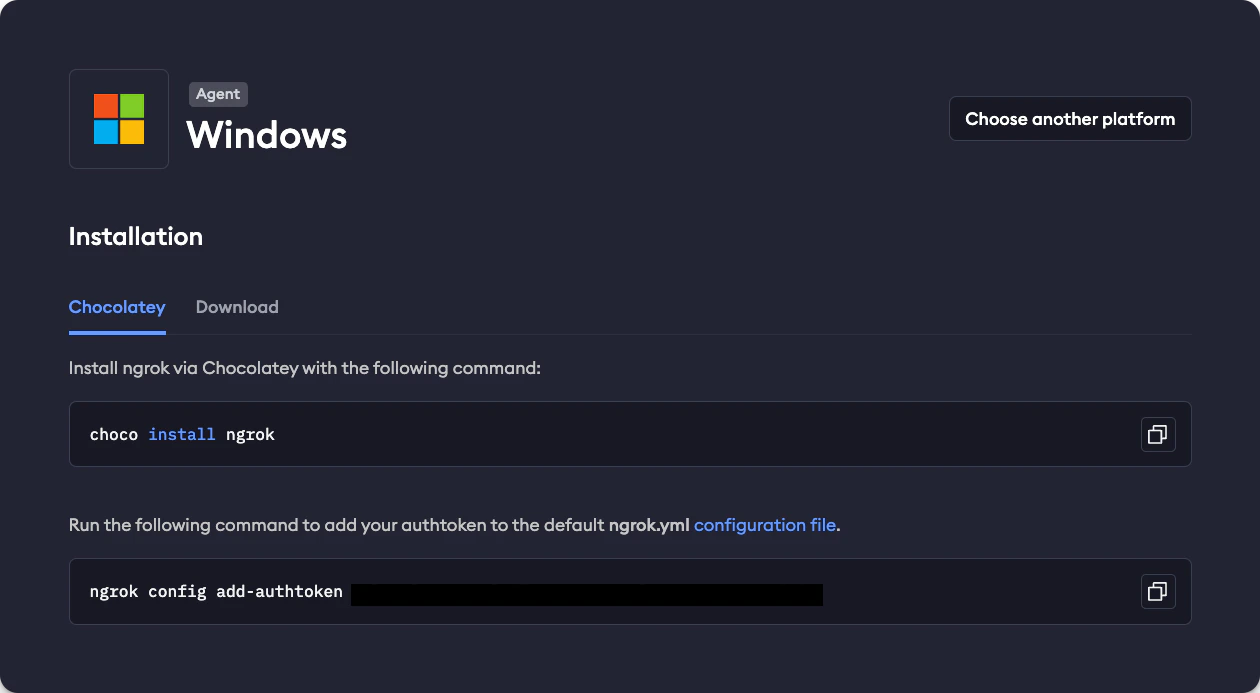 Once you have installed the ngrok CLI, add your ngrok-issued auth token like this:
```bash Terminal theme={"system"}
ngrok config add-authtoken
```
and replace `` with your actual auth token.
### Start the tunnel
Make your local server available publically by running the following command:
```bash theme={"system"}
ngrok http
```
for example, if your Next.js server is running on port `3000`, the command is:
```bash theme={"system"}
ngrok http 3000
```
The output will look something like this:
```plaintext theme={"system"}
Session Status online
Account (Plan: Free)
Version 3.1.0
Region Europe (eu)
Latency -
Web Interface http://127.0.0.1:4040
Forwarding https://e02f-2a02-810d-af40-5284-b139-58cc-89df-b740.eu.ngrok.io -> http://localhost:3000
Connections ttl opn rt1 rt5 p50 p90
0 0 0.00 0.00 0.00 0.00
```
The long URL in the `Forwarding` line serves the same purpose as your localhost URL, the only difference being that it is publically accessible. We need this URL to make our workflow available to QStash for local development, either as the `baseUrl` parameter or the `UPSTASH_WORKFLOW_URL` environment variable (both options provide the same functionality).
Note: The `UPSTASH_WORKFLOW_URL` environment variable is only necessary for local development. In production, the `baseUrl` parameter is automatically set and can be omitted.
Ensure that the port of your local server matches the one you're using with ngrok. For example, if your server is
running on port 8080, use `ngrok http 8080`.
Once you have installed the ngrok CLI, add your ngrok-issued auth token like this:
```bash Terminal theme={"system"}
ngrok config add-authtoken
```
and replace `` with your actual auth token.
### Start the tunnel
Make your local server available publically by running the following command:
```bash theme={"system"}
ngrok http
```
for example, if your Next.js server is running on port `3000`, the command is:
```bash theme={"system"}
ngrok http 3000
```
The output will look something like this:
```plaintext theme={"system"}
Session Status online
Account (Plan: Free)
Version 3.1.0
Region Europe (eu)
Latency -
Web Interface http://127.0.0.1:4040
Forwarding https://e02f-2a02-810d-af40-5284-b139-58cc-89df-b740.eu.ngrok.io -> http://localhost:3000
Connections ttl opn rt1 rt5 p50 p90
0 0 0.00 0.00 0.00 0.00
```
The long URL in the `Forwarding` line serves the same purpose as your localhost URL, the only difference being that it is publically accessible. We need this URL to make our workflow available to QStash for local development, either as the `baseUrl` parameter or the `UPSTASH_WORKFLOW_URL` environment variable (both options provide the same functionality).
Note: The `UPSTASH_WORKFLOW_URL` environment variable is only necessary for local development. In production, the `baseUrl` parameter is automatically set and can be omitted.
Ensure that the port of your local server matches the one you're using with ngrok. For example, if your server is
running on port 8080, use `ngrok http 8080`.