> ## Documentation Index
> Fetch the complete documentation index at: https://upstash.com/docs/llms.txt
> Use this file to discover all available pages before exploring further.
# Next.js
QStash is a robust message queue and task-scheduling service that integrates perfectly with Next.js. This guide will show you how to use QStash in your Next.js projects, including a quickstart and a complete example.
## Quickstart
At its core, each QStash message contains two pieces of information:
* URL (which endpoint to call)
* Request body (e.g. IDs of items you want to process)
The following endpoint could be used to upload an image and then asynchronously queue a processing task to optimize the image in the background.
```tsx upload-image/route.ts theme={"system"}
import { Client } from "@upstash/qstash"
import { NextResponse } from "next/server"
const client = new Client({ token: process.env.QSTASH_TOKEN! })
export const POST = async (req: Request) => {
// Image uploading logic
// 👇 Once uploading is done, queue an image processing task
const result = await client.publishJSON({
url: "https://your-api-endpoint.com/process-image",
body: { imageId: "123" },
})
return NextResponse.json({
message: "Image queued for processing!",
qstashMessageId: result.messageId,
})
}
```
Note that the URL needs to be publicly available for QStash to call, either as a deployed project or by [developing with QStash locally](/qstash/howto/local-tunnel).
Because QStash calls our image processing task, we get automatic retries whenever the API throws an error. These retries make our function very reliable. We also let the user know immediately that their image has been successfully queued.
Now, let's **receive the QStash message** in our image processing endpoint:
```tsx process-image/route.ts theme={"system"}
import { verifySignatureAppRouter } from "@upstash/qstash/nextjs"
// 👇 Verify that this messages comes from QStash
export const POST = verifySignatureAppRouter(async (req: Request) => {
const body = await req.json()
const { imageId } = body as { imageId: string }
// Image processing logic, i.e. using sharp
return new Response(`Image with id "${imageId}" processed successfully.`)
})
```
```bash .env theme={"system"}
# Copy all three from your QStash dashboard
QSTASH_TOKEN=
QSTASH_CURRENT_SIGNING_KEY=
QSTASH_NEXT_SIGNING_KEY=
```
Just like that, we set up a reliable and asynchronous image processing system in Next.js. The same logic works for email queues, reliable webhook processing, long-running report generations and many more.
## Example project
* Create an Upstash account and get your [QStash token](https://console.upstash.com/qstash)
* Node.js installed
```bash theme={"system"}
npx create-next-app@latest qstash-bg-job
```
```bash theme={"system"}
cd qstash-bg-job
```
```bash theme={"system"}
npm install @upstash/qstash
```
```bash theme={"system"}
npm run dev
```
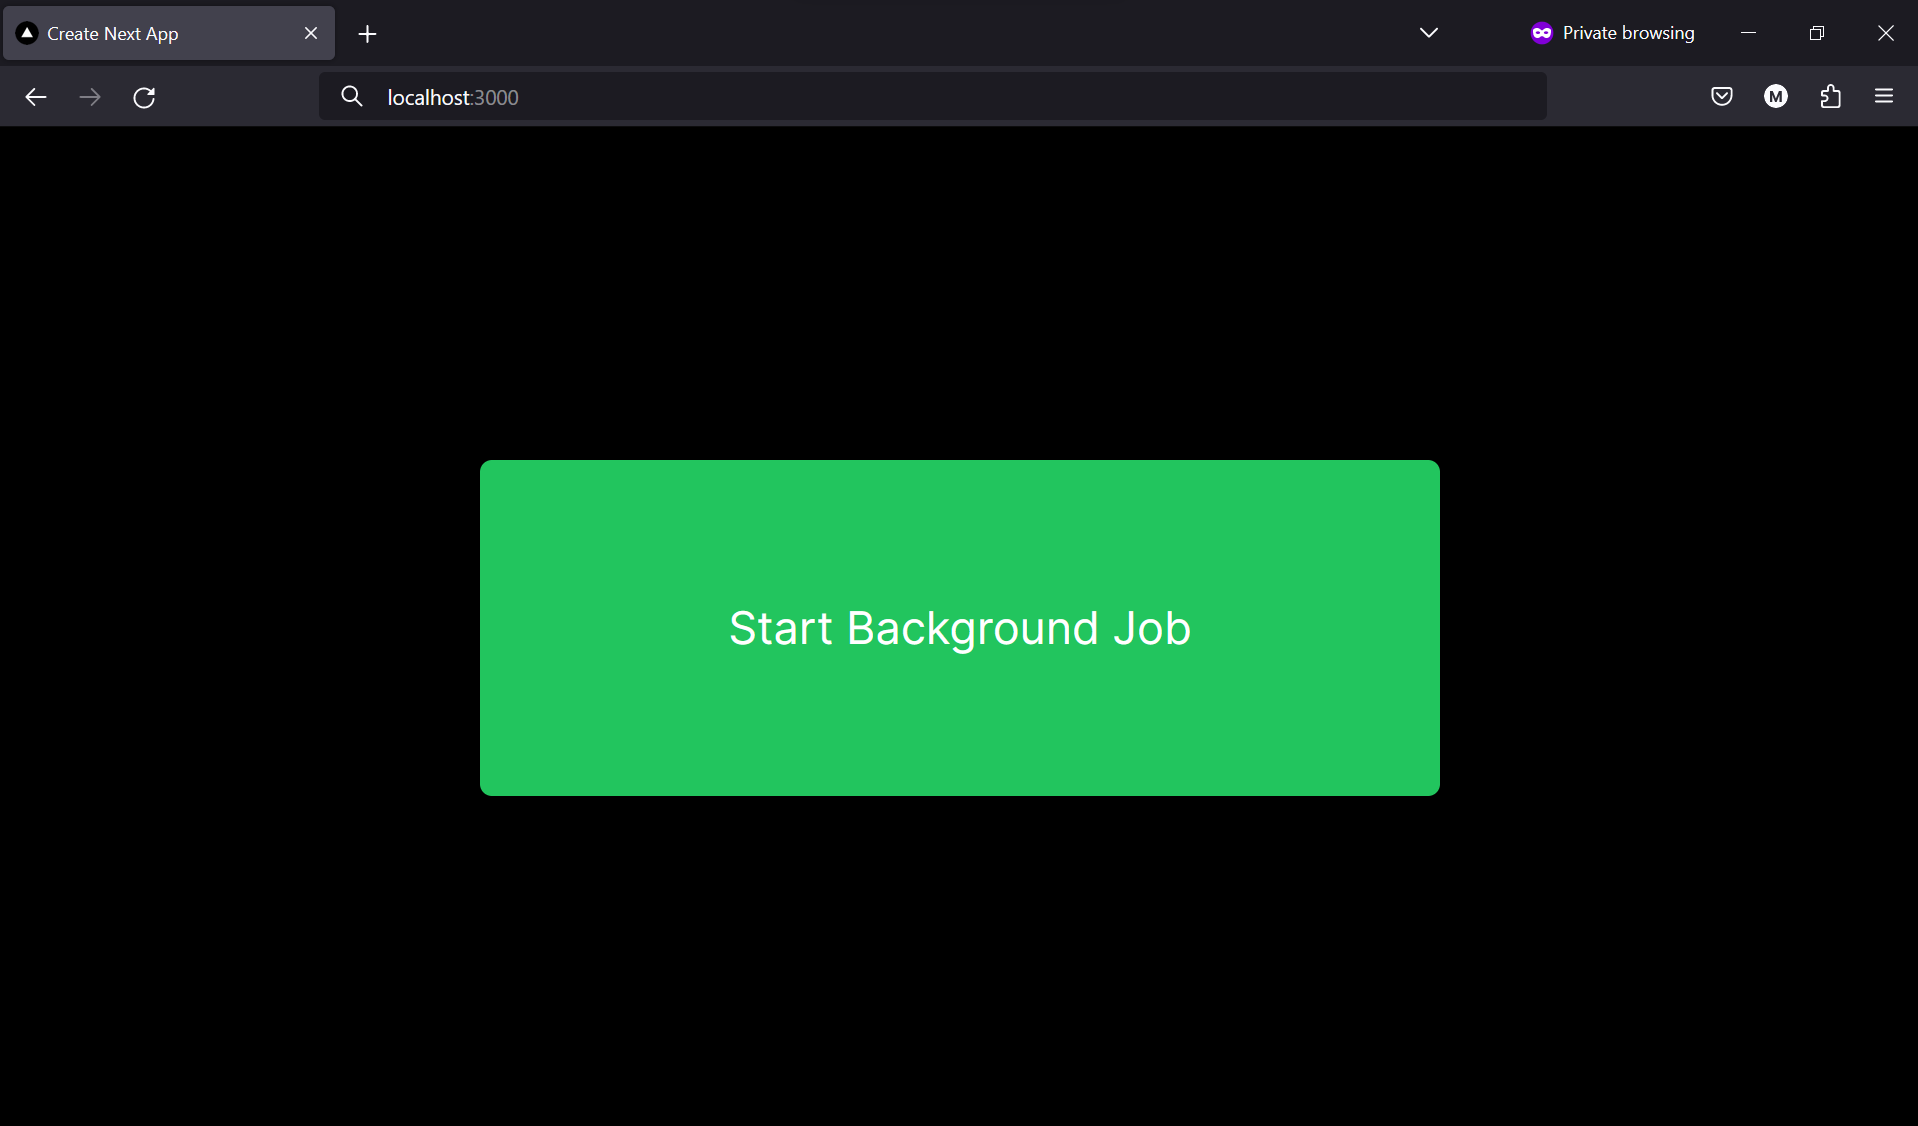
After removing the default content in `src/app/page.tsx`, let's create a simple UI to trigger the background job
using a button.
```tsx src/app/page.tsx theme={"system"}
"use client"
export default function Home() {
return (
)
}
```
We can use QStash to start a background job by calling the `publishJSON` method.
In this example, we're using Next.js server actions, but you can also use route handlers.
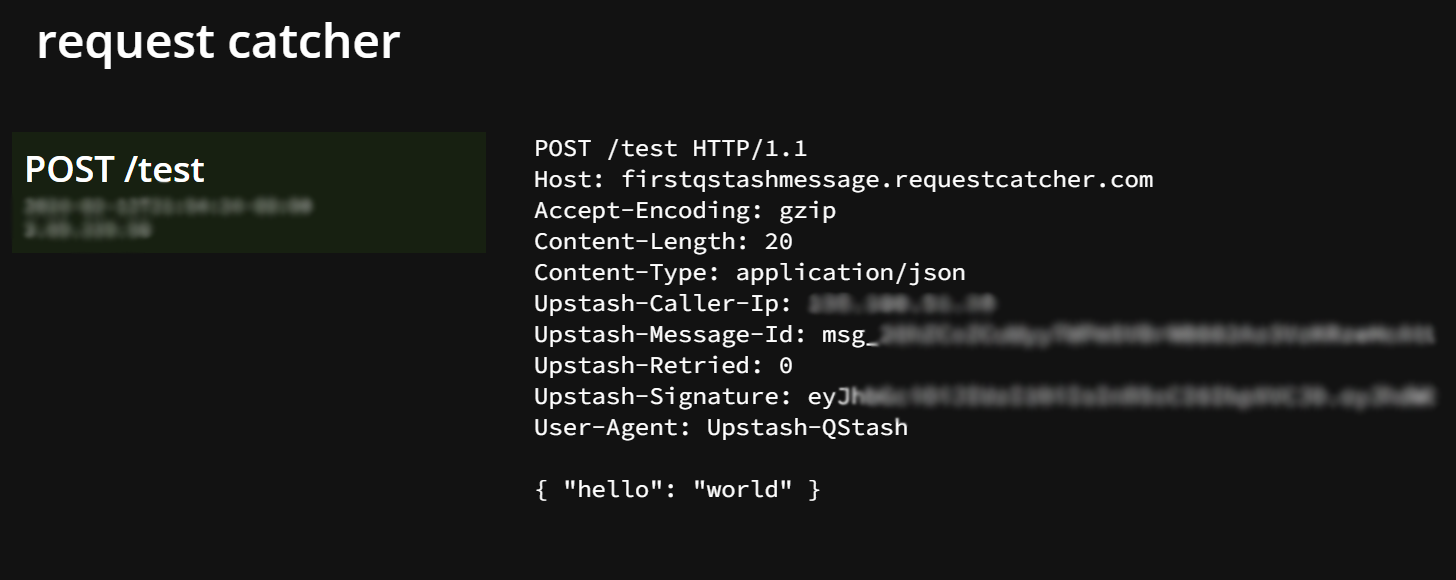
Since we don't have our public API endpoint yet, we can use [Request Catcher](https://requestcatcher.com/) to test the background job.
This will eventually be replaced with our own API endpoint.
```ts src/app/actions.ts theme={"system"}
"use server"
import { Client } from "@upstash/qstash"
const qstashClient = new Client({
// Add your token to a .env file
token: process.env.QSTASH_TOKEN!,
})
export async function startBackgroundJob() {
await qstashClient.publishJSON({
url: "https://firstqstashmessage.requestcatcher.com/test",
body: {
hello: "world",
},
})
}
```
Now let's invoke the `startBackgroundJob` function when the button is clicked.
```tsx src/app/page.tsx theme={"system"}
"use client"
import { startBackgroundJob } from "@/app/actions"
export default function Home() {
async function handleClick() {
await startBackgroundJob()
}
return (
)
}
```
To test the background job, click the button and check the Request Catcher for the incoming request.
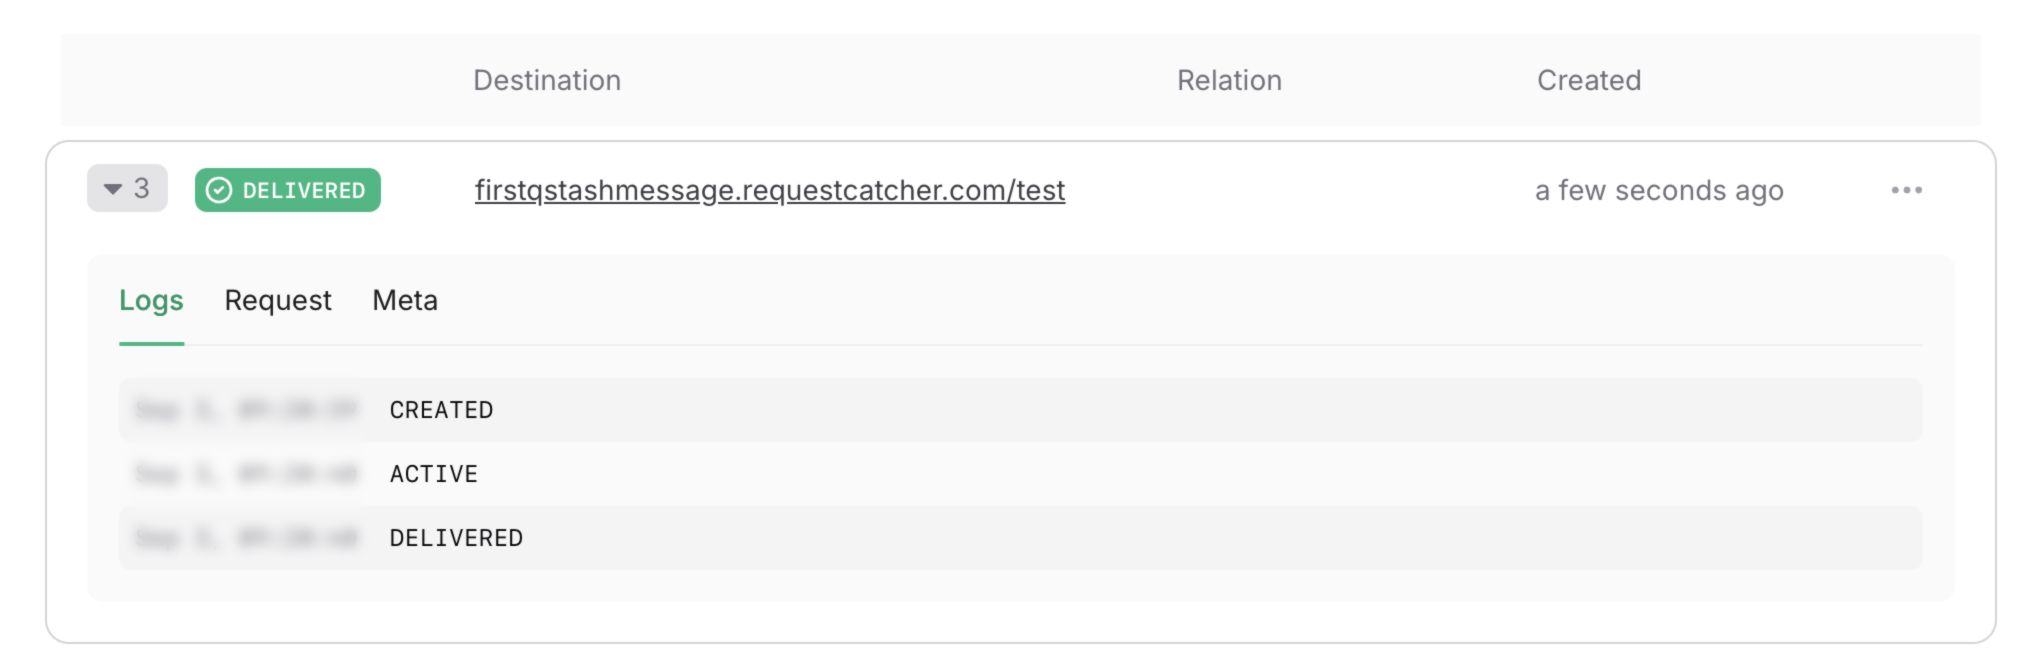
You can also head over to [Upstash Console](https://console.upstash.com/qstash) and go to the
`Logs` tab where you can see your message activities.
Now that we know QStash is working, let's create our own endpoint to handle a background job. This
is the endpoint that will be invoked by QStash.
This job will be responsible for sending 10 requests, each with a 500ms delay. Since we're deploying
to Vercel, we have to be cautious of the [time limit for serverless functions](https://vercel.com/docs/functions/runtimes#max-duration).
```ts src/app/api/long-task/route.ts theme={"system"}
export async function POST(request: Request) {
const data = await request.json()
for (let i = 0; i < 10; i++) {
await fetch("https://firstqstashmessage.requestcatcher.com/test", {
method: "POST",
body: JSON.stringify(data),
headers: { "Content-Type": "application/json" },
})
await new Promise((resolve) => setTimeout(resolve, 500))
}
return Response.json({ success: true })
}
```
Now let's update our `startBackgroundJob` function to use our new endpoint.
There's 1 problem: our endpoint is not public. We need to make it public so that QStash can call it.
We have 2 options:
1. Deploy our application to a platform like Vercel and use the public URL.
2. Create a [local tunnel](/qstash/howto/local-tunnel) to test the endpoint locally.
For the purpose, of this tutorial, I'll deploy the application to Vercel, but
feel free to use a local tunnel if you prefer.
There are many ways to [deploy to Vercel](https://vercel.com/docs/deployments/overview), but
I'm going to use the Vercel CLI.
```bash theme={"system"}
npm install -g vercel
```
```bash theme={"system"}
vercel
```
Once deployed, you can find the public URL in the Vercel dashboard.
Now that we have a public URL, we can update the URL.
```ts src/app/actions.ts theme={"system"}
"use server"
import { Client } from "@upstash/qstash"
const qstashClient = new Client({
token: process.env.QSTASH_TOKEN!,
})
export async function startBackgroundJob() {
await qstashClient.publishJSON({
// Replace with your public URL
url: "https://qstash-bg-job.vercel.app/api/long-task",
body: {
hello: "world",
},
})
}
```
And voila! You've created a Next.js app that calls a long-running background job using QStash.
QStash is a great way to handle background jobs, but it's important to remember that it's a public
API. This means that anyone can call your endpoint. Make sure to add security measures to your endpoint
to ensure that QStash is the sender of the request.
Luckily, our SDK provides a way to verify the sender of the request. Make sure to get your signing keys
from the QStash console and add them to your environment variables. The `verifySignatureAppRouter` will try to
load `QSTASH_CURRENT_SIGNING_KEY` and `QSTASH_NEXT_SIGNING_KEY` from the environment. If one of them is missing,
an error is thrown.
```ts src/app/api/long-task/route.ts theme={"system"}
import { verifySignatureAppRouter } from "@upstash/qstash/nextjs"
async function handler(request: Request) {
const data = await request.json()
for (let i = 0; i < 10; i++) {
await fetch("https://firstqstashmessage.requestcatcher.com/test", {
method: "POST",
body: JSON.stringify(data),
headers: { "Content-Type": "application/json" },
})
await new Promise((resolve) => setTimeout(resolve, 500))
}
return Response.json({ success: true })
}
export const POST = verifySignatureAppRouter(handler)
```
Let's also add error catching to our action and a loading state to our UI.
```ts src/app/actions.ts theme={"system"}
"use server"
import { Client } from "@upstash/qstash";
const qstashClient = new Client({
token: process.env.QSTASH_TOKEN!,
});
export async function startBackgroundJob() {
try {
const response = await qstashClient.publishJSON({
"url": "https://qstash-bg-job.vercel.app/api/long-task",
body: {
"hello": "world"
}
});
return response.messageId;
} catch (error) {
console.error(error);
return null;
}
}
```
```tsx src/app/page.tsx theme={"system"}
"use client"
import { startBackgroundJob } from "@/app/actions";
import { useState } from "react";
export default function Home() {
const [loading, setLoading] = useState(false);
const [msg, setMsg] = useState("");
async function handleClick() {
setLoading(true);
const messageId = await startBackgroundJob();
if (messageId) {
setMsg(`Started job with ID ${messageId}`);
} else {
setMsg("Failed to start background job");
}
setLoading(false);
}
return (
{loading &&
Loading...
}
{msg &&
{msg}
}
);
}
```
## Result
We have now created a Next.js app that calls a long-running background job using QStash!
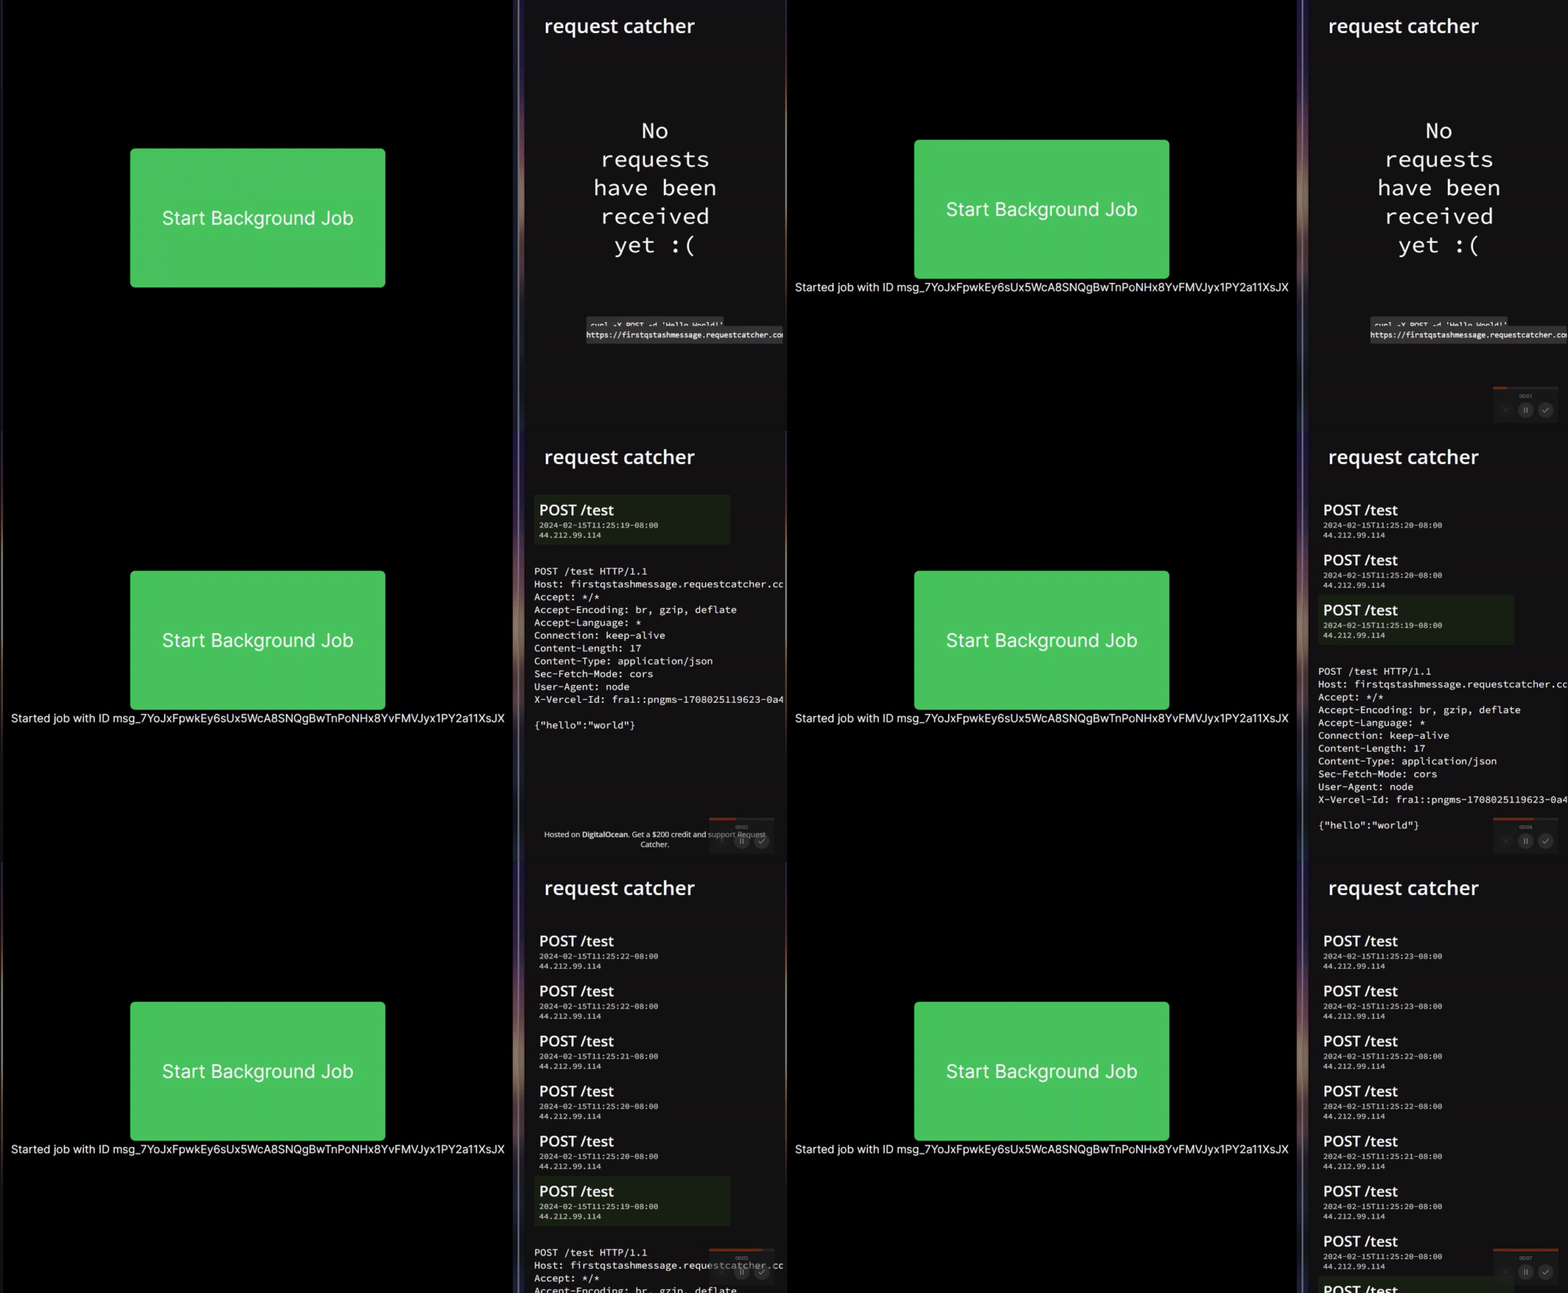
Here's the app in action:
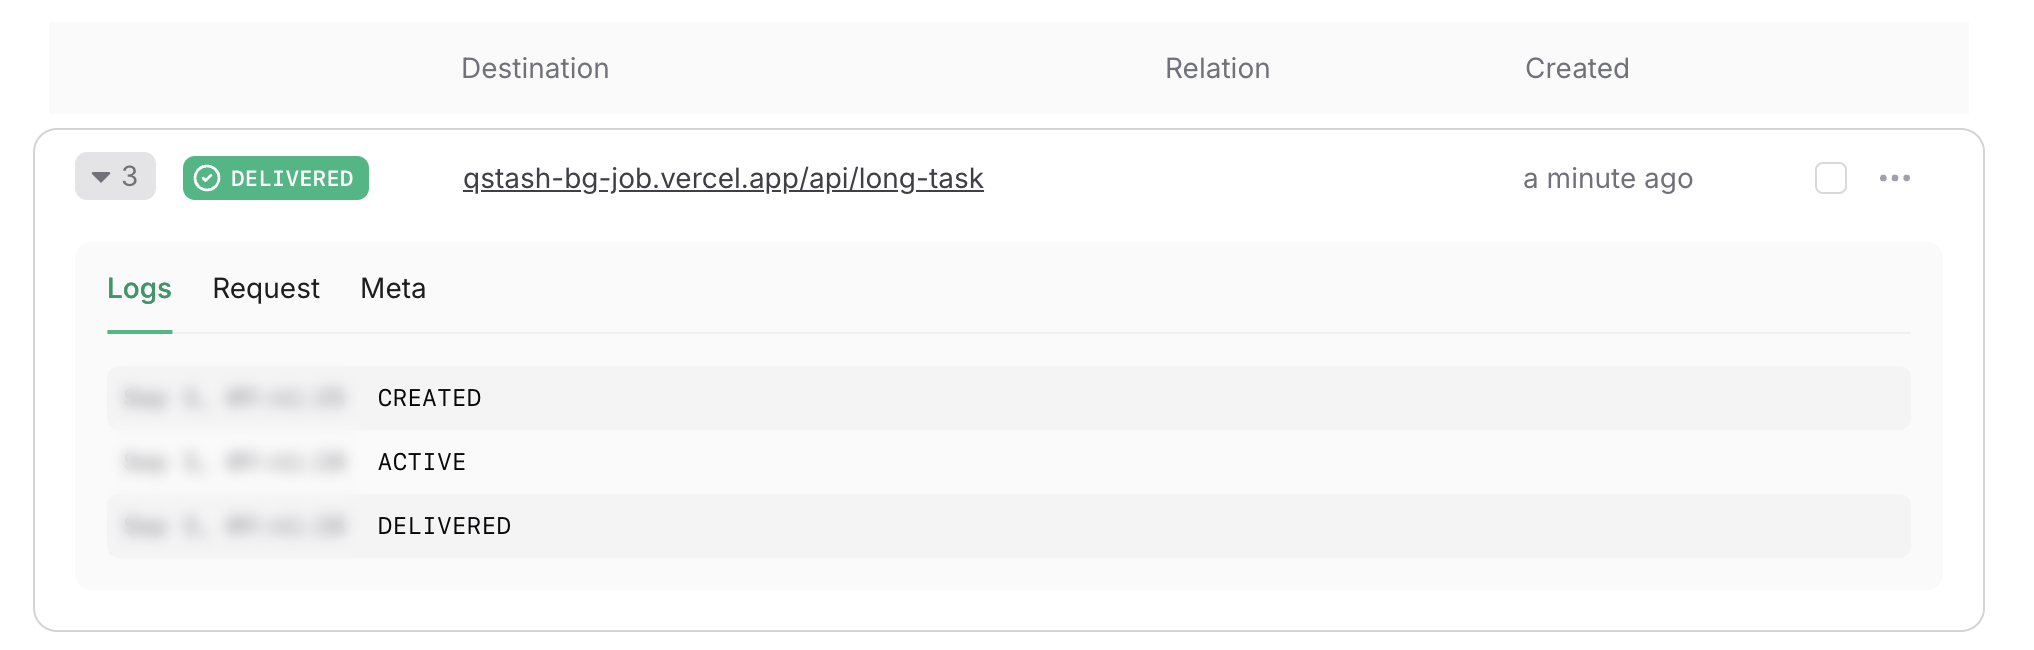
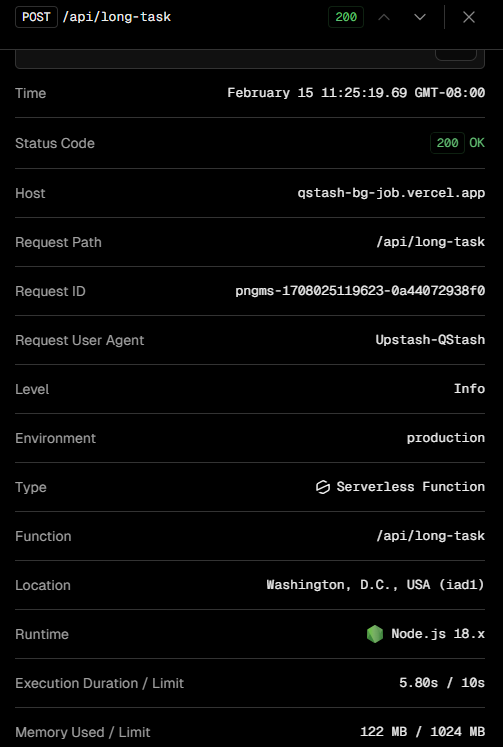
We can also view the logs on Vercel and QStash
Vercel
QStash
And the code for the 3 files we created:
```tsx src/app/page.tsx theme={"system"}
"use client"
import { startBackgroundJob } from "@/app/actions";
import { useState } from "react";
export default function Home() {
const [loading, setLoading] = useState(false);
const [msg, setMsg] = useState("");
async function handleClick() {
setLoading(true);
const messageId = await startBackgroundJob();
if (messageId) {
setMsg(`Started job with ID ${messageId}`);
} else {
setMsg("Failed to start background job");
}
setLoading(false);
}
return (
{loading &&
Loading...
}
{msg &&
{msg}
}
);
}
```
```ts src/app/actions.ts theme={"system"}
"use server"
import { Client } from "@upstash/qstash";
const qstashClient = new Client({
token: process.env.QSTASH_TOKEN!,
});
export async function startBackgroundJob() {
try {
const response = await qstashClient.publishJSON({
"url": "https://qstash-bg-job.vercel.app/api/long-task",
body: {
"hello": "world"
}
});
return response.messageId;
} catch (error) {
console.error(error);
return null;
}
}
```
```ts src/app/api/long-task/route.ts theme={"system"}
import { verifySignatureAppRouter } from "@upstash/qstash/nextjs"
async function handler(request: Request) {
const data = await request.json()
for (let i = 0; i < 10; i++) {
await fetch("https://firstqstashmessage.requestcatcher.com/test", {
method: "POST",
body: JSON.stringify(data),
headers: { "Content-Type": "application/json" },
})
await new Promise((resolve) => setTimeout(resolve, 500))
}
return Response.json({ success: true })
}
export const POST = verifySignatureAppRouter(handler)
```
Now, go ahead and try it out for yourself! Try using some of the other features of QStash, like
[schedules](/qstash/features/schedules), [callbacks](/qstash/features/callbacks), and [URL Groups](/qstash/features/url-groups).
 You can also head over to [Upstash Console](https://console.upstash.com/qstash) and go to the
`Logs` tab where you can see your message activities.
You can also head over to [Upstash Console](https://console.upstash.com/qstash) and go to the
`Logs` tab where you can see your message activities.
 We can also view the logs on Vercel and QStash
 QStash