
In this post, you will learn how to build your own career coach with Upstash Vector, Upstash Redis, OpenAI API, Clerk, Next.js App Router, and Vercel. Upstash RAG Chat SDK simplifies the per-user management of vector embeddings, chat history, and dynamic (with latest) relevant context generation. Specifically, Upstash Redis stores the per-user chat history, while Upstash Vector handles all vector embeddings within each user's namespace.
Prerequisites
You will need the following:
- Node.js 18 or later
- A Clerk account
- An Upstash account
- An OpenAI account
- A Vercel account
Tech Stack
| Technology | Description | | --- | --- | | Next.js | The React Framework for the Web. | | Clerk | User Management Platform. You are going to use it to add authentication to your application. | | Upstash | Serverless database platform. You are going to use both Upstash Vector and Upstash Redis for storing vector embeddings and conversation history. | | OpenAI | An artificial intelligence research lab focused on developing advanced AI technologies. | | Vercel | A cloud platform for deploying and scaling web applications. |
Generate an OpenAI Token
Using OpenAI API, you are able to create chatbot responses using AI. Any request to OpenAI API requires an authorization token. To obtain the token, navigate to the API Keys in your OpenAI account, and click the Create new secret key button. Copy and securely store this token for later use as OPENAI_API_KEY environment variable.
Setting up Upstash Redis
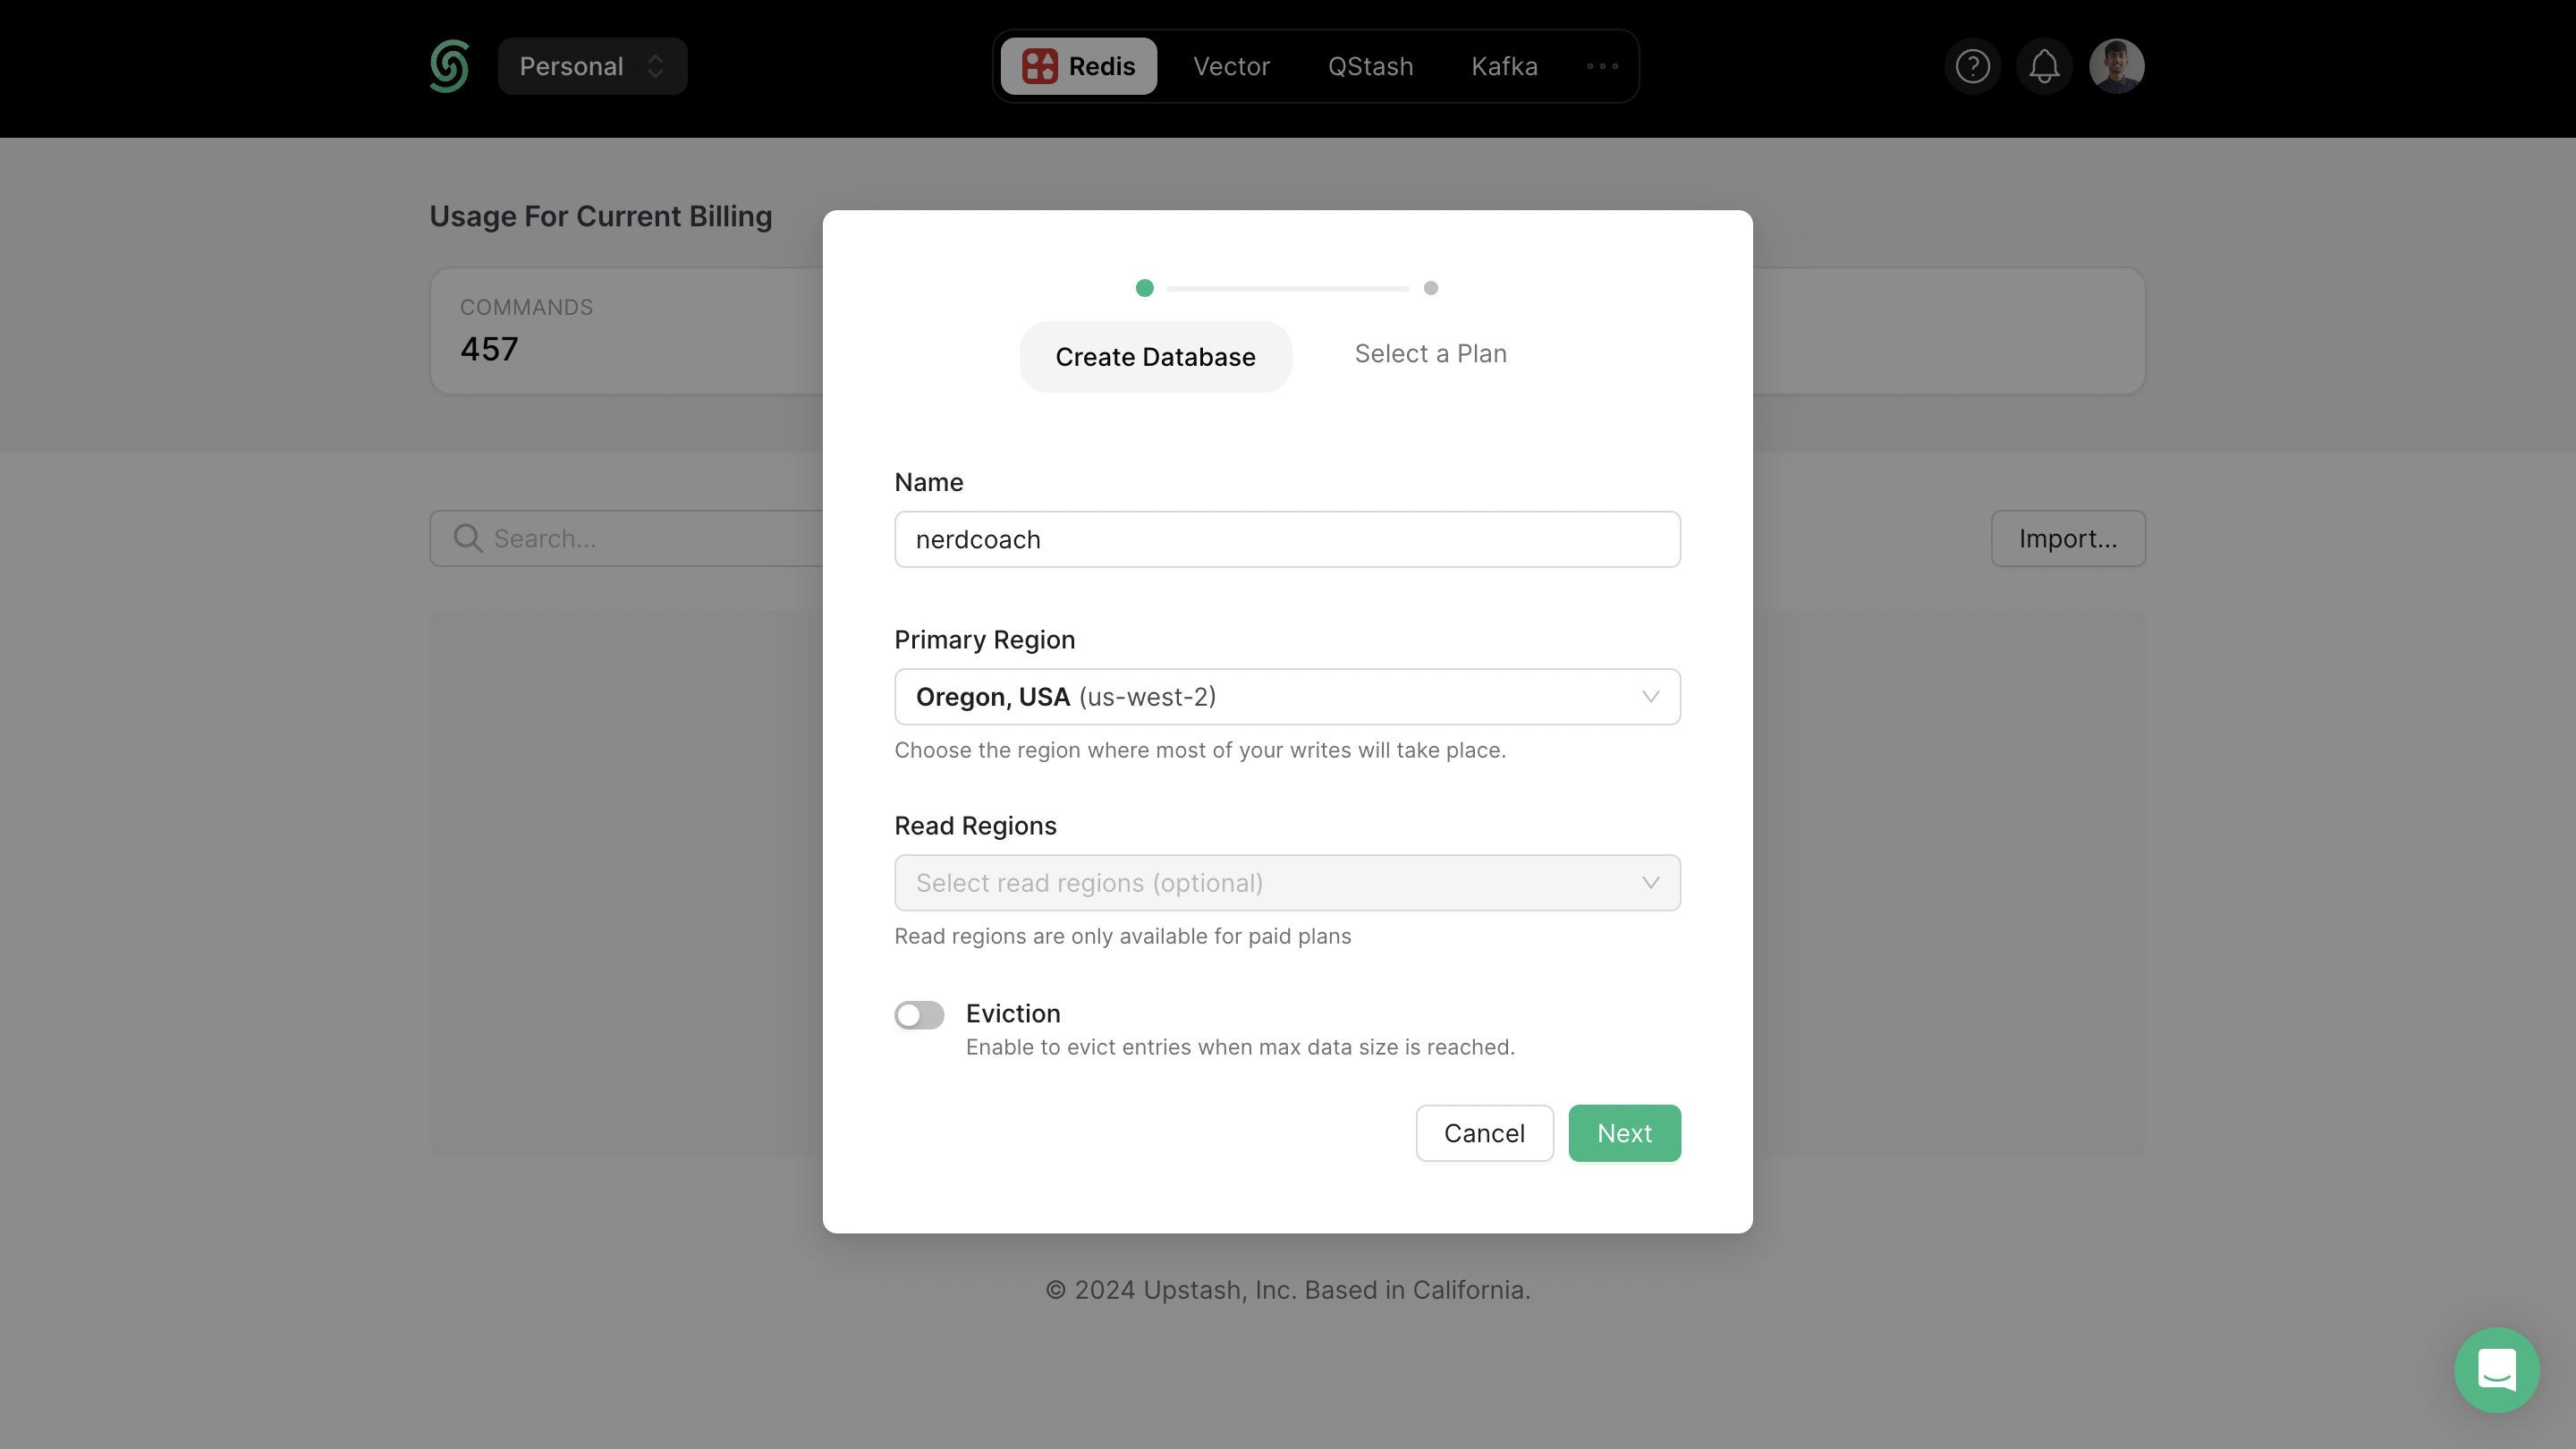
In your Upstash dashboard, go to Redis tab and create a database.
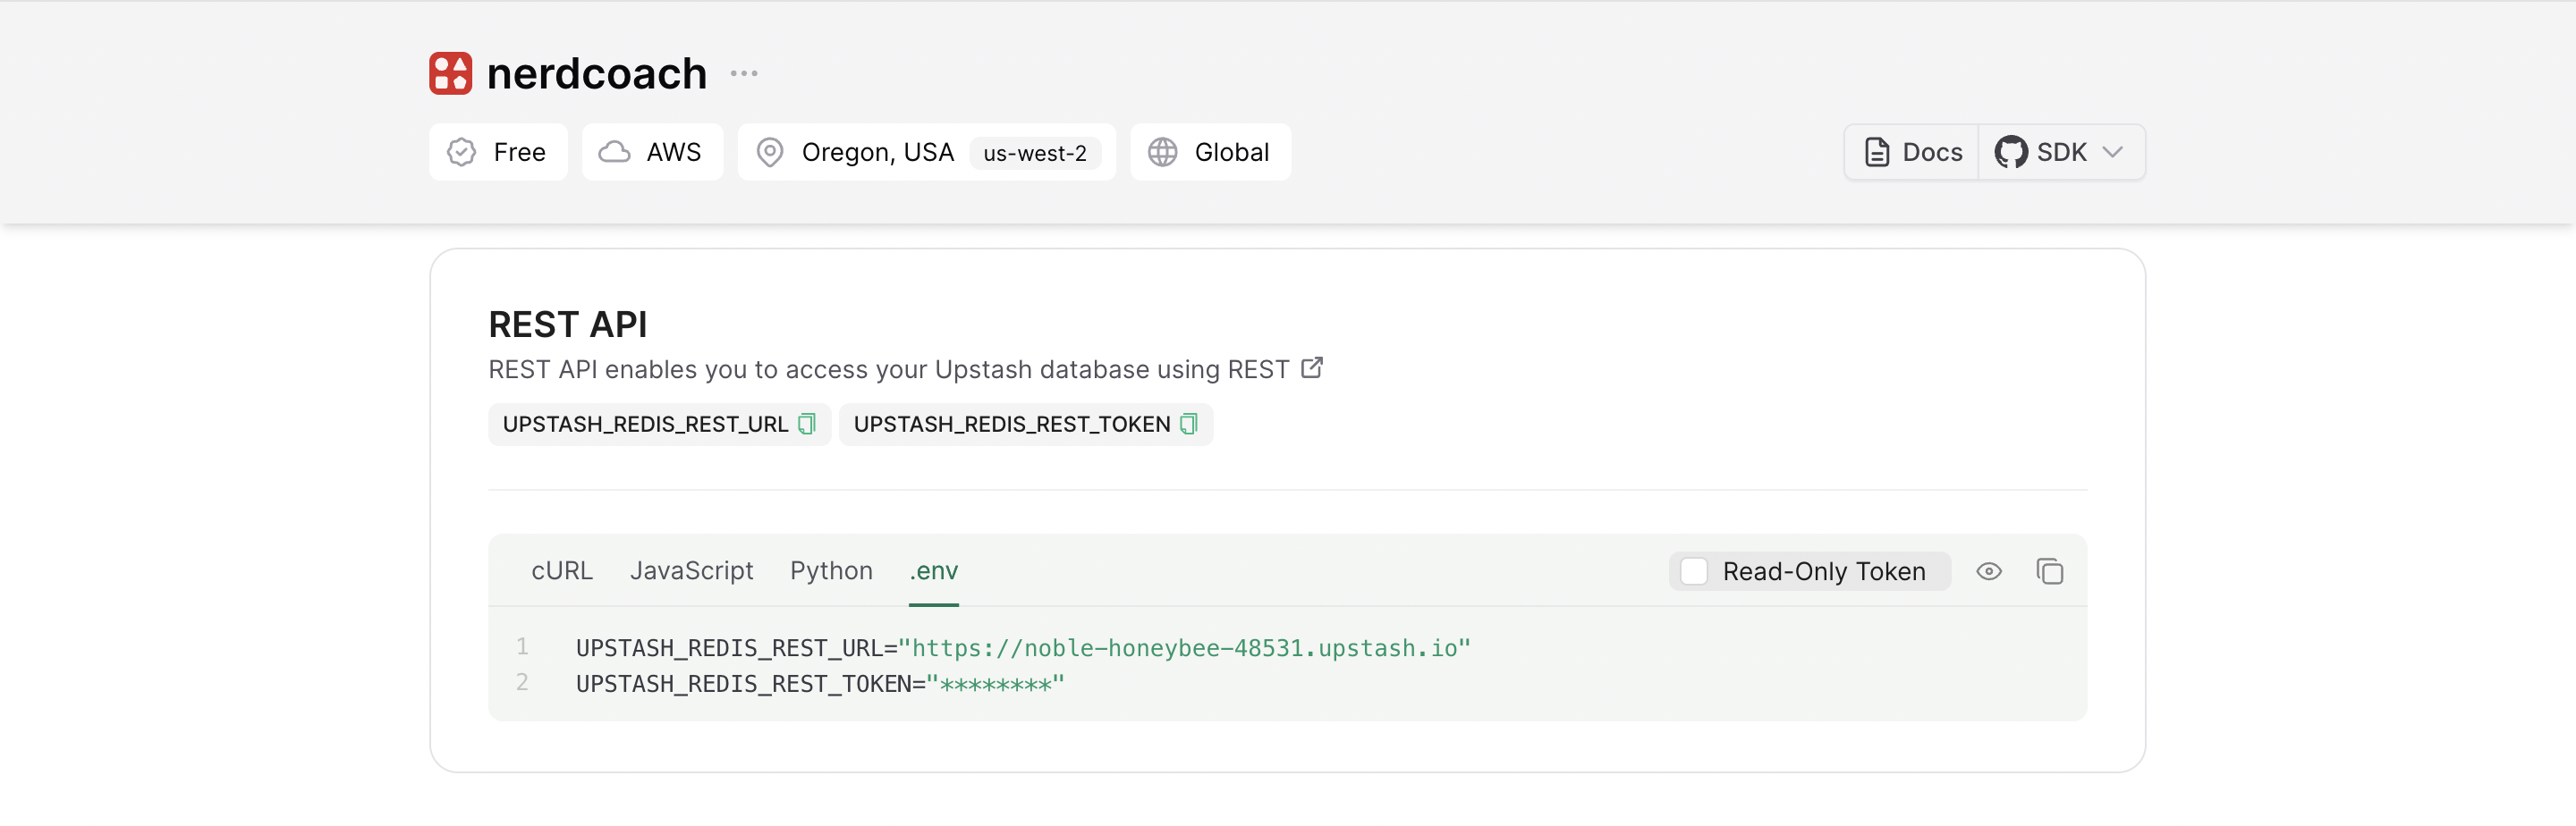
Scroll down until you find the REST API section, and select the .env button. Copy the content and save it somewhere safe.
Setting up Upstash Vector
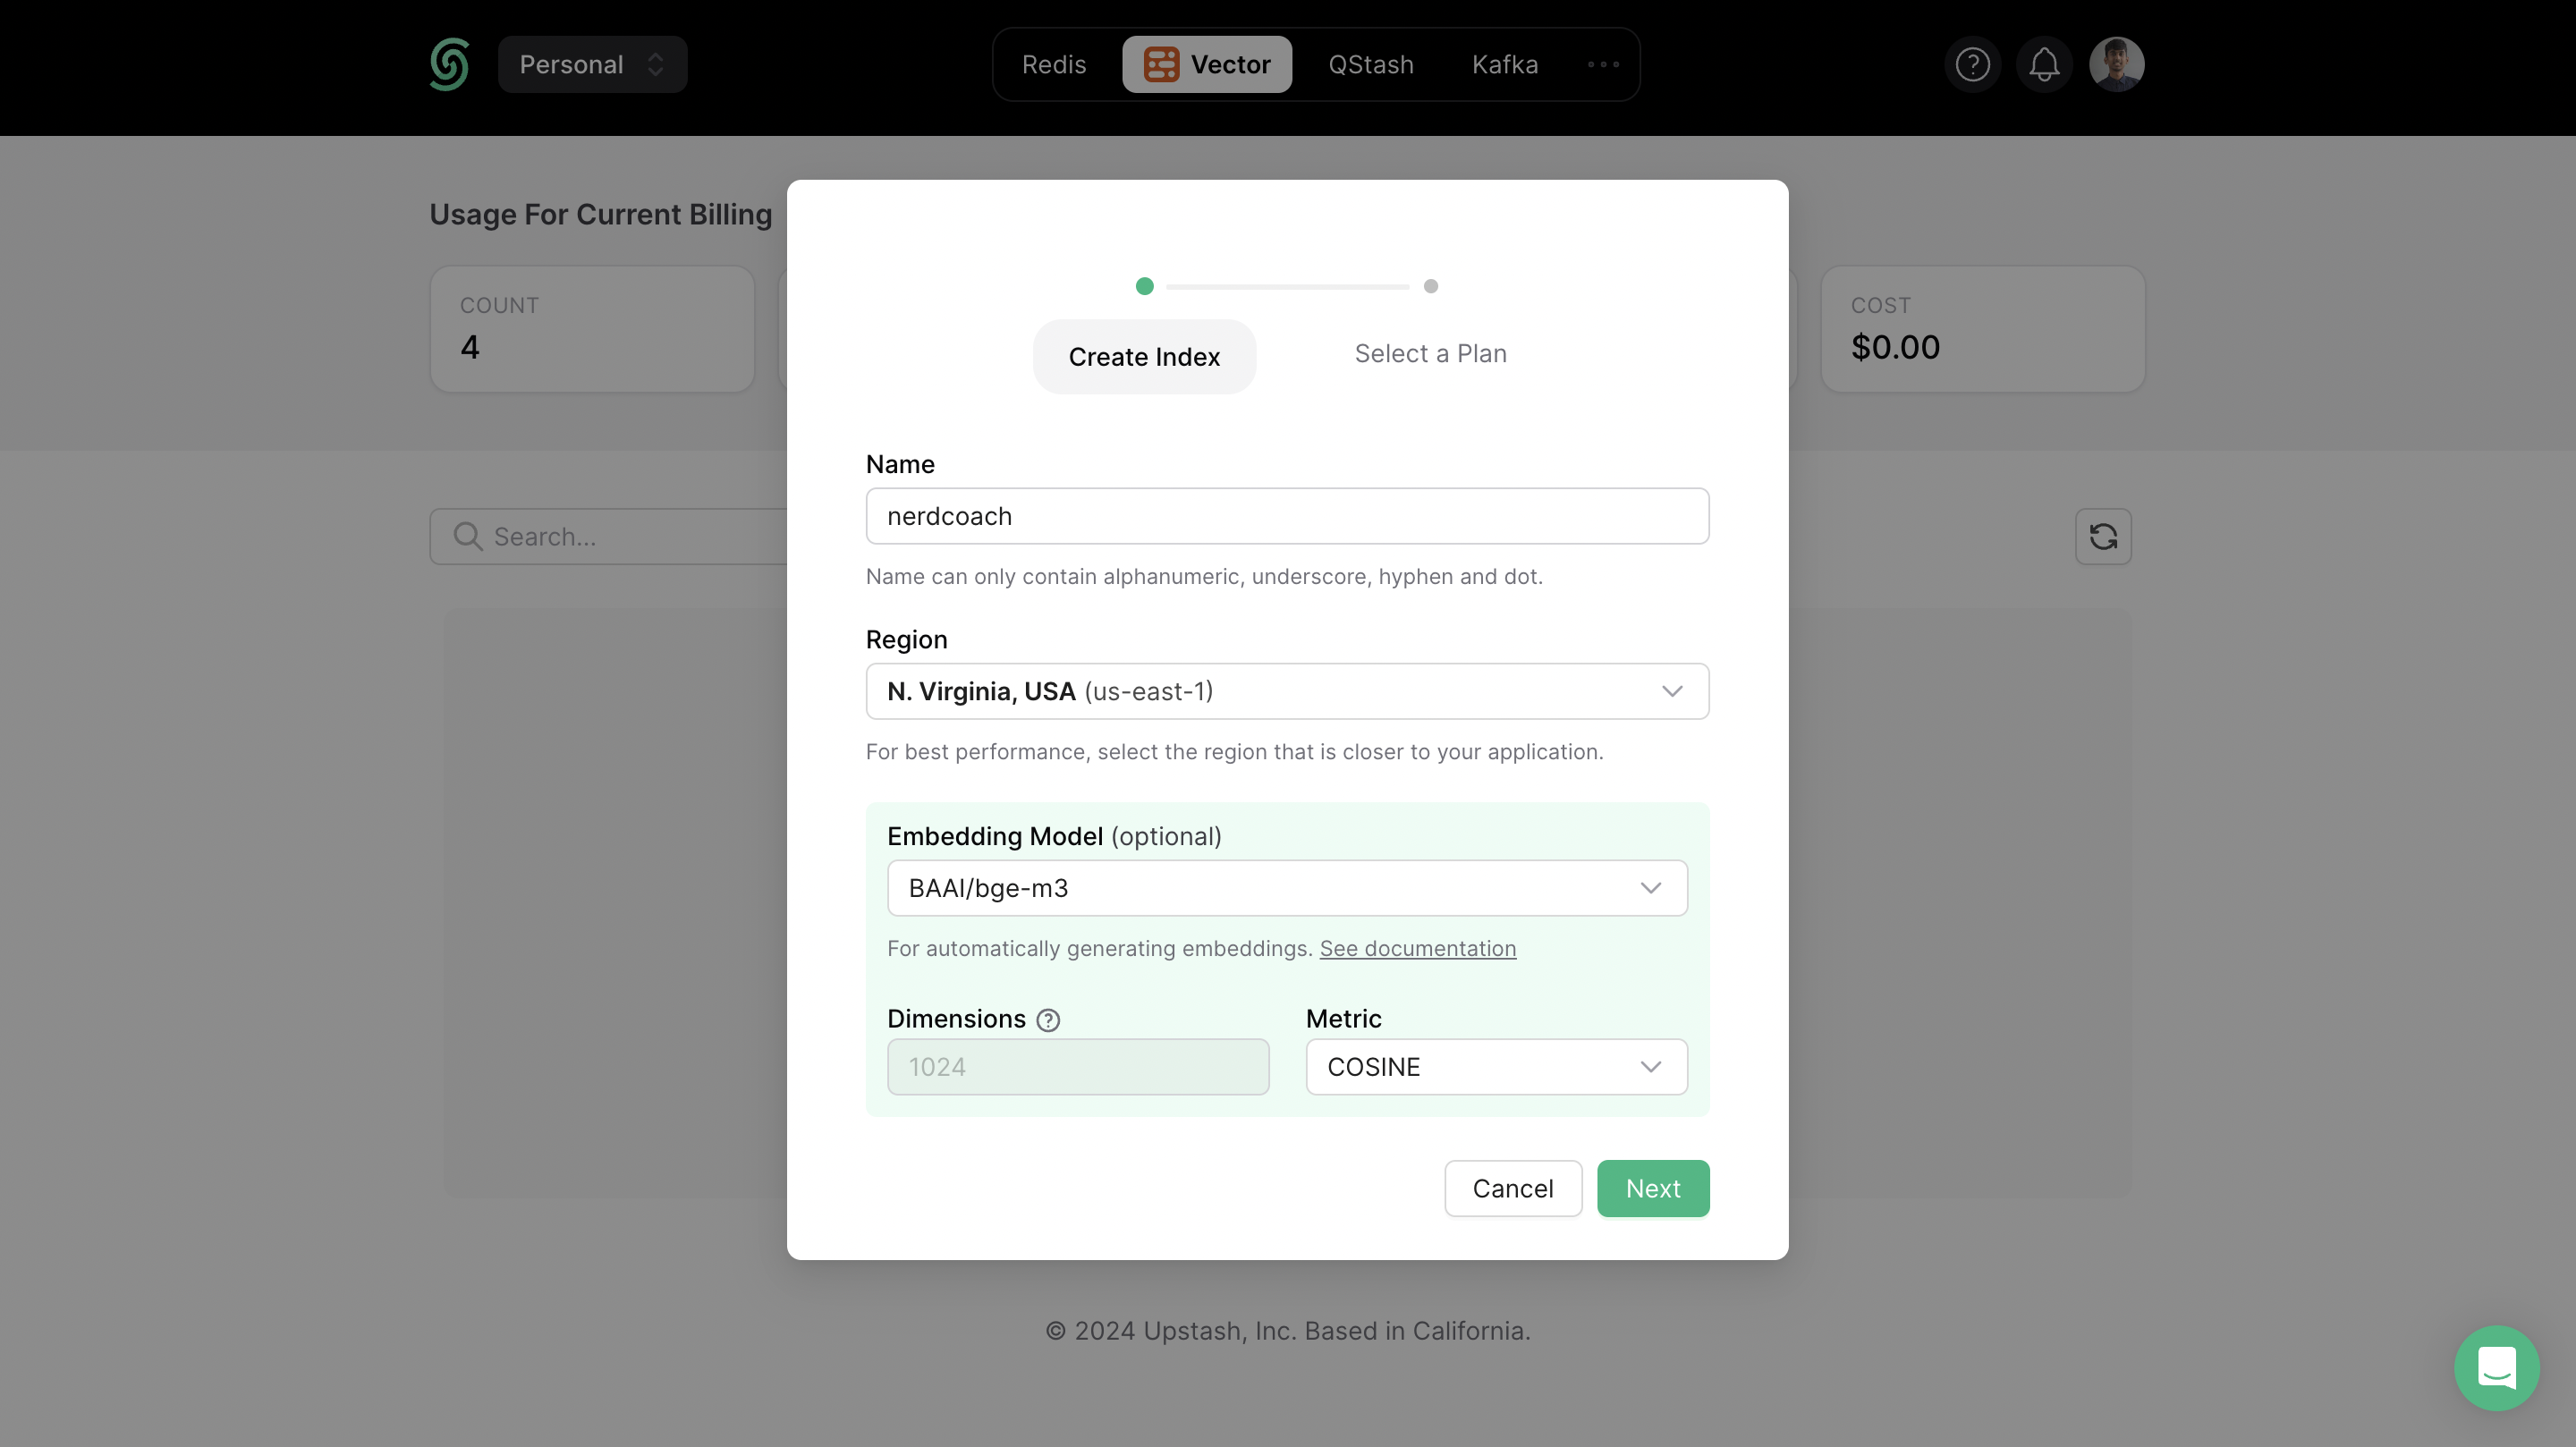
In your Upstash dashboard, go to Vector tab and create an Index.
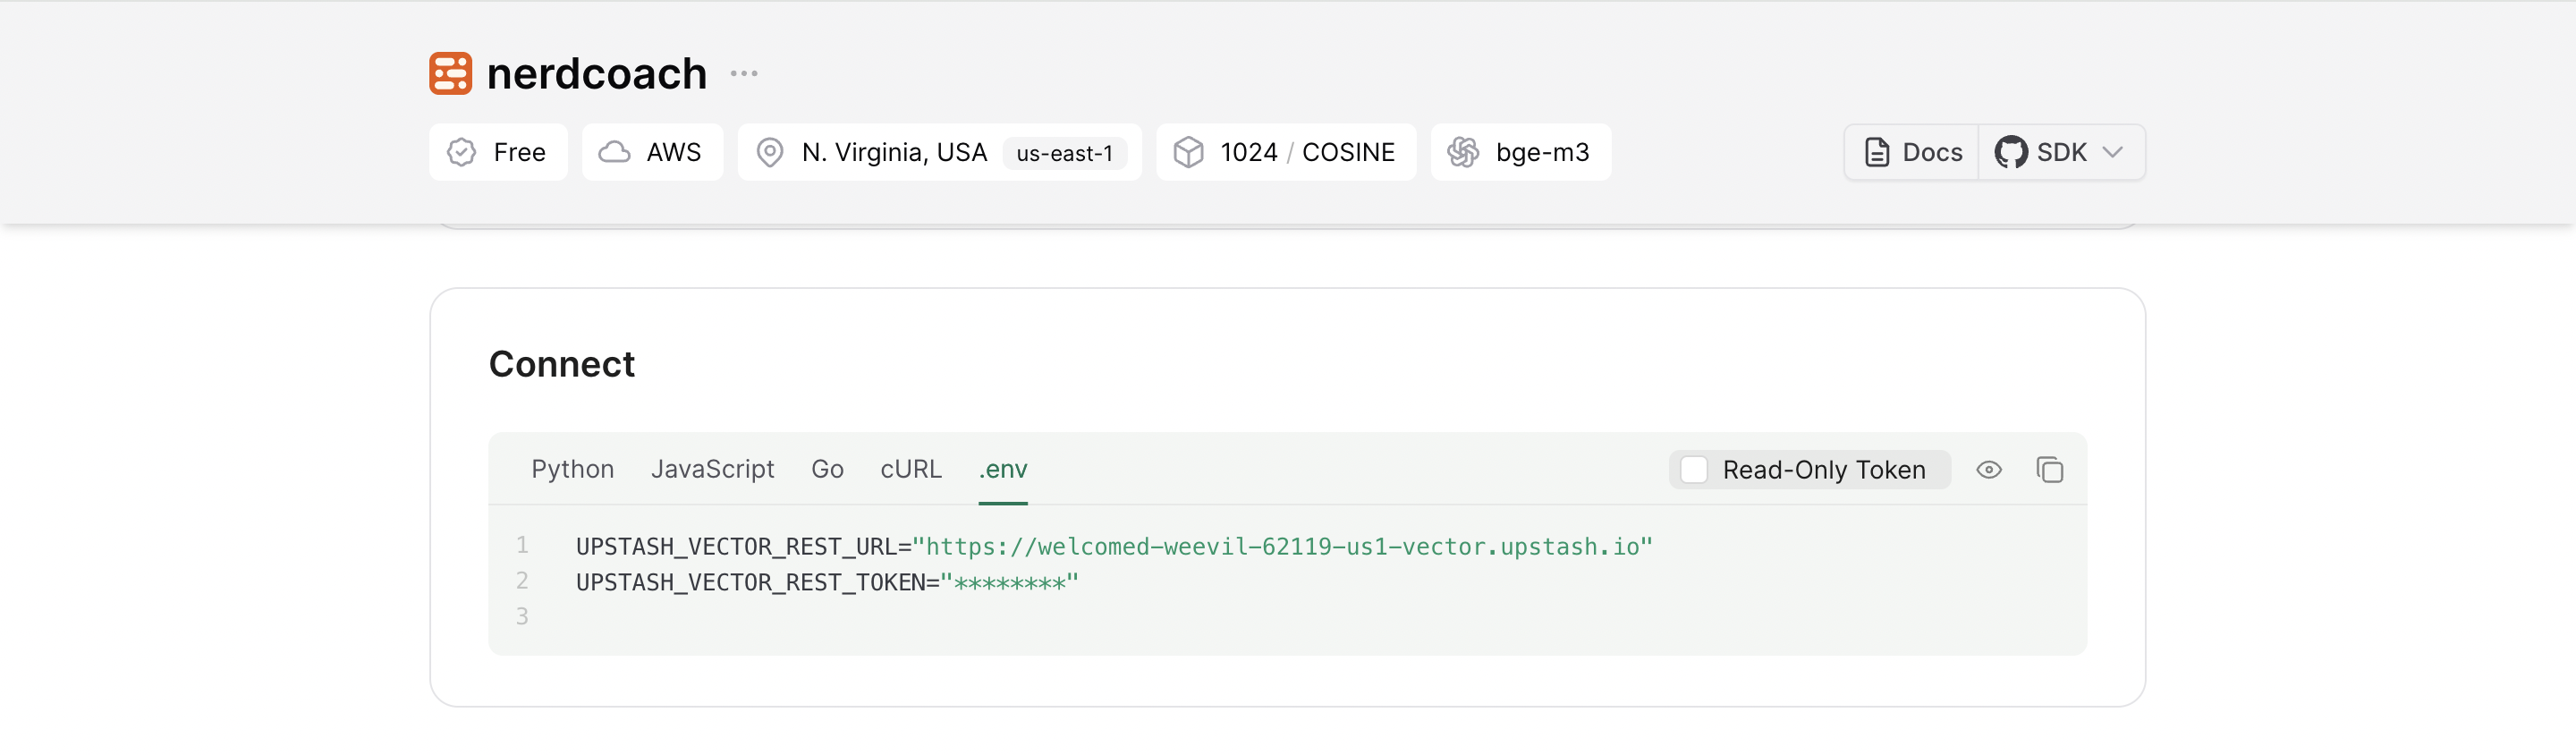
Also, scroll down until you find the Connect section, and select the .env button. Copy the content and save it somewhere safe.
Create a new Clerk application
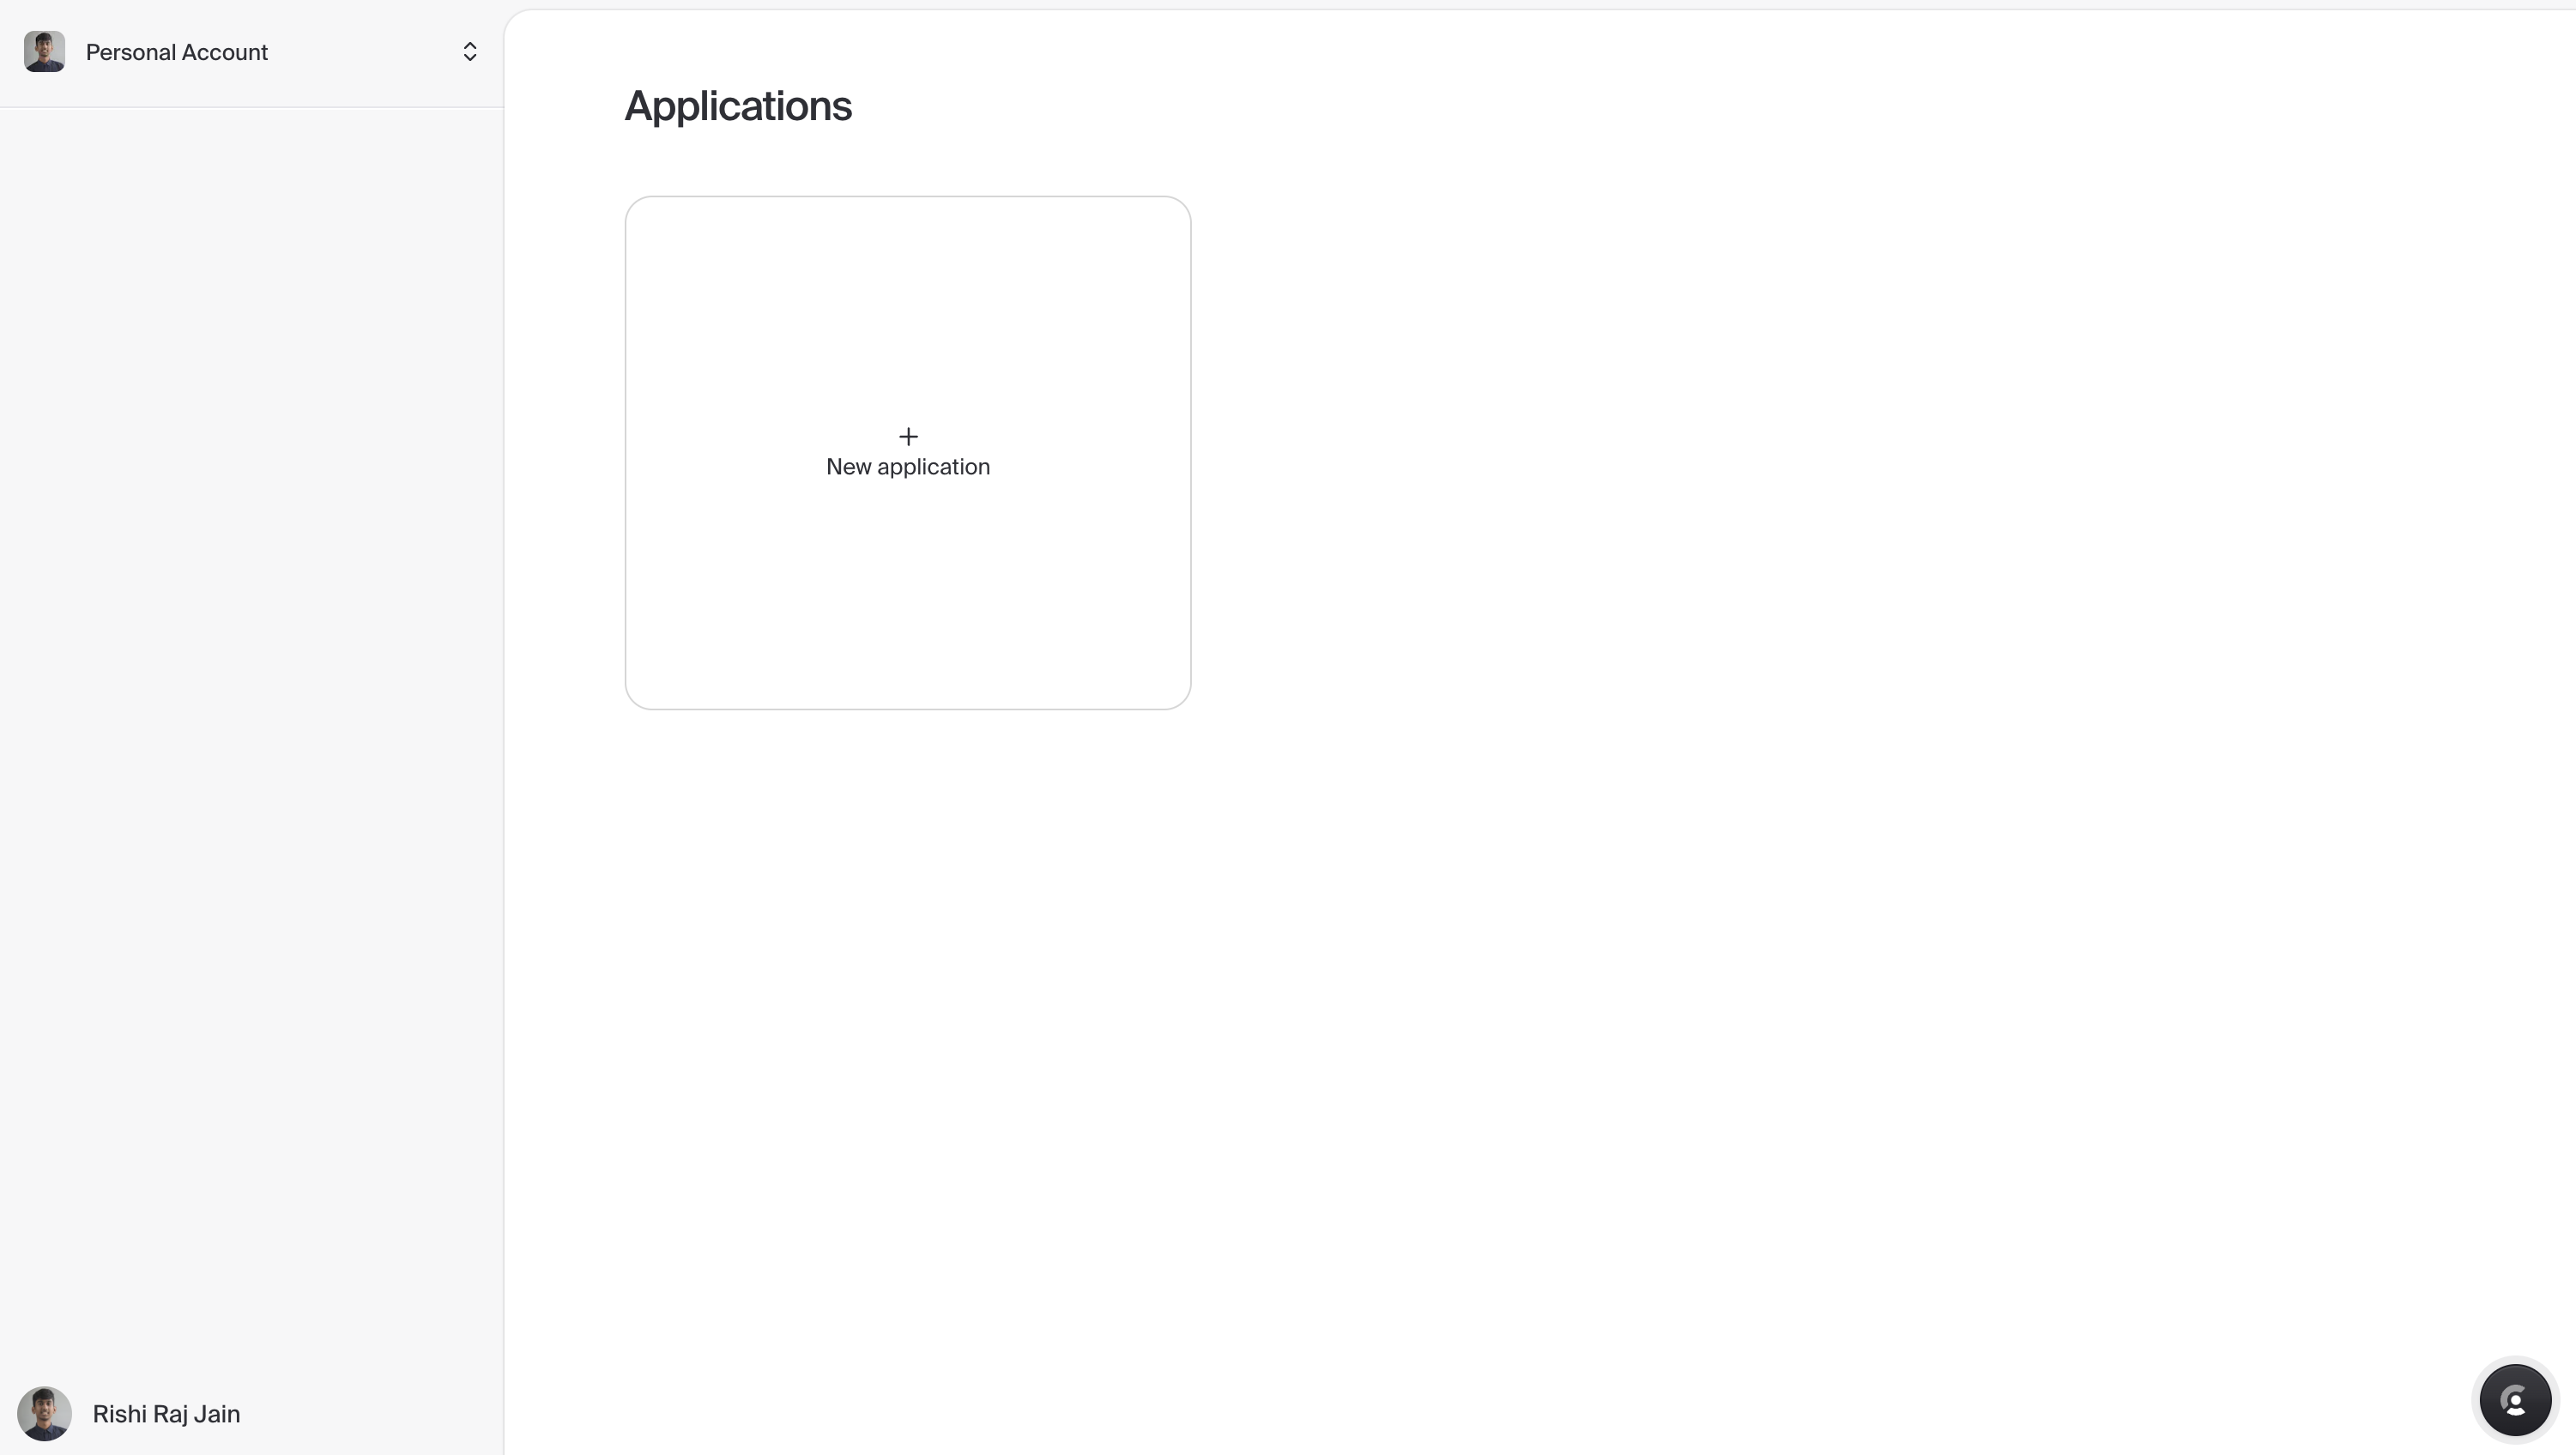
In your Clerk Dashboard, to create a new app, press the + New application card to interactively start curating your own authentication setup form.
With an application name of your choice, enable user authentication via credentials by toggling on Email and allow user authentication via Social Sign-On by toggling on providers such as Google, GitHub and Microsoft.
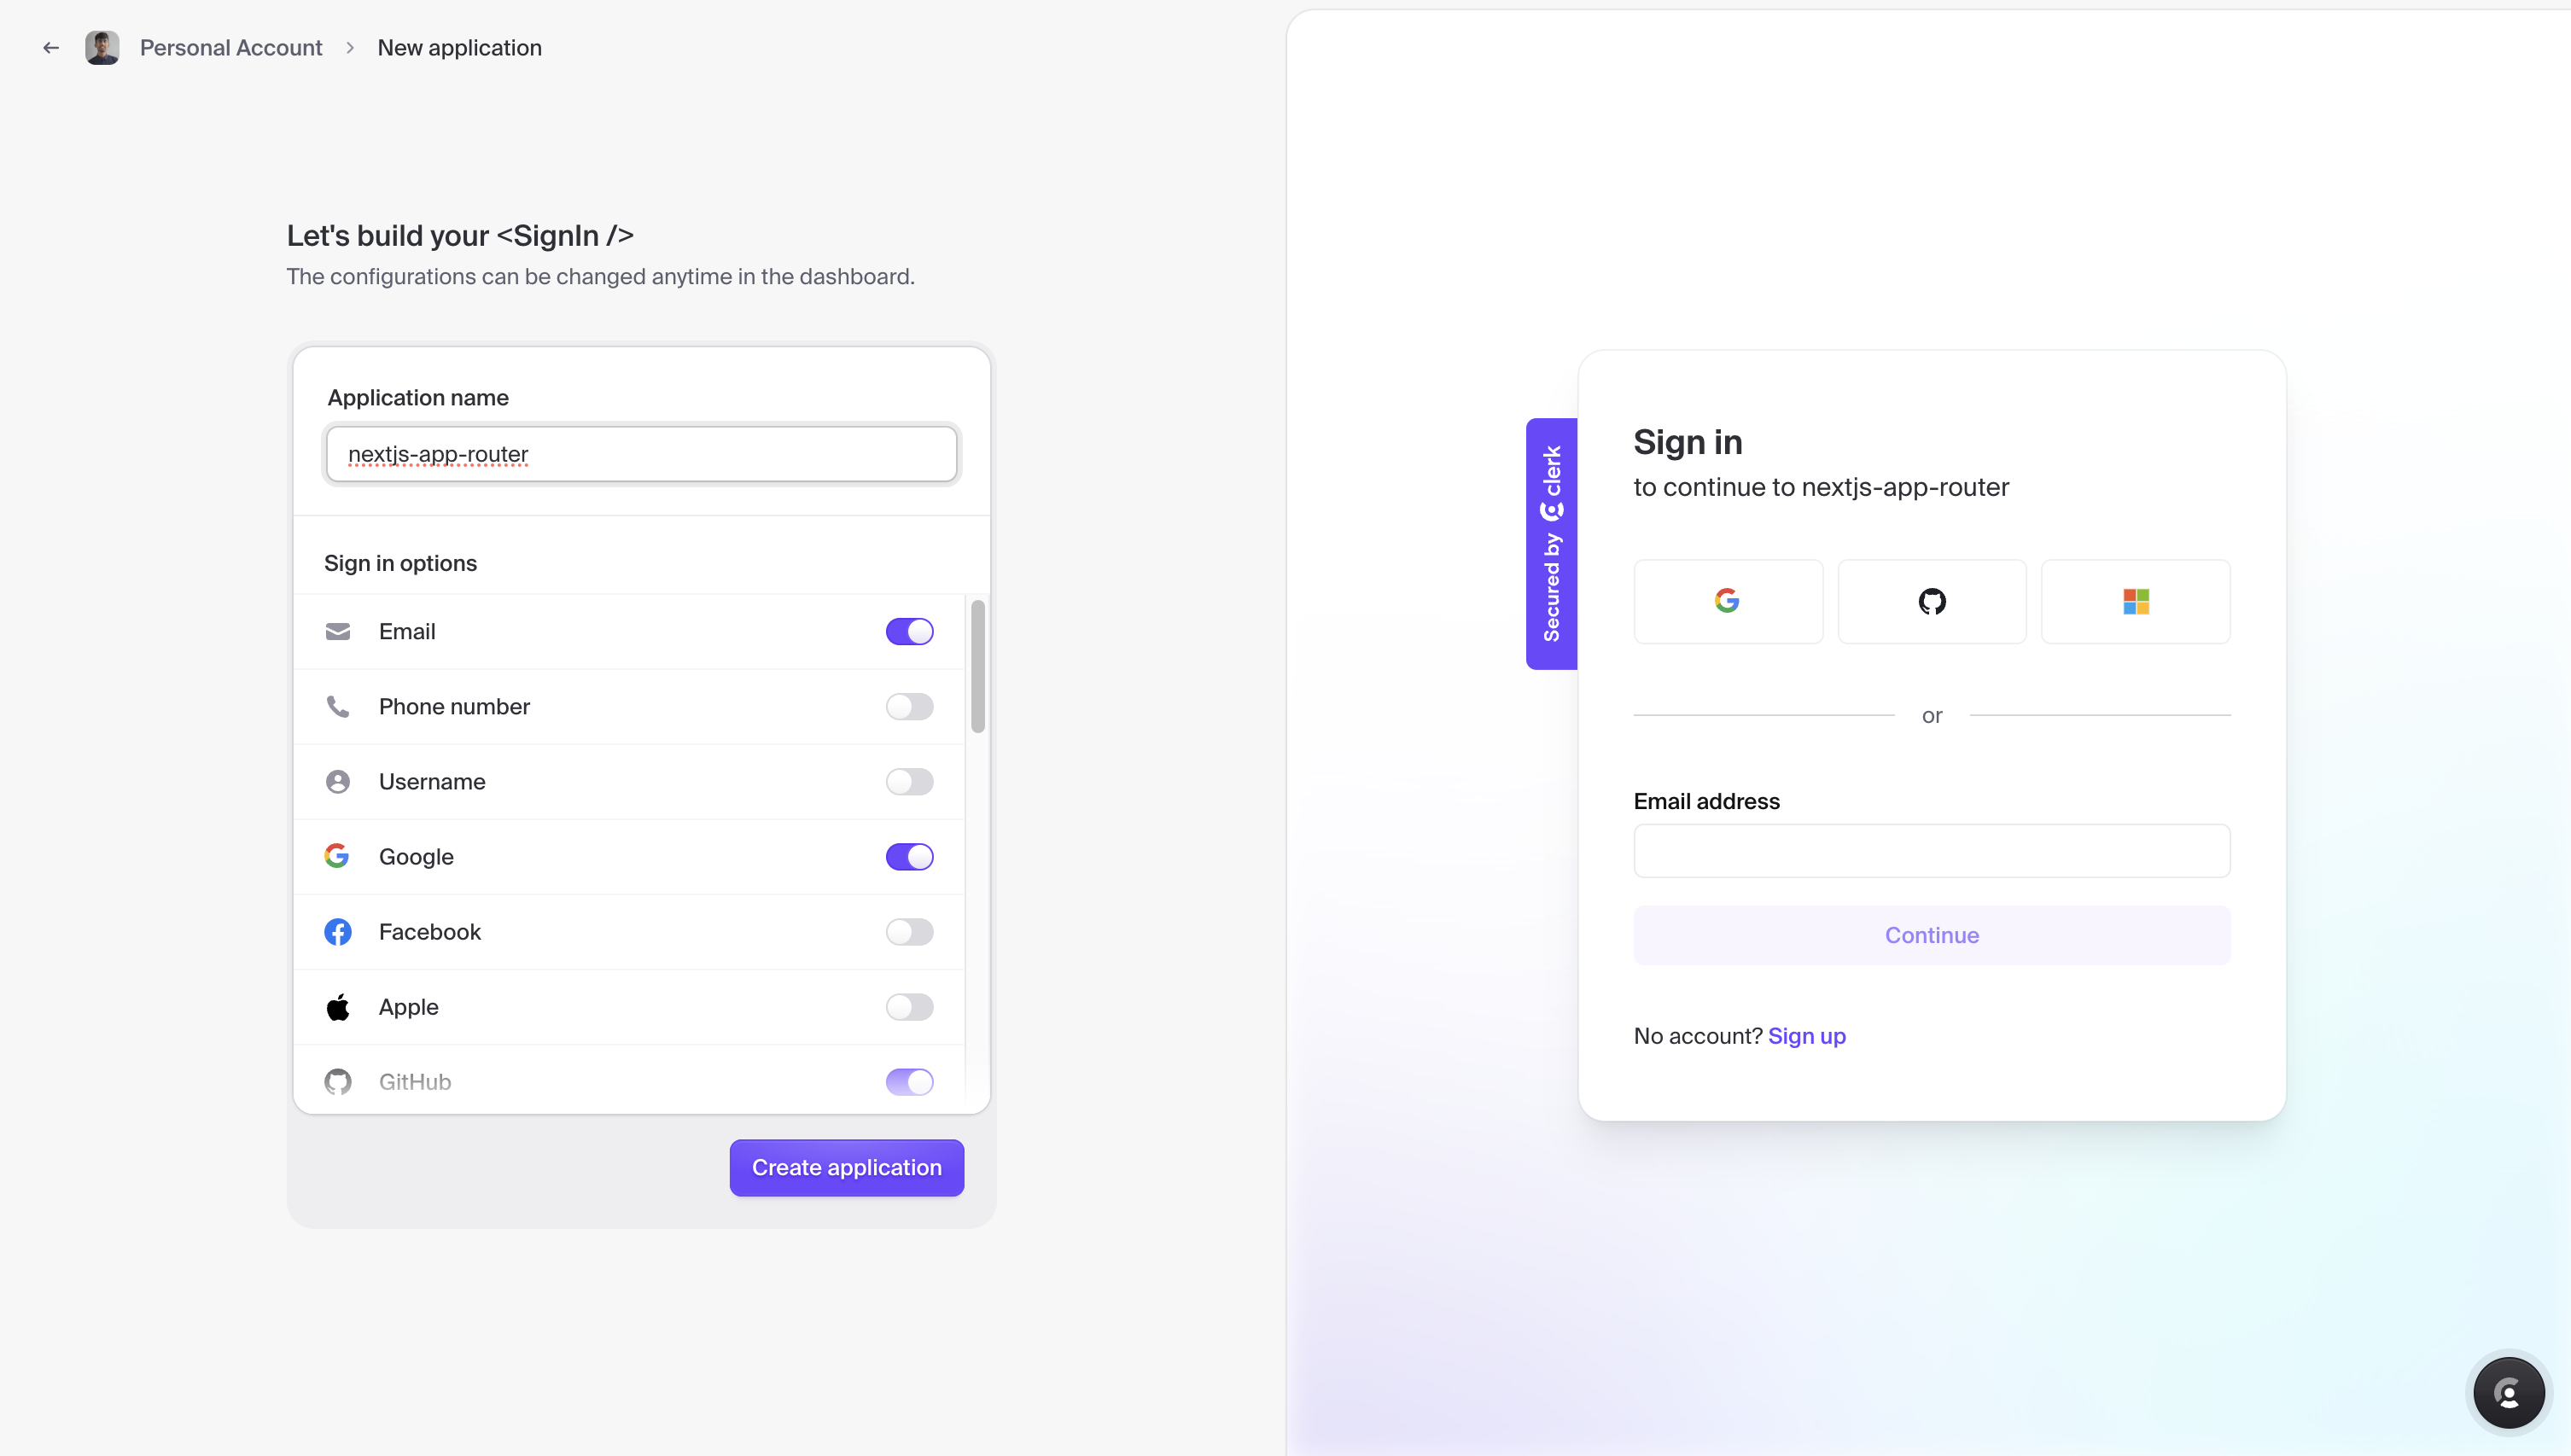
Once the application is created in the Clerk dashboard, you will be shown with your application's API keys for Next.js. Copy the content and save it somewhere safe.

Create a new Next.js application
Let’s get started by creating a new Next.js project. Open your terminal and run the following command:
npx create-next-app@latest my-appWhen prompted, choose:
Yeswhen prompted to use TypeScript.Nowhen prompted to use ESLint.Yeswhen prompted to use Tailwind CSS.Nowhen prompted to usesrc/directory.Yeswhen prompted to use App Router.Nowhen prompted to customize the default import alias (@/*).
Once that is done, move into the project directory and start the app in developement mode by executing the following command:
cd my-app
npm run dev
The app should be running on localhost:3000. Stop the development server to install the necessary dependencies with the following command:
npm install ai @clerk/nextjs @upstash/rag-chat @upstash/vectorThe libraries installed include:
ai: A library to build AI-powered streaming text and chat UIs.@clerk/nextjs: Clerk’s SDK for Next.js.@upstash/vector: A connectionless (HTTP based) Vector client.@upstash/rag-chat: Batteries included SDK for developing RAG applications.
Now, create a .env file at the root of your project. You are going to add the OPENAI_API_KEY, CLERK_SECRET_KEY, NEXT_PUBLIC_CLERK_PUBLISHABLE_KEY, UPSTASH_REDIS_REST_URL, UPSTASH_REDIS_REST_TOKEN, UPSTASH_VECTOR_REST_URL and UPSTASH_VECTOR_REST_TOKEN values you obtained earlier. It should look something like this:
# .env

# OpenAI Environment Variable
OPENAI_API_KEY="sk-None-..."

# Clerk Environment Variables
CLERK_SECRET_KEY="sk_test_..."
NEXT_PUBLIC_CLERK_PUBLISHABLE_KEY="pk_test_..."

# Upstash Redis Environment Variables
UPSTASH_REDIS_REST_URL="https://...upstash.io"
UPSTASH_REDIS_REST_TOKEN="..."

# Upstash Vector Environment Variables
UPSTASH_VECTOR_REST_URL="https://...-us1-vector.upstash.io"
UPSTASH_VECTOR_REST_TOKEN="...=="
To create API endpoints in Next.js, you will use Next.js Route Handlers which allow you to serve responses over Web Request and Response APIs. To start creating API routes in Next.js that streams responses to the user, execute the following commands:
mkdir lib
mkdir -p app/api/upsert
mkdir -p app/api/chat/history
The -p flag creates parent directories of a directory if they're missing.
This sets up our Next.js project. Now, let's set up Clerk in the application.
Set up Clerk SDK with Next.js
Clerk has a Next.js SDK that contains helpers to make implementation of sign in modal, and managing (authenticated) sessions easier. You will add the ClerkProvider component to the global layout of your Next.js application. This is a critical component as it provides access to the active session, and user context to all of Clerk’s components present anywhere in the application.
Make the following additions in app/layout.tsx to wrap the whole Next.js application with ClerkProvider component:
// File: app/layout.tsx

import './globals.css';
import type { Metadata } from 'next';
import { Inter } from 'next/font/google';
+ import { ClerkProvider } from '@clerk/nextjs';

const inter = Inter({ subsets: ["latin"] });

export const metadata: Metadata = {
  title: "Create Next App",
  description: "Generated by create next app",
};

export default function RootLayout({
  children,
}: Readonly<{
  children: React.ReactNode;
}>) {
  return (
      <html lang="en">
        <body className={inter.className}>
+      		<ClerkProvider>
              {children}
+      		</ClerkProvider>
        </body>
      </html>
  );
}
Now, let's move on to configuring the Next.js middleware for managing sessions with Clerk.
Configure Next.js Middleware for Clerk
Clerk requires middleware to allow granular control of protection via authentication over routes (including router handlers) on a per-request basis. Create a middleware.ts file at the root of your project with the following:
// File: middleware.ts

import { clerkMiddleware } from '@clerk/nextjs/server'

export default clerkMiddleware()

export const config = {
  matcher: ['/((?!.*\\..*|_next).*)'],
}
The code above imports Clerk's clerkMiddleware helper extending the ability to mark specific routes as public (i.e. they are accessible without authentication), as ignored (i.e. authentication checks are not ran on such pages), and as API Routes (i.e. they are treated by Clerk as API Endpoints). The middleware is applied to the route paths matching the matcher option in config object, which per the above config is all non-static assets paths.
Now, let's integrate shadcn/ui components in Next.js.
Integrating shadcn/ui components
To quickly prototype the user interface, you will set up the shadcn/ui with Next.js. shadcn/ui is a collection of beautifully designed components that you can copy and paste into your apps. To set up shadcn/ui, execute the command below:
npx shadcn-ui@latest initYou will be asked a few questions to configure a components.json, choose the following:
Yeswhen prompted to use TypeScript.Slatewhen prompted to choose the base color.yeswhen prompted to use CSS variables for colors.Yeswhen prompted to proceed with writing the configuration to components.json.
Once that is done, you have set up a CLI that allows us to easily add React components to your Next.js application. Next, execute the command below to get the button, input, tooltip, and toast elements:
npx shadcn-ui@latest add button
npx shadcn-ui@latest add input
npx shadcn-ui@latest add toast
npx shadcn-ui@latest add tooltip
Once that is done, you would now see a ui directory inside the app/components directory containing button.tsx, input.tsx, tooltip.tsx, toast.tsx, toaster.tsx, and use-toast.ts.
Next, open up the app/layout.tsx file, and make the following additions:
// File: app/layout.tsx

import './globals.css';
import type { Metadata } from 'next';
import { Inter } from 'next/font/google';
import { ClerkProvider } from '@clerk/nextjs';
+ import { Toaster } from '@/components/ui/toaster';

const inter = Inter({ subsets: ["latin"] });

export const metadata: Metadata = {
  title: "Create Next App",
  description: "Generated by create next app",
};

export default function RootLayout({
  children,
}: Readonly<{
  children: React.ReactNode;
}>) {
  return (
      <html lang="en">
        <body className={inter.className}>
      		<ClerkProvider>
              {children}
      		</ClerkProvider>
+           <Toaster />
        </body>
      </html>
  );
}
In the code changes above, you have imported the Toaster component, and made sure that it is present in your entire Next.js application. It enables you to show toast notifications from anywhere in your code via the useToast React hook.
Now, let's define a function to retrieve the signed in user details.
Fetch User Object with Clerk
In the getUserSession function below, it fetches the authenticated user's object using Clerk's currentUser utility. If the signed in user has a valid ID, it returns an array containing session and document identifiers based on the user's ID.
// File: lib/user.server.ts

import { currentUser } from '@clerk/nextjs/server'

export default async function getUserSession() {
  const user = await currentUser()
  if (!user?.id) return
  return [`${user.id}_session`, `${user.id}_documents`]
}
Now, let's move on to define an instance of Upstash's RAG Chat SDK.
Instantiating Upstash RAG Chat SDK with OpenAI
Upstash's RAG Chat SDK aims at simplifying the developer experience for creating rag applications, via a simplified method of instantiating an instance, generating vector embeddings of any kind of data, and querying the AI with the dynamically generated context-aware for a response.
To define an instance, create a file named rag.server.ts in the lib directory with the following code:
// File: lib/rag.server.ts

import { openaiModel, RAGChat } from '@upstash/rag-chat'

export default new RAGChat({
  model: openaiModel('gpt-3.5-turbo'),
  prompt: ({ context, question, chatHistory }) =>
    `You are NerdCoach, an AI career coach with access to an Upstash Vector Store.
  Be supportive and provide as much career advice as possible using the provided context and chat history.
  If the answer isn't available, politely inform the user.
  ------
  Chat history:
  ${chatHistory}
  ------
  Context:
  ${context}
  ------
  Question: ${question}
  Answer:`,
})
In the code above, a new RAG Chat instance using the OpenAI model gpt-3.5-turbo with a prompt template for the chat interaction is defined, aiming to provide career advice based on context and chat history.
With the utilities setup, let's move on to creating API endpoints for ingesting PDFs and streaming chat responses from AI.
Chat History API Endpoint in Next.js App Router
Create a file named route.ts in the app/api/chat/history directory that retrieves the chat history of a user with the following code:
// File: app/api/chat/history/route.ts

export const runtime = 'nodejs'

export const dynamic = 'force-dynamic'

export const fetchCache = 'force-no-store'

import ragChat from '@/lib/rag.server'
import { NextResponse } from 'next/server'
import getUserSession from '@/lib/user.server'

export async function GET() {
  const userSession = await getUserSession()
  if (!userSession) return new Response(null, { status: 403 })
  const messages = await ragChat.history.getMessages({
    amount: 100,
    sessionId: userSession[0],
  })
  return NextResponse.json({ messages })
}
The code above retrieves upto 100 chat messages for the authenticated user and returns them as a JSON response. If the user session is not found, it responds with a 403 status.
Now, let's move on to create a chat endpoint using the RAG Chat SDK.
Chat API Endpoint in Next.js App Router
To create an endpoint that handles user chat interactions with the latest context, create a file named route.ts in the app/api/chat directory with the following code:
// File: app/api/chat/route.ts

export const runtime = 'nodejs'

export const dynamic = 'force-dynamic'

export const fetchCache = 'force-no-store'

export const maxDuration = 30

import type { Message } from 'ai'
import ragChat from '@/lib/rag.server'
import { Index } from '@upstash/vector'
import getUserSession from '@/lib/user.server'
import { aiUseChatAdapter } from '@upstash/rag-chat/nextjs'

export async function POST(request: Request) {
  const [user, { messages = [] }, namespaceList] = await Promise.all([getUserSession(), request.json(), new Index().listNamespaces()])
  if (!user) return new Response(null, { status: 403 })
  const question = (messages as Message[]).at(-1)?.content
  if (!question) return new Response('No question in the request.')
  const [sessionId, namespace] = user
  if (!namespaceList.includes(namespace)) {
    await ragChat.context.add({
      type: 'text',
      data: 'The speed of light is approximately 299,792,458 meters per second.',
      options: { namespace },
    })
  }
  const response = await ragChat.chat(question, { streaming: true, namespace, sessionId })
  return aiUseChatAdapter(response)
}
The code above fetches the user session and chat messages, verifies the user's session, and adds relevant context dynamically. Then, it returns a streaming response using the aiUseChatAdapter function.
Now, let's move on to create a context endpoint using the RAG Chat SDK.
Context API Endpoint in Next.js App Router
To create an endpoint that allows authenticated users to upload a PDF file and add its vector embeddings' to the vector index, you will create a file named route.ts in the app/api/upsert directory with the following code:
// File: app/api/upsert/route.ts

export const runtime = 'nodejs'

export const dynamic = 'force-dynamic'

export const fetchCache = 'force-no-store'

import ragChat from '@/lib/rag.server'
import { NextRequest } from 'next/server'
import getUserSession from '@/lib/user.server'

export async function POST(request: NextRequest) {
  const [user, data] = await Promise.all([getUserSession(), request.formData()])
  const file = data.get('file') as File
  if (!file) return new Response(null, { status: 400 })
  if (!user) return new Response(null, { status: 403 })
  const namespace = user[1]
  const arrayBuffer = await file.arrayBuffer()
  const fileSource = new Blob([arrayBuffer], { type: file.type })
  await ragChat.context.add({
    fileSource,
    type: 'pdf',
    options: { namespace },
  })
  return new Response()
}
The code above defines a POST method that fetches the user session and uploaded file, validates them, converts the file to a Blob, and adds it to the vector index under the user's namespace.
With a per-user namespace, you easily seperate the chat context for each user.
Building the chatbot interface
To start building the application's user interface, open the app/page.tsx file and replace the existing code with the following:
// File: app/page.tsx

'use client'

import { useChat } from 'ai/react'
import { useUser } from '@clerk/nextjs'
import { useEffect, useState } from 'react'
import { useToast } from '@/components/ui/use-toast'

export default function Page() {
  const { toast } = useToast()
  const { isSignedIn } = useUser()
  const [disabled, setDisabled] = useState(true)
  const { messages, input, handleInputChange, handleSubmit, setMessages } = useChat()
  useEffect(() => {
    if (isSignedIn) {
      fetch('/api/chat/history')
        .then((res) => res.json())
        .then((res) => {
          if (res?.messages?.length > 0) setMessages(res.messages)
        })
        .finally(() => setDisabled(false))
    }
  }, [isSignedIn])
  return (
    <div className="mx-auto flex w-full max-w-md flex-col py-8">
     {/* Rest of components */}
    </div>
  )
}
The code above begins with importing the React hooks for managing the state of the user, the conversation, and invoke toast elements. As the component is mounted (and if the user's logged in state changes), the chat history for the user is fetched.
Now, perform the following additions to be able to add user-uploaded PDF(s) to their vector index namespace:
// File: app/page.tsx

'use client'

import { useChat } from 'ai/react'
import { useUser } from '@clerk/nextjs'
import { useEffect, useState } from 'react'
import { useToast } from '@/components/ui/use-toast'

export default function Page() {
  // useState and useEffect code
  return (
    <div className="mx-auto flex w-full max-w-md flex-col py-8">
+      <input
+          type="file"
+          id="fileInput"
+          className="hidden"
+          accept="application/pdf"
+          onChange={() => {
+            const fileInput = document.getElementById('fileInput') as HTMLInputElement
+            if (!fileInput || !fileInput.files || fileInput.files.length === 0) {
+              toast({
+                duration: 2000,
+                variant: 'destructive',
+                description: 'No file attached.',
+              })
+              return
+            }
+            const fileData = fileInput.files[0]
+            const formData = new FormData()
+            formData.append('file', fileData)
+            const loadingToast = toast({
+              duration: 10000,
+              description: "Adding your PDF to AI's knowledge...",
+            })
+            fetch('/api/upsert', {
+              method: 'POST',
+              body: formData,
+            }).then((res) => {
+              loadingToast.dismiss()
+              if (res.ok) {
+                toast({
+                  duration: 2000,
+                  description: "Added the PDF to AI's knowledge succesfully.",
+                })
+              } else {
+                toast({
+                  duration: 2000,
+                  variant: 'destructive',
+                  description: "Failed to add the PDF to AI's knowledge.",
+                })
+              }
+            })
+          }}
+        />
     {/* Rest of components */}
    </div>
  )
}
The code above defines an input element that only accepts a pdf file from the user. When a PDF is uploaded, via the onChange callback, it POSTs the file to /api/upsert api endpoint. Once that's done, it displays a toast indiciating if the operation was a success.
Now, perform the following additions to switch states depending on user authentication status:
// File: app/page.tsx
'use client'
import { useChat } from 'ai/react'
import { useEffect, useState } from 'react'
import { useToast } from '@/components/ui/use-toast'
- import { useUser } from '@clerk/nextjs'
+ import MemoizedMD from '@/components/memoized-react-markdown'
+ import { SignInButton, SignedIn, SignedOut, UserButton, useUser } from '@clerk/nextjs'
export default function Page() {
// useState and useEffect code
return (
<div className="mx-auto flex w-full max-w-md flex-col py-8">
{/* Input component */}
+ <div className="flex flex-row items-start justify-between">
+ <span className="text-xl font-semibold">NerdCoach</span>
+ <SignedIn>
+ <div className="size-[28px] rounded-full bg-black/10">
+ <UserButton />
+ </div>
+ </SignedIn>
+ </div>
+ {isSignedIn ? (
+ disabled ? (
+ <div className="mt-8 flex flex-col gap-y-2">
+ <div className="h-[30px] animate-pulse bg-black/10" />
+ <div className="h-[30px] animate-pulse bg-black/10" />
+ <div className="h-[30px] animate-pulse bg-black/10" />
+ </div>
+ ) : (
+ messages.map(({ content }, idx) => <MemoizedMD key={idx} message={content} />)
+ )
+ ) : (
+ <div className="mt-8 flex max-w-max flex-col justify-center">
+ <SignedOut>
+ <div className="rounded border px-3 py-1 shadow transition duration-300 hover:shadow-md">
+ <SignInButton mode="modal">Sign in to use NerdCoach →</SignInButton>
+ </div>
+ </SignedOut>
+ </div>
+ )}
{/* Rest of components */}
</div>
)
}The code above creates a signed in and out state of the application for the user. If the user is signed in, it displays their image via UserButton component with additional actions, and a default loading state of their chat history. If the user is signed out, it shows a Sign in to use Nerdcoach button.
Now, perform the following additions to add an input for user to submit their prompt and upload PDF file:
// File: app/page.tsx

'use client'

import { useChat } from 'ai/react'
import { useEffect, useState } from 'react'
import { useToast } from '@/components/ui/use-toast'
import MemoizedMD from '@/components/memoized-react-markdown'
import { SignInButton, SignedIn, SignedOut, UserButton, useUser } from '@clerk/nextjs'
+ import { Upload } from 'lucide-react'
+ import { Input } from '@/components/ui/input'
+ import { Tooltip, TooltipContent, TooltipProvider, TooltipTrigger } from '@/components/ui/tooltip'

export default function Page() {
  // useState and useEffect code
  return (
    <div className="mx-auto flex w-full max-w-md flex-col py-8">
      {/* Input component */}
      {/* Rest of components */}
+      <div className="fixed bottom-0 mb-8 flex w-full max-w-[82vw] flex-row items-center shadow sm:max-w-md">
+        <div className="cursor-pointer border bg-white px-2 py-1 pt-2 text-gray-400 hover:text-gray-800">
+          <TooltipProvider>
+            <Tooltip>
+              <TooltipTrigger
+                onClick={() => {
+                  const tmp = document.querySelector(`[id="fileInput"]`) as HTMLInputElement
+                  tmp?.click()
+                }}
+              >
+                <Upload className="size-[20px]" />
+              </TooltipTrigger>
+              <TooltipContent>
+                <span>Upload Resume</span>
+              </TooltipContent>
+            </Tooltip>
+          </TooltipProvider>
+        </div>
+        <Input
+          value={input}
+          disabled={disabled}
+          className="!rounded-none"
+          onChange={handleInputChange}
+          placeholder="Ask something..."
+          onKeyDown={(e) => {
+            if (e.key.toLowerCase() == 'enter') handleSubmit()
+          }}
+        />
+      </div>
    </div>
  )
}
The code above defines an input element which after the user submits their prompt, calls the /api/chat endpoint. It also defines a TooltipProvider component which invokes the PDF file uploader input if a user clicks the upload icon.
That was a lot of learning! You’re all done now ✨
Deploy to Vercel
The repository, is now ready to deploy to Vercel. Use the following steps to deploy 👇🏻
- Start by creating a GitHub repository containing your app's code.
- Then, navigate to the Vercel Dashboard and create a New Project.
- Link the new project to the GitHub repository you just created.
- In Settings, update the
Environment Variablesto match those in your local.envfile. - Deploy! 🚀
More Information
For more detailed insights, explore the references cited in this post.
Conclusion
In this blog, you learned how to build a career coach application using Upstash Vector, Upstash Redis, OpenAI API, Clerk, Next.js App Router, and Vercel. You set up Upstash to manage vector embeddings and chat history, configured Clerk for user authentication, and integrated OpenAI for AI-powered responses. The blog walked you through creating API endpoints for chat interactions, adding context from user-uploaded PDFs, and building a user interface with authentication and file upload functionalities.