# Get Started with Astro and Redis
> **Source:** https://upstash.com/blog/getting-started-astro-redis
> **Date:** 2022-08-30
> **Author(s):** Rodney Johnson
> **Reading time:** 16 min read
> **Tags:** redis, astro, cloudflare, serverless
> **Format:** text/markdown — machine-readable content for agents and LLMs
Getting started with Astro and Redis: quick start tutorial building a notes app with serverless Upstash data and Cloudflare workers.
---
Astro is a new tool optimized for building **fast** content sites. Although it is new, the team already released version 1.0 and the APIs are now stable. Key selling points are **zero JavaScript** by default as well as “bring your own framework”. We will use Svelte here to help us get started with Astro and Redis. That is building a basic notes app with a serverless database. Although we use Svelte, you should be able to follow along without prior Svelte knowledge. That said, you can swap the components out for React, Vue or other supported frameworks later, if you prefer.
We will lean heavily on browser APIs and, in fact, only ship JavaScript in a single of component. We are going to host the app on Cloudflare and use Workers, but will get into that later.
To get started with Astro and Redis, clone the starter code template locally:
```shell
pnpm create astro -- --template rodneylab/upstash-astro
```
When prompted, accept installation of dependencies and initializing a git repo. Pick the recommended TypeScript option. Change directory into your new project folder. There is no framework support by default, and we add an integration to be able to use Svelte:
```shell
pnpm astro add svelte
```
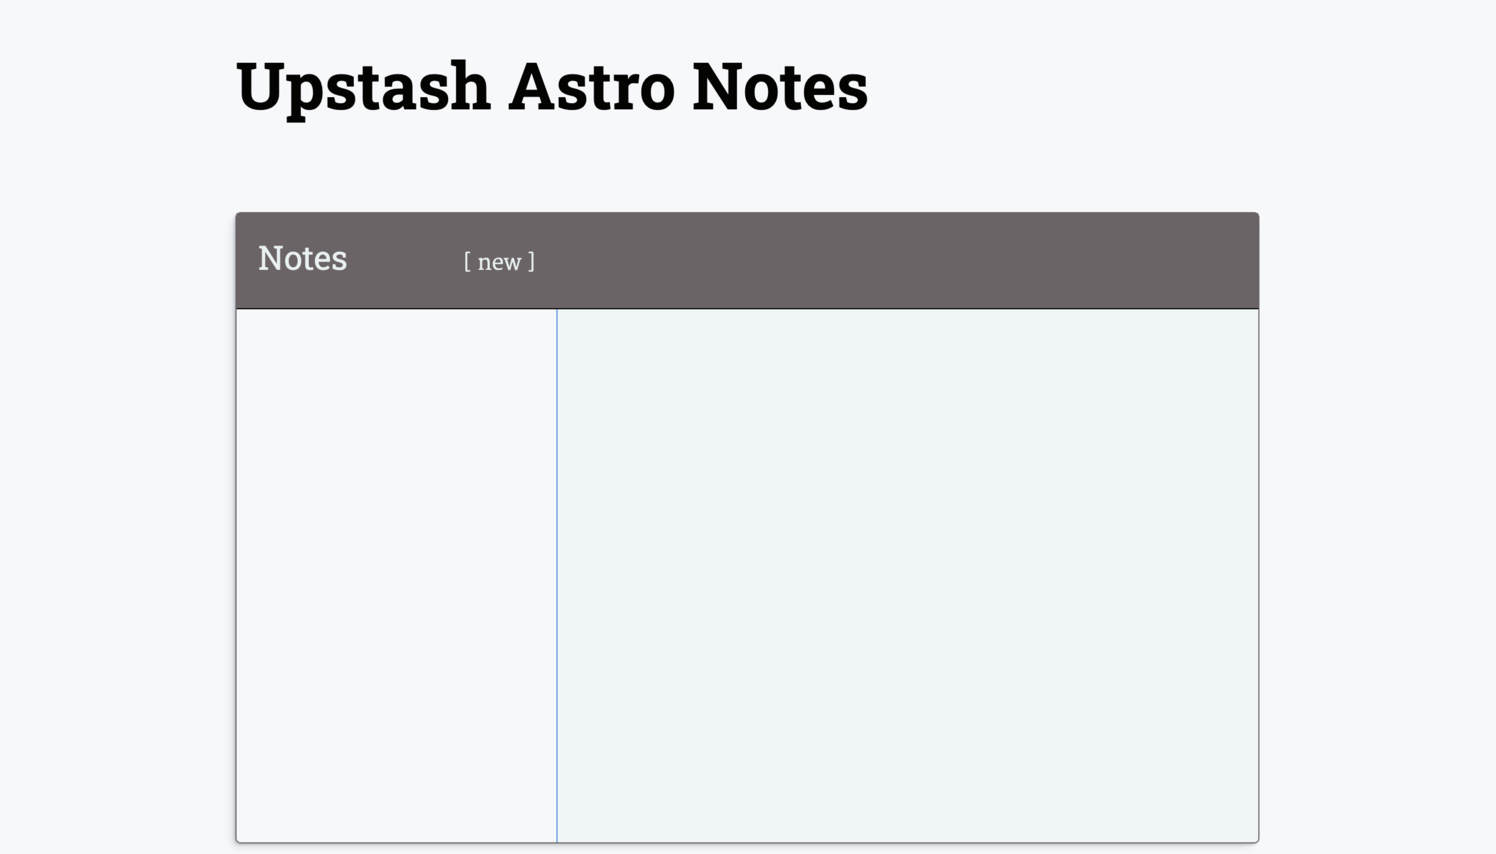
Svelte setup is automatic if you **choose the default options** from the prompts. Next, to spin up the dev server, run the `pnpm dev` command. The CLI will give you the URL (something like http://localhost:3000). Open the URL in your browser.
## Astro Routing
Let’s take a look at `src/pages/index.astro`. This is the Astro markup for the home page at `http://localhost:3000/`. Astro uses **file-based routing**. That means the Astro files we create in the `src/pages` directory get output to HTML pages with matching paths. We will also write an **API endpoint** in **TypeScript** at `src/pages/api.ts`. API files also follow the file-based routing pattern so we will access that endpoint at `http://localhost:3000/api`.
You might notice we have a favicon in the browser but there is no `link` tag in the `index.astro` markup. That is because we are using the layout file at `src/layouts/Layout.astro`. In `index.astro`, we wrap our page main content in the `Layout` component. This pattern saves us repeating layout code in larger projects.
In the `src/components` folder, we have our Svelte components. We will be able to import these into `index.astro` just like we did with the Layout component.
## Get Started with Astro and Redis: Astro Files
Astro files have two parts. The first, **script**, part is where we can add any JavaScript or TypeScript logic. We wrap this section in “`---`” delimiters. The second part is the **template** and looks a lot like HTML. It will be familiar is you already know JSX.
Some modern Astro features are:
- out-of-the box **TypeScript** support,
- [**partial hydration**](https://www.patterns.dev/posts/islands-architecture/) and
- **top level await** (within `.astro` files).
### Initial Notes
Let us define some notes in the script section of `index.astro` and then pass them to a Svelte component in the template section.
Update the code in `src/pages/index.astro` (you can leave the `style` tag at the bottom as it is throughout this tutorial):
```html
---
import HeadingBar from '~components/HeadingBar.svelte';
import NoteBody from '~components/NoteBody.svelte';
import NotesList from '~components/NotesList.svelte';
import Layout from '~layouts/Layout.astro';
import type { Note } from '~types/note';
const editMode = false;
const notes: Note[] = [
{
id: '1',
title: 'Very first note',
text: 'First note’s text',
modified: new Date().toISOString(),
},
{
id: '2',
title: 'Another note',
text: 'This note’s text',
modified: new Date().toISOString(),
},
];
const selectedNote = notes[0];
const title = 'Upstash Astro Notes';
---
{title}
```
You should see the first note displayed. It is not yet possible to do much else and we will set up the database in a moment. For now, that’s your first bit of Astro code done! We see some JSX influence in the line:
```jsx
{selectedNote ? : null}
```
Here we use the JavaScript ternary operator to check if there is a `selectedNote`, and render nothing if there isn’t one. Notice how we use the `HeadingBar` component, passing in props. This includes a modern shortcut, letting us use the shorthand `{editMode}` where we could have written out `editMode={editMode}`.
We mentioned earlier that Astro ships zero JavaScript by default. In fact the `HeadingBar` component we just added follows this default. When we do want JavaScript to run in a component, we can enable it by including the `client:load` directive in its attributes (like on the `NotesList` component). Check [Astro docs for other directives](https://docs.astro.build/en/reference/directives-reference/#client-directives) like hydrate once visible. Next we will fire up our Redis database so we can get rid of the static, manual comments.
## Get Started with Astro and Redis: Serverless Redis
We will use Upstash to provide our Redis database. Create an Upstash account if you don’t yet have one, otherwise just sign in. From the console, create a new database. We need two environment variables for your Astro project, from the console. Scroll down to the _REST API_ section of the database _Details_ page. We need:
- UPSTASH_REDIS_REST_URL
- UPSTASH_REDIS_REST_TOKEN
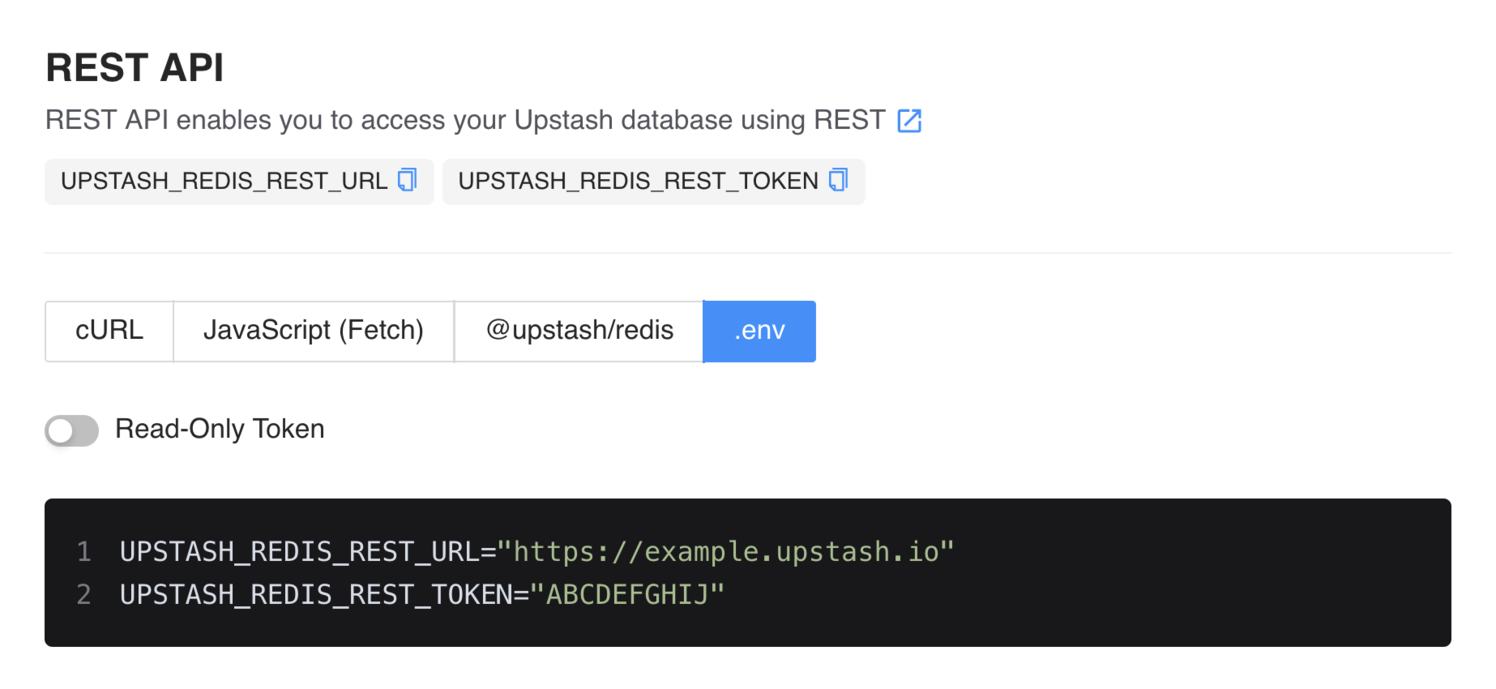
Rename the `.env.EXAMPLE` file in the project root directory to `.env` and add these credentials there. `.env` is included in the project `.gitignore` to avoid accidentally committing these values.
Now we have that set up, we can create our API route, linking our app to the serverless Redis database.
## API Route
We will minimize JavaSript use and lean heavily on HTML. To achieve that, in the main part, we will use the [HTML form element](https://developer.mozilla.org/en-US/docs/Web/HTML/Element/form) `action` and `method` attributes to initiate **create**, **update** and **delete** processes. To **read** the list of available notes, we use an HTTP GET request. These processes all start in the `index.astro` or the Svelte component file code.
The `src/pages/api.ts` file will handle all of them, ultimately from a Cloudflare Worker. From there we reach out to the Upstash serverless database to complete the CRUD (create, read, update and delete) operation. Let’s take a closer look at the file. So, this file handles HTTP requests sent to `http://localhost:3000/api`. We are using the `@upstash/redis` package to interface with our remote database. We import this and then configure the Redis instance at the top:
```ts
import { Redis } from "@upstash/redis";
/* TRUNCATED */
const HASHSET_KEY = "notes";
const url = import.meta.env.UPSTASH_REDIS_REST_URL;
const token = import.meta.env.UPSTASH_REDIS_REST_TOKEN;
const redis = new Redis({ url, token });
```
To access secret environment variables in Astro we use `import.meta.env`.
### HTTP Requests
As you would expect the code in the `get` and `put` methods (further down) responds to HTTP GET and PUT requests received by the endpoint. These functions have access to the input HTTP Request and return a **Response**.
We set up our note creation process so that new notes have a title automatically set to `Untitled` and an empty body. The user can then update from the browser. We will redirect the browser to the note edit form using a query parameter. That is once we have created the skeleton note. This is the code from `src/components/NotesList.svelte` which starts the note **create** workflow, from the browser:
```html
```
The form contains a hidden `action` field used in the endpoint code above. Here the action is `create` and we will use `update` and `delete` later (in other forms). Essentially our `put` function gets the action and request URL using standard APIs. If the action is `create` we make a new note in a **Hashset data structure**. This is a [Redis structure which fits our use case](https://redis.io/docs/data-types/tutorial/) well. We use the current timestamp (as [number of milliseconds since ECMAScript epoch](https://developer.mozilla.org/en-US/docs/Web/JavaScript/Reference/Global_Objects/Date/getTime)) as the element `id`. This works fine for our simple app. The `redis.hset` call takes care of putting the new note to the database for us:
```ts
const date = new Date();
const id = date.getTime();
/* TRUNCATED */
await redis.hset(HASHSET_KEY, {
[id]: JSON.stringify(note),
});
urlParams.append("edit", "true");
urlParams.append("note", id.toString(10));
/* TRUNCATED */
return Response.redirect(`${redirectURL}?${urlParams.toString()}`);
```
Finally, notice how we add the `edit` and `note` query parameters on the end of the redirect URL. We will update the front end code to use these.
## Complete API
At the moment we can only create a skeleton note and cannot even edit it, so here is the complete code for the API. Update `src/pages/api.ts` with the full functions:
```ts
import { Redis } from "@upstash/redis/cloudflare";
import type { APIRoute } from "astro";
import type { Note } from "../types/note";
import { getDomainUrl } from "../utilities/utilities";
const HASHSET_KEY = "notes";
const url = import.meta.env.UPSTASH_REDIS_REST_URL;
const token = import.meta.env.UPSTASH_REDIS_REST_TOKEN;
const redis = new Redis({ url, token });
export const get: APIRoute = async function get() {
try {
const notes: Record | null = await redis.hgetall(HASHSET_KEY);
/* notes (when not null) has structure:
{
'1660841122914': { // this is the note id
title: 'First One',
text: 'First text',
modified: '2022-08-18T16:45:22.914Z'
},
'1660843285978': {
title: 'Second one',
text: 'Hi',
modified: '2022-08-18T17:21:25.978Z'
}
}
*/
if (notes) {
const sortedNotes: Note[] = Object.entries(notes)
.map(([id, { title, text, modified }]) => ({
id,
title,
text,
modified,
}))
.sort((a, b) => Date.parse(b.modified) - Date.parse(a.modified));
return new Response(JSON.stringify({ notes: sortedNotes }), {
headers: { "content-type": "application/json" },
status: 200,
});
}
return new Response(JSON.stringify({ notes: [] }), {
headers: { "content-type": "application/json" },
status: 200,
});
} catch (error: unknown) {
console.error(`Error in /api GET method: ${error as string}`);
return new Response(JSON.stringify({ notes: [] }), {
headers: { "content-type": "application/json" },
status: 200,
});
}
};
export const post: APIRoute = async function post({ request }) {
try {
const form = await request.formData();
const action = form.get("action");
const redirectURL: string = getDomainUrl(request);
const urlParams = new URLSearchParams();
switch (action) {
case "create": {
const date = new Date();
const id = date.getTime();
const modified = date.toISOString();
const note = {
title: "Untitled",
text: "",
modified,
};
await redis.hset(HASHSET_KEY, {
[id]: JSON.stringify(note),
});
urlParams.append("edit", "true");
urlParams.append("note", id.toString(10));
break;
}
case "update": {
const id = form.get("id") as string;
const title = form.get("title");
const text = form.get("text");
const modified = new Date().toISOString();
await redis.hset(HASHSET_KEY, {
[id]: JSON.stringify({ title, text, modified }),
});
urlParams.append("note", id);
break;
}
case "delete": {
const id = form.get("id");
if (typeof id === "string") {
await redis.hdel(HASHSET_KEY, id);
}
break;
}
default:
}
return Response.redirect(`${redirectURL}?${urlParams.toString()}`);
} catch (error: unknown) {
console.error(`Error in /api PUT method: ${error as string}`);
return Response.redirect(getDomainUrl(request));
}
};
```
So the main Upstash Redis commands we use are:
- **create**: `await redis.hset(HASHSET_KEY, { [id]: JSON.stringify({ title, text, modified }) });`,
- **read**: `await redis.hgetall(HASHSET_KEY);`,
- **update**: `await redis.hset(HASHSET_KEY, { [id]: JSON.stringify({ title, text, modified }) });`,
- **delete**: `await redis.hdel(HASHSET_KEY, id);`.
## Accessing HTTP Headers
By default Astro is a Static Site Generator (SSG) and we want access to Server Side Rendering (SSR) so we always display the latest notes from the database. We will add a Cloudflare adapter later and doing so automatically switches us from SSG to SSR. We want to access Request headers in the meantime though, this is in a `getDomainUrl` function we use in the next section. To switch to SSR update the `astro.config.js` file to include `output: 'server'` then restart your dev server:
```javascript
import svelte from "@astrojs/svelte";
import { defineConfig } from "astro/config";
// https://astro.build/config
export default defineConfig({
output: "server",
integrations: [svelte()],
});
```
## Frontend: Create and Update
Okay we’re making some progress now. Next we want to update the `index.astro` file to read query parameters in the URL then direct the user to the right view. Once we have that wired up, we will create and edit some new notes.
Astro’s `Astro.url` and `Astro.request` APIs let us access the search params and also help us to make sure we send our GET and PUT requests to the right URL. Update the script section of `index.astro`:
```javascript
---
import EditNote from '~components/EditNote.svelte';
import HeadingBar from '~components/HeadingBar.svelte';
import NoteBody from '~components/NoteBody.svelte';
import NotesList from '~components/NotesList.svelte';
import Layout from '~layouts/Layout.astro';
import type { Note } from '~types/note';
import { getDomainUrl } from '~utilities/utilities';
const { request, url } = Astro;
const domainUrl = getDomainUrl(request);
const { searchParams } = url;
const selectedId = searchParams.get('note');
const editMode = searchParams.get('edit') === 'true';
const response = await fetch(`${domainUrl}/api`, { method: 'GET' });
const { notes }: { notes: Note[] } = await response.json();
const selectedNote = notes.find(({ id }) => id === selectedId) ?? notes[0];
const title = 'Upstash Astro Notes';
---
```
`searchParams` is a [URLSearchParams object from the Browser API](https://developer.mozilla.org/en-US/docs/Web/API/URLSearchParams). You can see we also use the fetch Browser API to send the get request to our endpoint and pull in the list of notes (currently empty). Astro makes heavy use of browser standards.
`getDomainUrl` is a utility function. We define it in `src/utilities/utilities`. This will return `http://localhost:3000` for now, something like `http://localhost:8788`, when we later run the site locally using the Cloudflare Wrangler tool and finally, `https://example.com` when we deploy our site to the web.
As a final step, update the template code in `index.astro`:
```jsx
{title}
{editMode && selectedNote ? : null}
{!editMode && selectedNote ? : null}
```
Here we are making use of the `editMode` parameter we extract from the URL.
## Get Started with Astro and Redis: Testing it Out
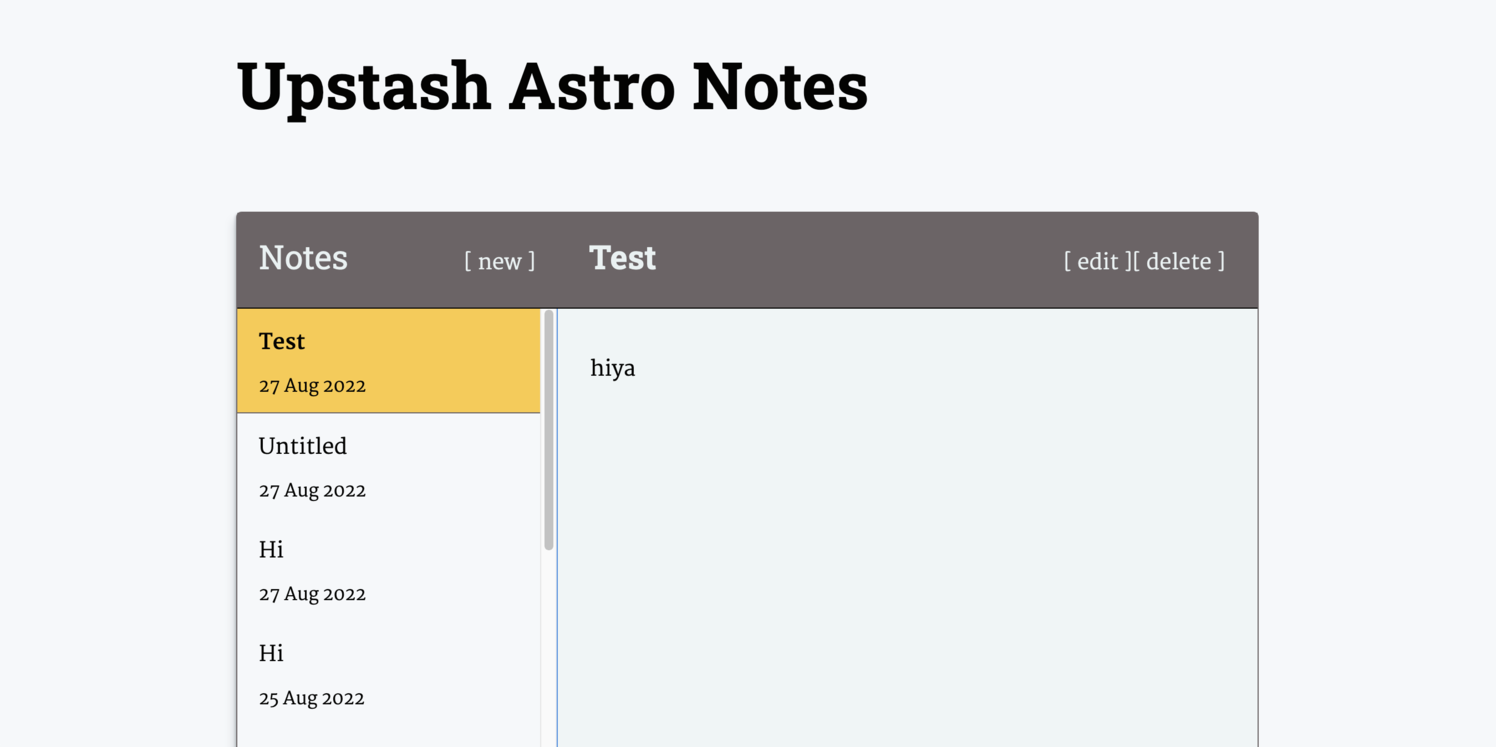
Press the `[ new ]` button to create a new note. Check the URL in your browser’s address bar. I have `http://localhost:3000/?edit=true¬e=1661428055833`. Pressing the button, invoked the API `put` function with the `create` action. This created a new note in the Upstash Redis database, then redirected the browser to this URL. The logic in `index.astro` picked up the `edit=true` query parameter and so displayed the `EditNote` component, instead of the `NoteBody`. Isn’t it incredible we did all of that relying mostly on standard APIs?
Click `Save Changes`. The form we use here works in a similar way to the create one, though this time the form code is in `src/components/EditNote.svelte`.
Try creating another note once the first is saved. This time click `Cancel`, instead of save. Here we use a spot of JavaScript, which is why we added the `client:load` directive to `EditNote` in `index.astro`. For the cancel button, we use `preventDefault` and run this handleCancel function:
```javascript
function handleCancel() {
const searchParams = new URLSearchParams({ note: id });
window.location.replace(`/?${searchParams}`);
}
```
That pushes the user back to the home page, instead of committing changes to Redis. This demonstrates we have a JavaScript “escape hatch” for whenever we do need some interactivity. Select the note you just created without editing and hit the `[ delete ]` button. The form for this is in the `HeadingBar` component.
## Build and Deploy
Astro has build adapters for the major cloud hosting providers. Add the Cloudflare Workers adapter:
```shell
pnpm astro add cloudflare
```
Accept the **defaults to configure it automatically**. Now we can build the site:
```shell
pnpm run build
```
If this is your first time using Wrangler on your machine, you need to link the local instance to your Cloudflare account by running the `pnpm wrangler login` command. Check [Wrangler get started guide for full details](https://developers.cloudflare.com/workers/wrangler/get-started/). The `wrangler` CLI tool is included in the project `package.json`.
To preview the site, because Cloudflare workers are a little different to other environments, we alter the default command. I saved this as the `preview:cloudlfare` script in `package.json`, so run `pnpm preview:cloudflare`. To see the site, go to `http://127.0.0.1:8788` in your browser.
Look in the `dist` folder of your project. This is where Astro outputs your production site. There will be a `_worker.js` in there. This is the Cloudflare Worker which Astro generates automatically for you. We added the path in the `wrangler.toml` file included in the repo.
### Deploying to Cloudflare
There is one small change to support reading secret environment variables in the Cloudflare Worker runtime. This is a workaround needed while the Astro team find a permanent solution for out-of-the box support. Update `astro.config.js`:
```javascript
/* eslint-disable @typescript-eslint/no-unsafe-assignment */
import cloudflare from "@astrojs/cloudflare";
import svelte from "@astrojs/svelte";
import { defineConfig } from "astro/config";
// https://astro.build/config
export default defineConfig({
output: "server",
integrations: [svelte()],
adapter: cloudflare(),
vite: {
define: {
"process.env.UPSTASH_REDIS_REST_URL": JSON.stringify(
process.env.UPSTASH_REDIS_REST_URL,
),
"process.env.UPSTASH_REDIS_REST_TOKEN": JSON.stringify(
process.env.UPSTASH_REDIS_REST_TOKEN,
),
},
},
});
```
These lines make our secret environment variables available exactly where the Cloudflare server will be looking for them. Finally, to set the remote build environment to use Node 16, create a `.nvmrc` file in the project root folder and set the content just to be `16`.
We are now ready to deploy. To get the site live, commit and push the repo to a git service. Next [log into your Cloudflare account](https://dash.cloudflare.com/login) and choose Pages and **Create a Project / Connect to Git**. Link to your git service. Select **Astro** as the framework preset. Finally, remember to add the two environment variables before clicking **Save and Deploy**.
## Get Started with Astro and Redis: Wrapping Up
That’s all I wanted to show you for now. This tutorial demonstrates only a fraction of what we can do with Upstash and Astro, but I hope it is enough for you to get started with Astro and Redis. Follow the links above to explore the details of the features we mentioned. Check the [Upstash blog for more tutorials](https://upstash.com/blog) and you can [learn more Astro from Rodney Lab](https://rodneylab.com/tags/astro/). Let me know how you found this tutorial and what your next project will be!